
参考文档
Install Kubernetes Cluster on Debian 12 (Bookworm) servers
环境准备
Kubernetes 也称为 K8s,是用于自动部署、扩缩和管理容器化应用程序的开源系统。
| 环境 | 版本 | 链接 |
|---|---|---|
| Kubernetes | V1.31 | https://kubernetes.io/zh-cn/ |
| Docker | 27.2.0 | https://www.docker.com/ |
| Debian | 12.7 | https://www.debian.org/ |
| Virtualbox | 7.0.20 | https://www.virtualbox.org/ |
安装 VirtualBox
从VirtualBox官网上下载安装即可,Linux平台安装后会提示安装 linux-head 软件包,按提示操作即可。
https://www.oracle.com/cn/virtualization/technologies/vm/downloads/virtualbox-downloads.html
安装 Debian
从代理仓库中下载 Debian 镜像,使用 VirtualBox 安装即可,建议最低分配资源如下:
- 内存大小:2G
- 处理器:2
- 磁盘大小:20G
- 网络:
- 网络地址转换 NAT
- 仅主机(Host-Only)网络
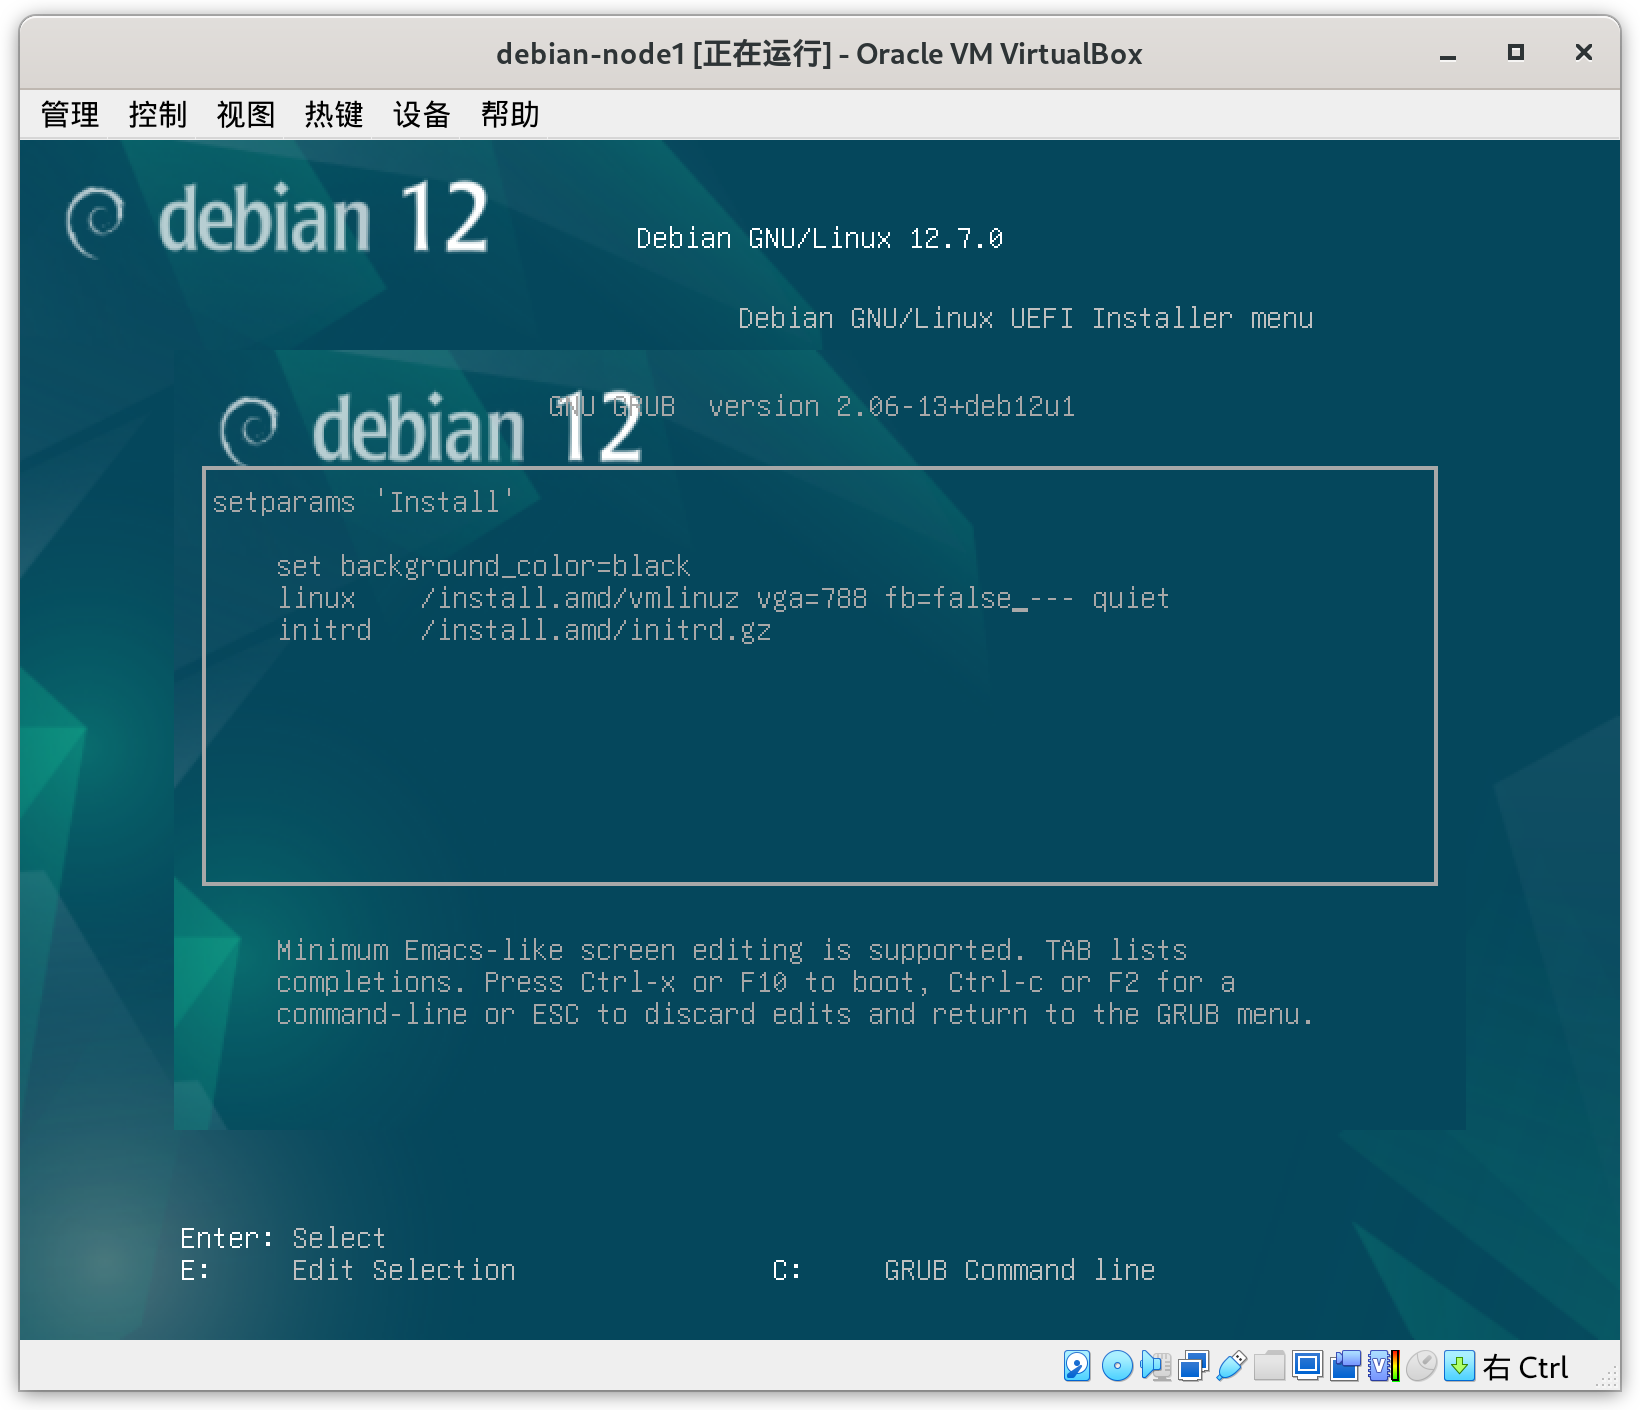
如果安装时选择安装后灰屏无显示,修改启动项,增加 fb=false,请参照:
https://forums.debian.net/viewtopic.php?p=785528&sid=57f61f8a7ff595de0e3e19c86b8140cf#p785528
镜像地址: https://mirror.tuna.tsinghua.edu.cn/debian-cd/current/amd64/iso-dvd/
修改Debian软件源配置,使用清华源: https://mirror.tuna.tsinghua.edu.cn/help/debian/
配置主机名称。
hostnamectl set-hostname master
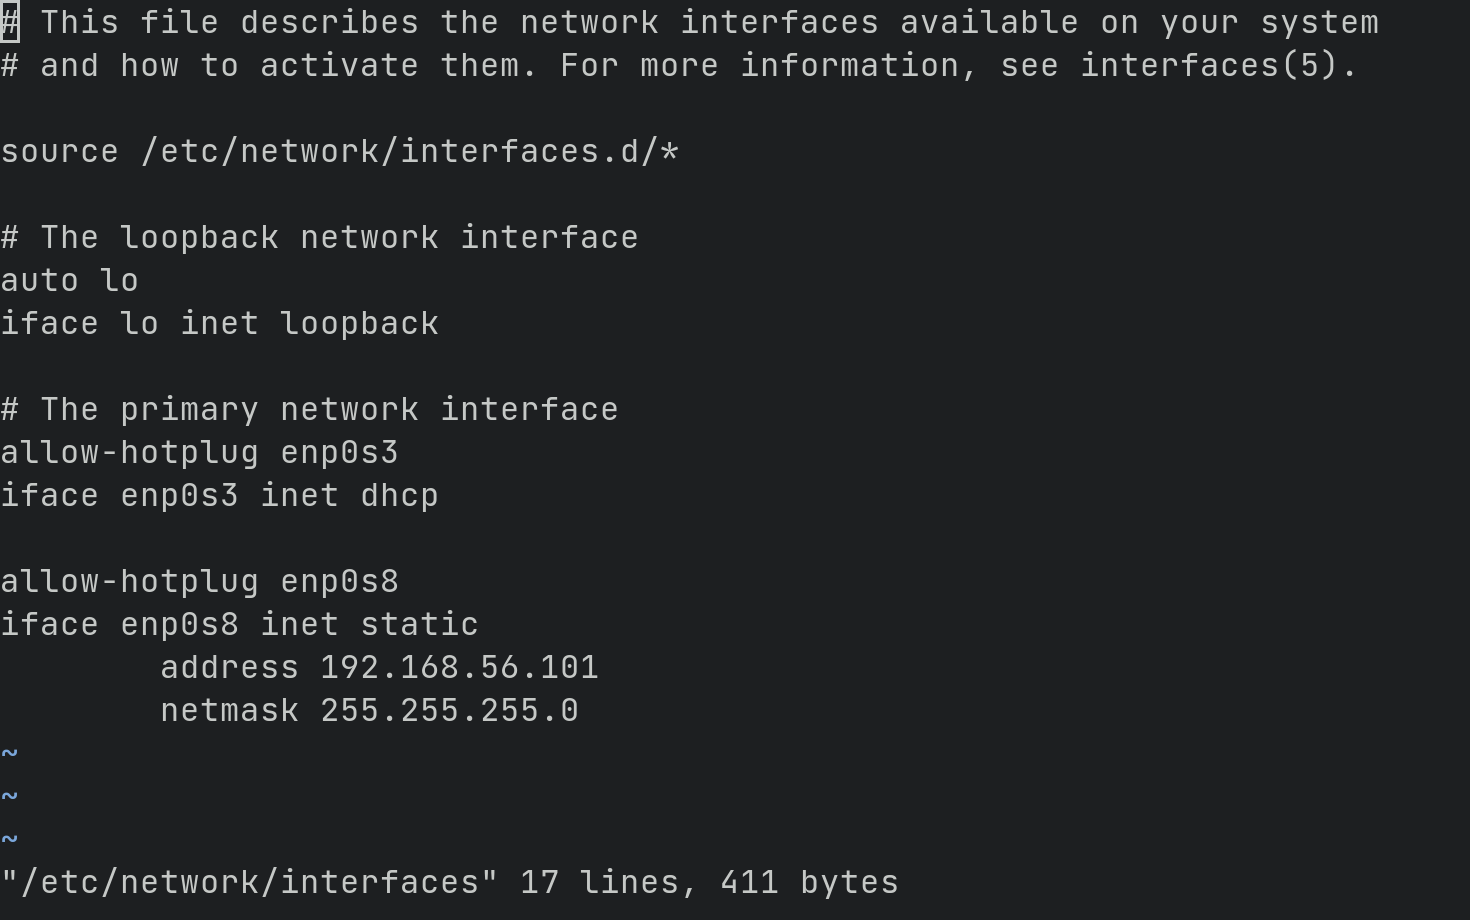
配置双网卡,仅主机(Host-Only)网络配置为静态IP:
# The loopback network interface
auto lo
iface lo inet loopback

# The primary network interface
allow-hotplug enp0s3
iface enp0s3 inet dhcp

# 上面是初始内容,enp0s3 为 NAT 网络,自动获取IP,用于访问公网
# 下面是添加内容,enp0s8 为 Host-Only 网络,配置静态 IP,用于节点间访问

allow-hotplug enp0s8
iface enp0s8 inet static
        address 192.168.56.101
        netmask 255.255.255.0
配置免密登录,在物理机上执行。
ssh-copy-id root@192.168.56.101
配置域名映射,在 vim /etc/hosts 中加入配置。
192.168.56.101	master
192.168.56.102	node1
192.168.56.103	node2
安装 Docker
参照官网文档安装即可,可以使用清华源加速安装过程。
Install Docker Engine on Debian: https://docs.docker.com/engine/install/debian/
Docker CE 软件仓库: https://mirror.tuna.tsinghua.edu.cn/help/docker-ce/
配置代理:Docker代理
配置容器运行时
https://kubernetes.io/zh-cn/docs/setup/production-environment/container-runtimes/#docker
使用 cri-dockerd 适配器来将 Docker Engine 与 Kubernetes 集成,从 https://github.com/Mirantis/cri-dockerd/releases 下载 cri-dockerd 安装包安装。
wget https://github.com/Mirantis/cri-dockerd/releases/download/v0.3.15/cri-dockerd_0.3.15.3-0.debian-bookworm_amd64.deb
apt install ./cri-dockerd_0.3.15.3-0.debian-bookworm_amd64.deb
同样可以安装其他容器运行时,比如:
- Containerd
- CRI-O
关于 Docker Containerd CRI-O Runc等概念的区别: https://smallcoderhujin.github.io/blog/2021/08/06/cri-oci/
安装 Kubernetes
安装配置和先决条件
https://kubernetes.io/zh-cn/docs/setup/production-environment/container-runtimes/
- 启用 IPv4 数据包转发
# 设置所需的 sysctl 参数,参数在重新启动后保持不变
tee /etc/sysctl.d/kubernetes.conf<<EOF
net.bridge.bridge-nf-call-ip6tables = 1
net.bridge.bridge-nf-call-iptables = 1
net.ipv4.ip_forward = 1
EOF

# 应用 sysctl 参数而不重新启动
sysctl --system
- 启用所需的内核模块
tee /etc/modules-load.d/k8s.conf <<EOF
overlay
br_netfilter
EOF

modprobe overlay
modprobe br_netfilter
- 关闭交换分区
swapoff -a

free -m
重启后不生效可参考: https://blog.csdn.net/Elko_265/article/details/126342412
安装 kubeadm
https://kubernetes.io/zh-cn/docs/setup/production-environment/tools/kubeadm/install-kubeadm/
Kubernetes 清华源和其他源最新只到 1.30,故使用官方源。如果下载缓慢,可为 apt 配置代理,一种简单的方式是使用环境变量:
export https_proxy=http://192.168.31.113:7897 http_proxy=http://192.168.31.113:7897 all_proxy=socks5://192.168.31.113:7897
清华源同步了最新的镜像,可以使用:
https://mirror.tuna.tsinghua.edu.cn/help/kubernetes/
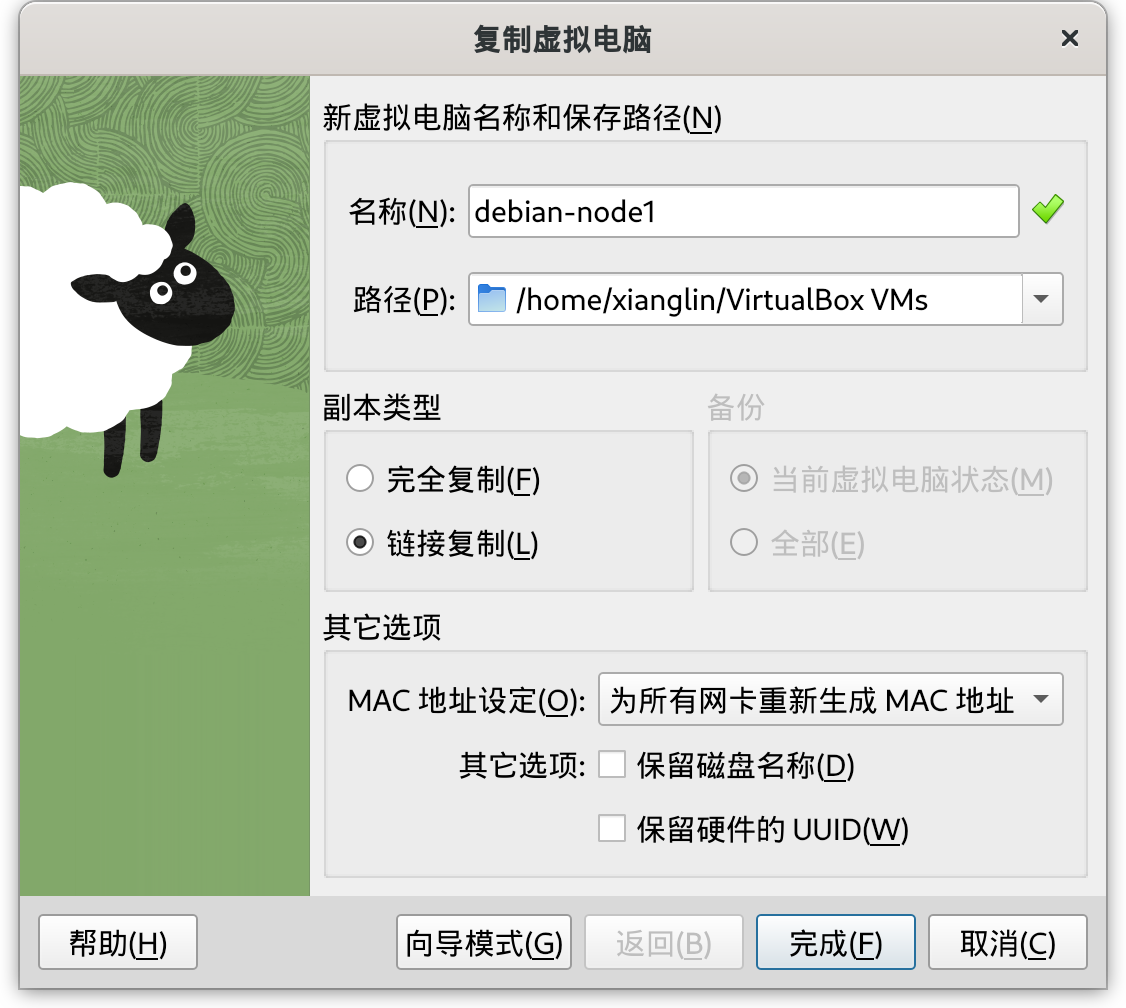
复制虚拟机
为完成上述安装步骤的虚拟机生成快照,然后在此基础上复制新的虚拟机,最后登入虚拟机修改主机名称、静态IP地址。
使用 kubeadm 创建集群
https://kubernetes.io/zh-cn/docs/setup/production-environment/tools/kubeadm/create-cluster-kubeadm/
kubeadm init \
--apiserver-advertise-address=192.168.56.101 \
--cri-socket unix:///run/cri-dockerd.sock \
--service-cidr=10.1.0.0/16 \
--pod-network-cidr=10.244.0.0/16
各参数解释:
https://kubernetes.io/zh-cn/docs/reference/setup-tools/kubeadm/kubeadm-init/
上面的命令很可能因为网络原因拉取镜像失败,可以使用 --image-repository registry.aliyuncs.com/google_containers 命令指定镜像仓库,不知道什么原因,我这里执行命令后也是安装失败。
kubeadm init 命令输出提示中有:You can also perform this action beforehand using ‘kubeadm config images pull’,即我们可以手动拉取对应镜像。
执行如下命令:
kubeadm config images pull --image-repository=registry.aliyuncs.com/google_containers --cri-socket unix:///run/cri-dockerd.sock
也可以单个手动拉取镜像。执行 kubeadm config images list 输出的镜像列表如下:
registry.k8s.io/kube-apiserver:v1.31.0
registry.k8s.io/kube-controller-manager:v1.31.0
registry.k8s.io/kube-scheduler:v1.31.0
registry.k8s.io/kube-proxy:v1.31.0
registry.k8s.io/coredns/coredns:v1.11.1
registry.k8s.io/pause:3.10
registry.k8s.io/etcd:3.5.15-0
从 https://docker.aityp.com/s/registry.k8s.io 上查找对应的镜像,拉取后对镜像打标签即可,以 registry.k8s.io/kube-apiserver:v1.31.0 为例,执行如下命令:
docker pull swr.cn-north-4.myhuaweicloud.com/ddn-k8s/registry.k8s.io/kube-apiserver:v1.31.0
docker tag  swr.cn-north-4.myhuaweicloud.com/ddn-k8s/registry.k8s.io/kube-apiserver:v1.31.0  registry.k8s.io/kube-apiserver:v1.31.0
再次执行
我这里用的 Docker Engine 作为运行时,没有管上述提示。kubeadm init 有提示:detected that the sandbox image “registry.k8s.io/pause:3.8” of the container runtime is inconsistent with that used by kubeadm.It is recommended to use “registry.k8s.io/pause:3.10” as the CRI sandbox image.对应解决方法参见:https://github.com/kubernetes/kubeadm/issues/2851#issuecomment-1535770518
安装完成后按提示执行即可:
 mkdir -p $HOME/.kube
 cp -i /etc/kubernetes/admin.conf $HOME/.kube/config
 chown $(id -u):$(id -g) $HOME/.kube/config

 # Deploying Flannel with kubectl
 kubectl apply -f https://github.com/flannel-io/flannel/releases/latest/download/kube-flannel.yml

 # 查看集群状态
 kubectl get pods -n kube-flannel
 kubectl get nodes -o wide
重置安装状态
如果上一步初始化失败,则需要重置安装状态才能再次初始化 Kubernetes 集群,执行如下命令:
kubeadm reset --cri-socket unix:///run/cri-dockerd.sock
rm -rf  /etc/cni/net.d
rm -rf $HOME/.kube/config
增加子节点
打开复制虚拟机步骤创建的虚拟机,作为节点,添加到集群中,执行如下命令:
kubeadm join 192.168.56.101:6443 --token le0z57.zuagjq96utlicpjw \
	--discovery-token-ca-cert-hash sha256:4b534e57748be736a8aacf08c9040ea00d3544a757ca2276eadf56706ed1b42d --cri-socket unix:///run/cri-dockerd.sock
集群成功安装:
