使用 Docker 配置自动化构建
安装 GitLab
官方文档中文:https://docs.gitlab.cn/jh/install/docker.html
官方文档英文:https://docs.gitlab.com/ee/install/docker.html
GitLab 镜像地址:https://hub.docker.com/r/gitlab/gitlab-ce
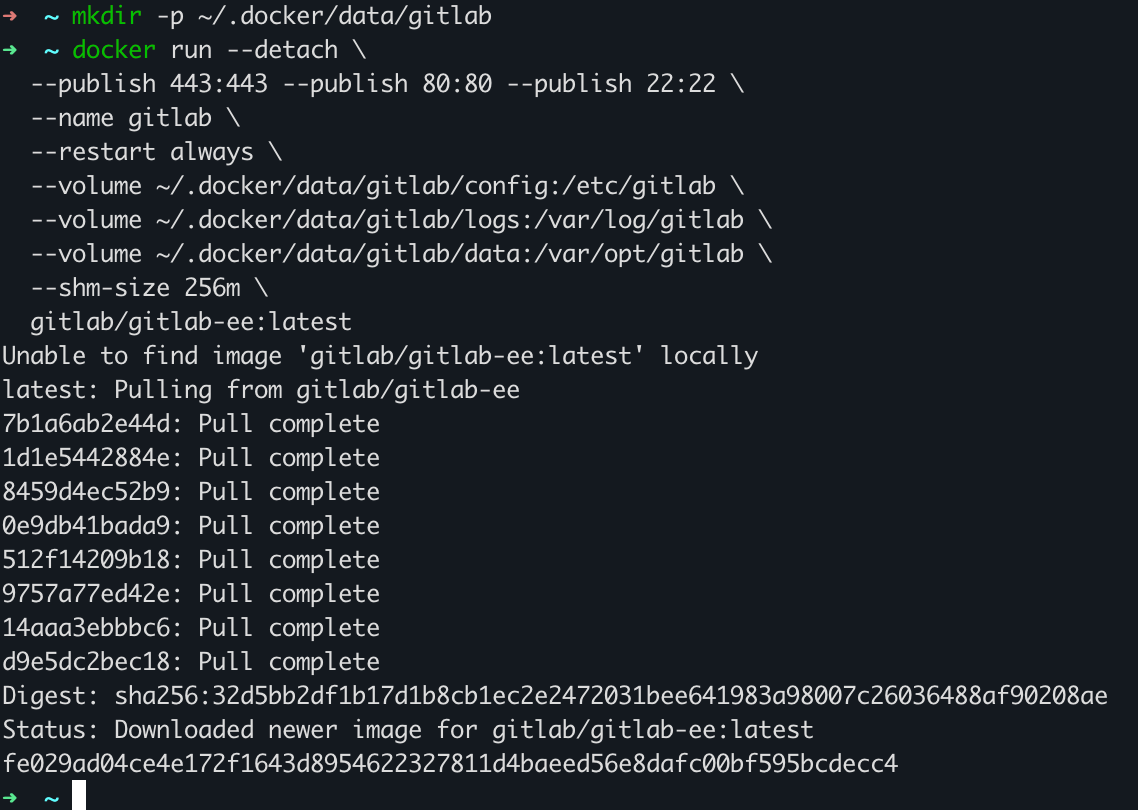
创建目录存储持久数据
mkdir -p ~/.docker/data/gitlab
安装运行镜像
docker run --detach \
  --publish 443:443 --publish 80:80 --publish 22:22 \
  --name gitlab \
  --restart always \
  --volume ~/.docker/data/gitlab/config:/etc/gitlab \
  --volume ~/.docker/data/gitlab/logs:/var/log/gitlab \
  --volume ~/.docker/data/gitlab/data:/var/opt/gitlab \
  --shm-size 256m \
  gitlab/gitlab-ee:latest
安装需要一段时间,可以使用如下命令查看安装日志:
docker logs -f gitlab
当出现如下内容时安装完成,从 /etc/gitlab/initial_root_password 查找 root 账户的密码。
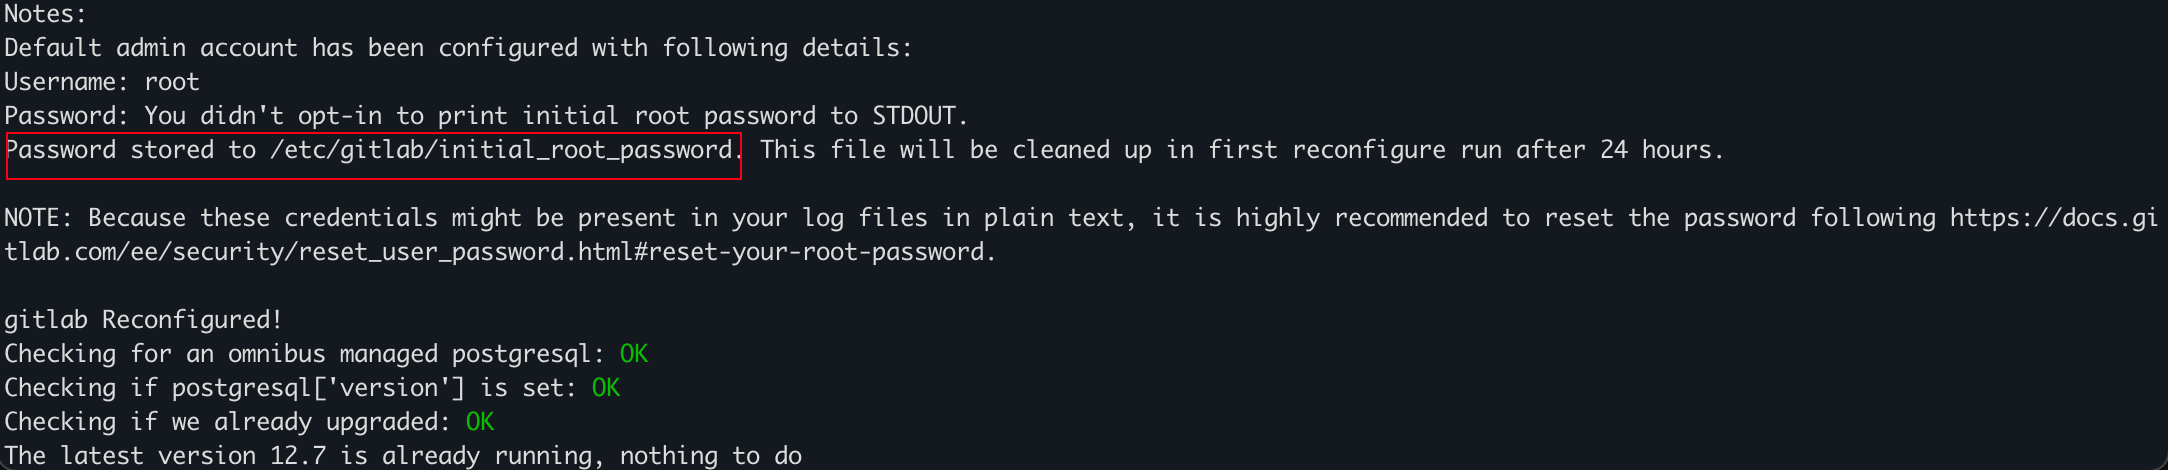
docker exec -it gitlab grep 'Password:' /etc/gitlab/initial_root_password

安装 Jenkins
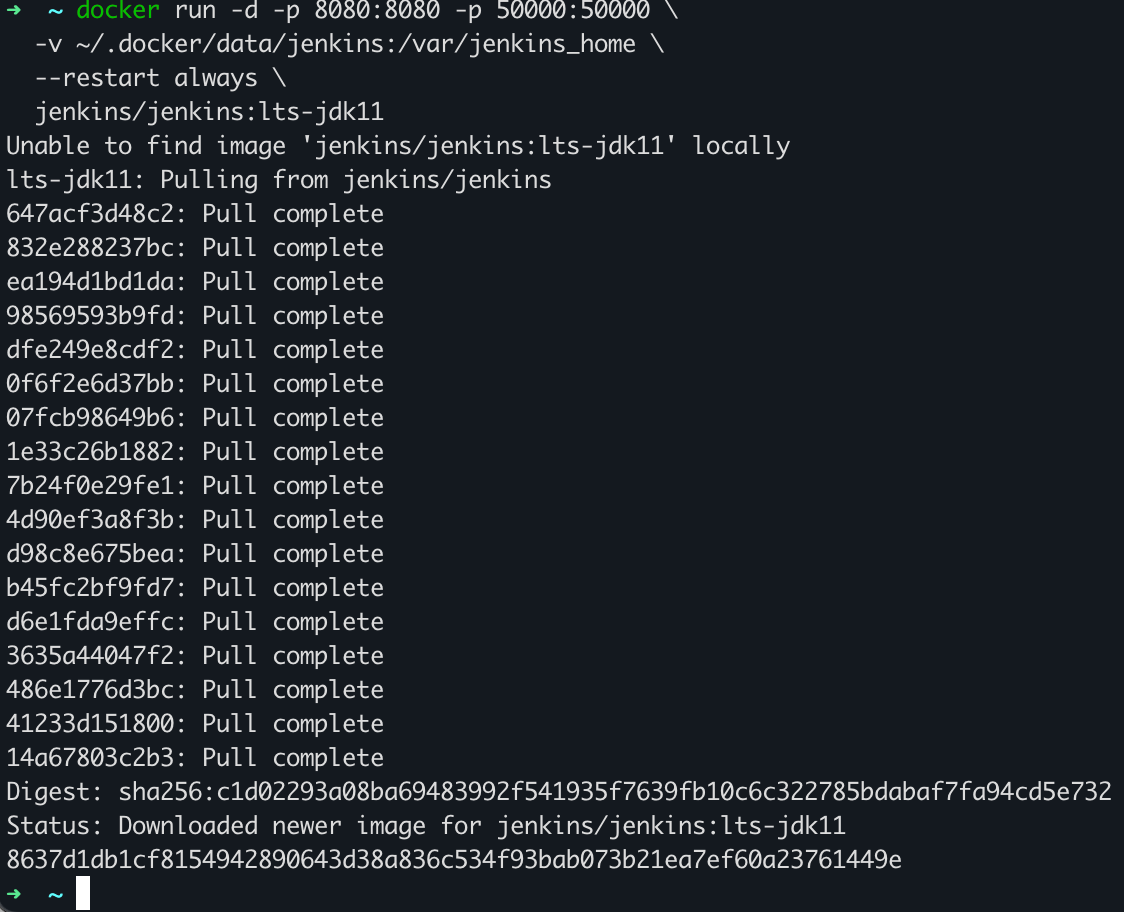
创建目录存储持久数据
mkdir -p ~/.docker/data/jenkins
安装运行镜像
docker run -d -p 8080:8080 -p 50000:50000 \
  -v ~/.docker/data/jenkins:/var/jenkins_home \
  --restart always \
  jenkins/jenkins:lts-jdk11
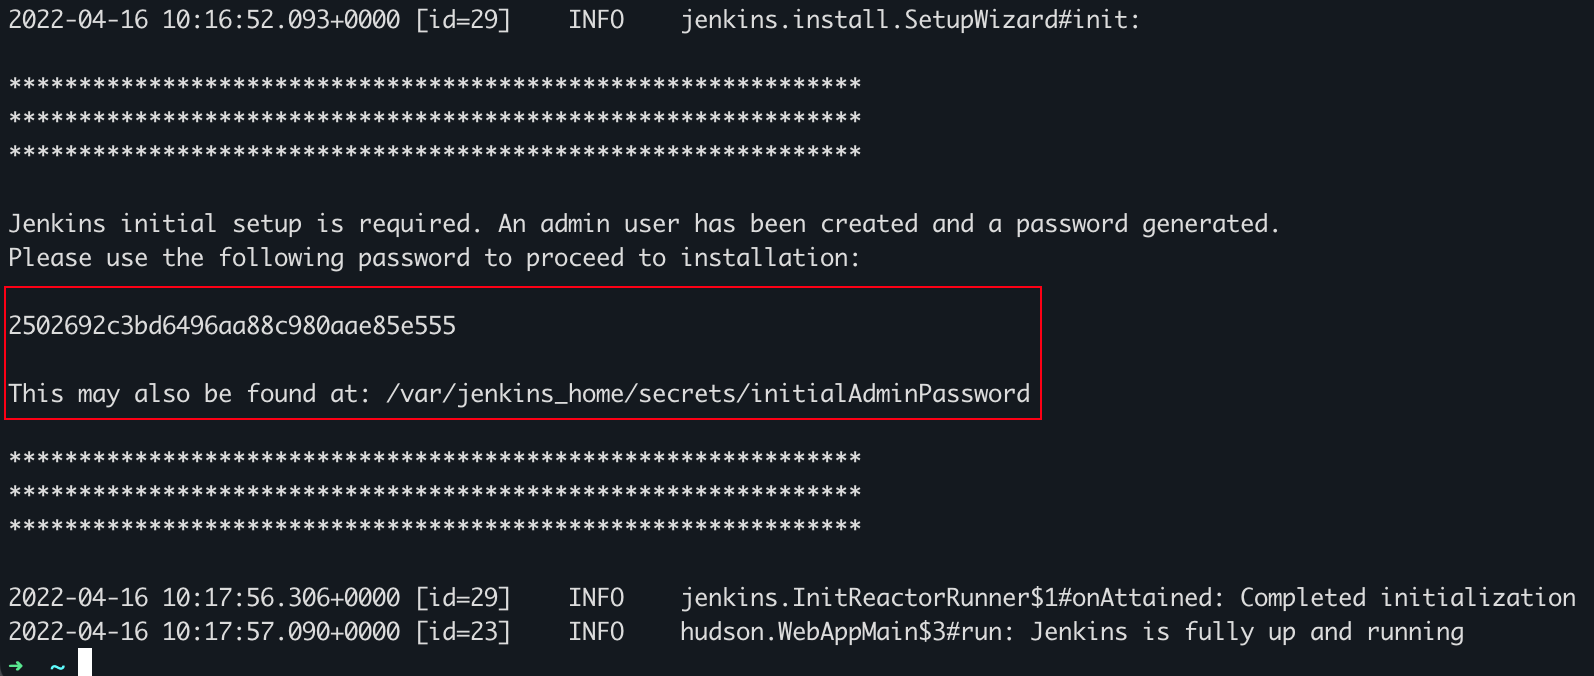
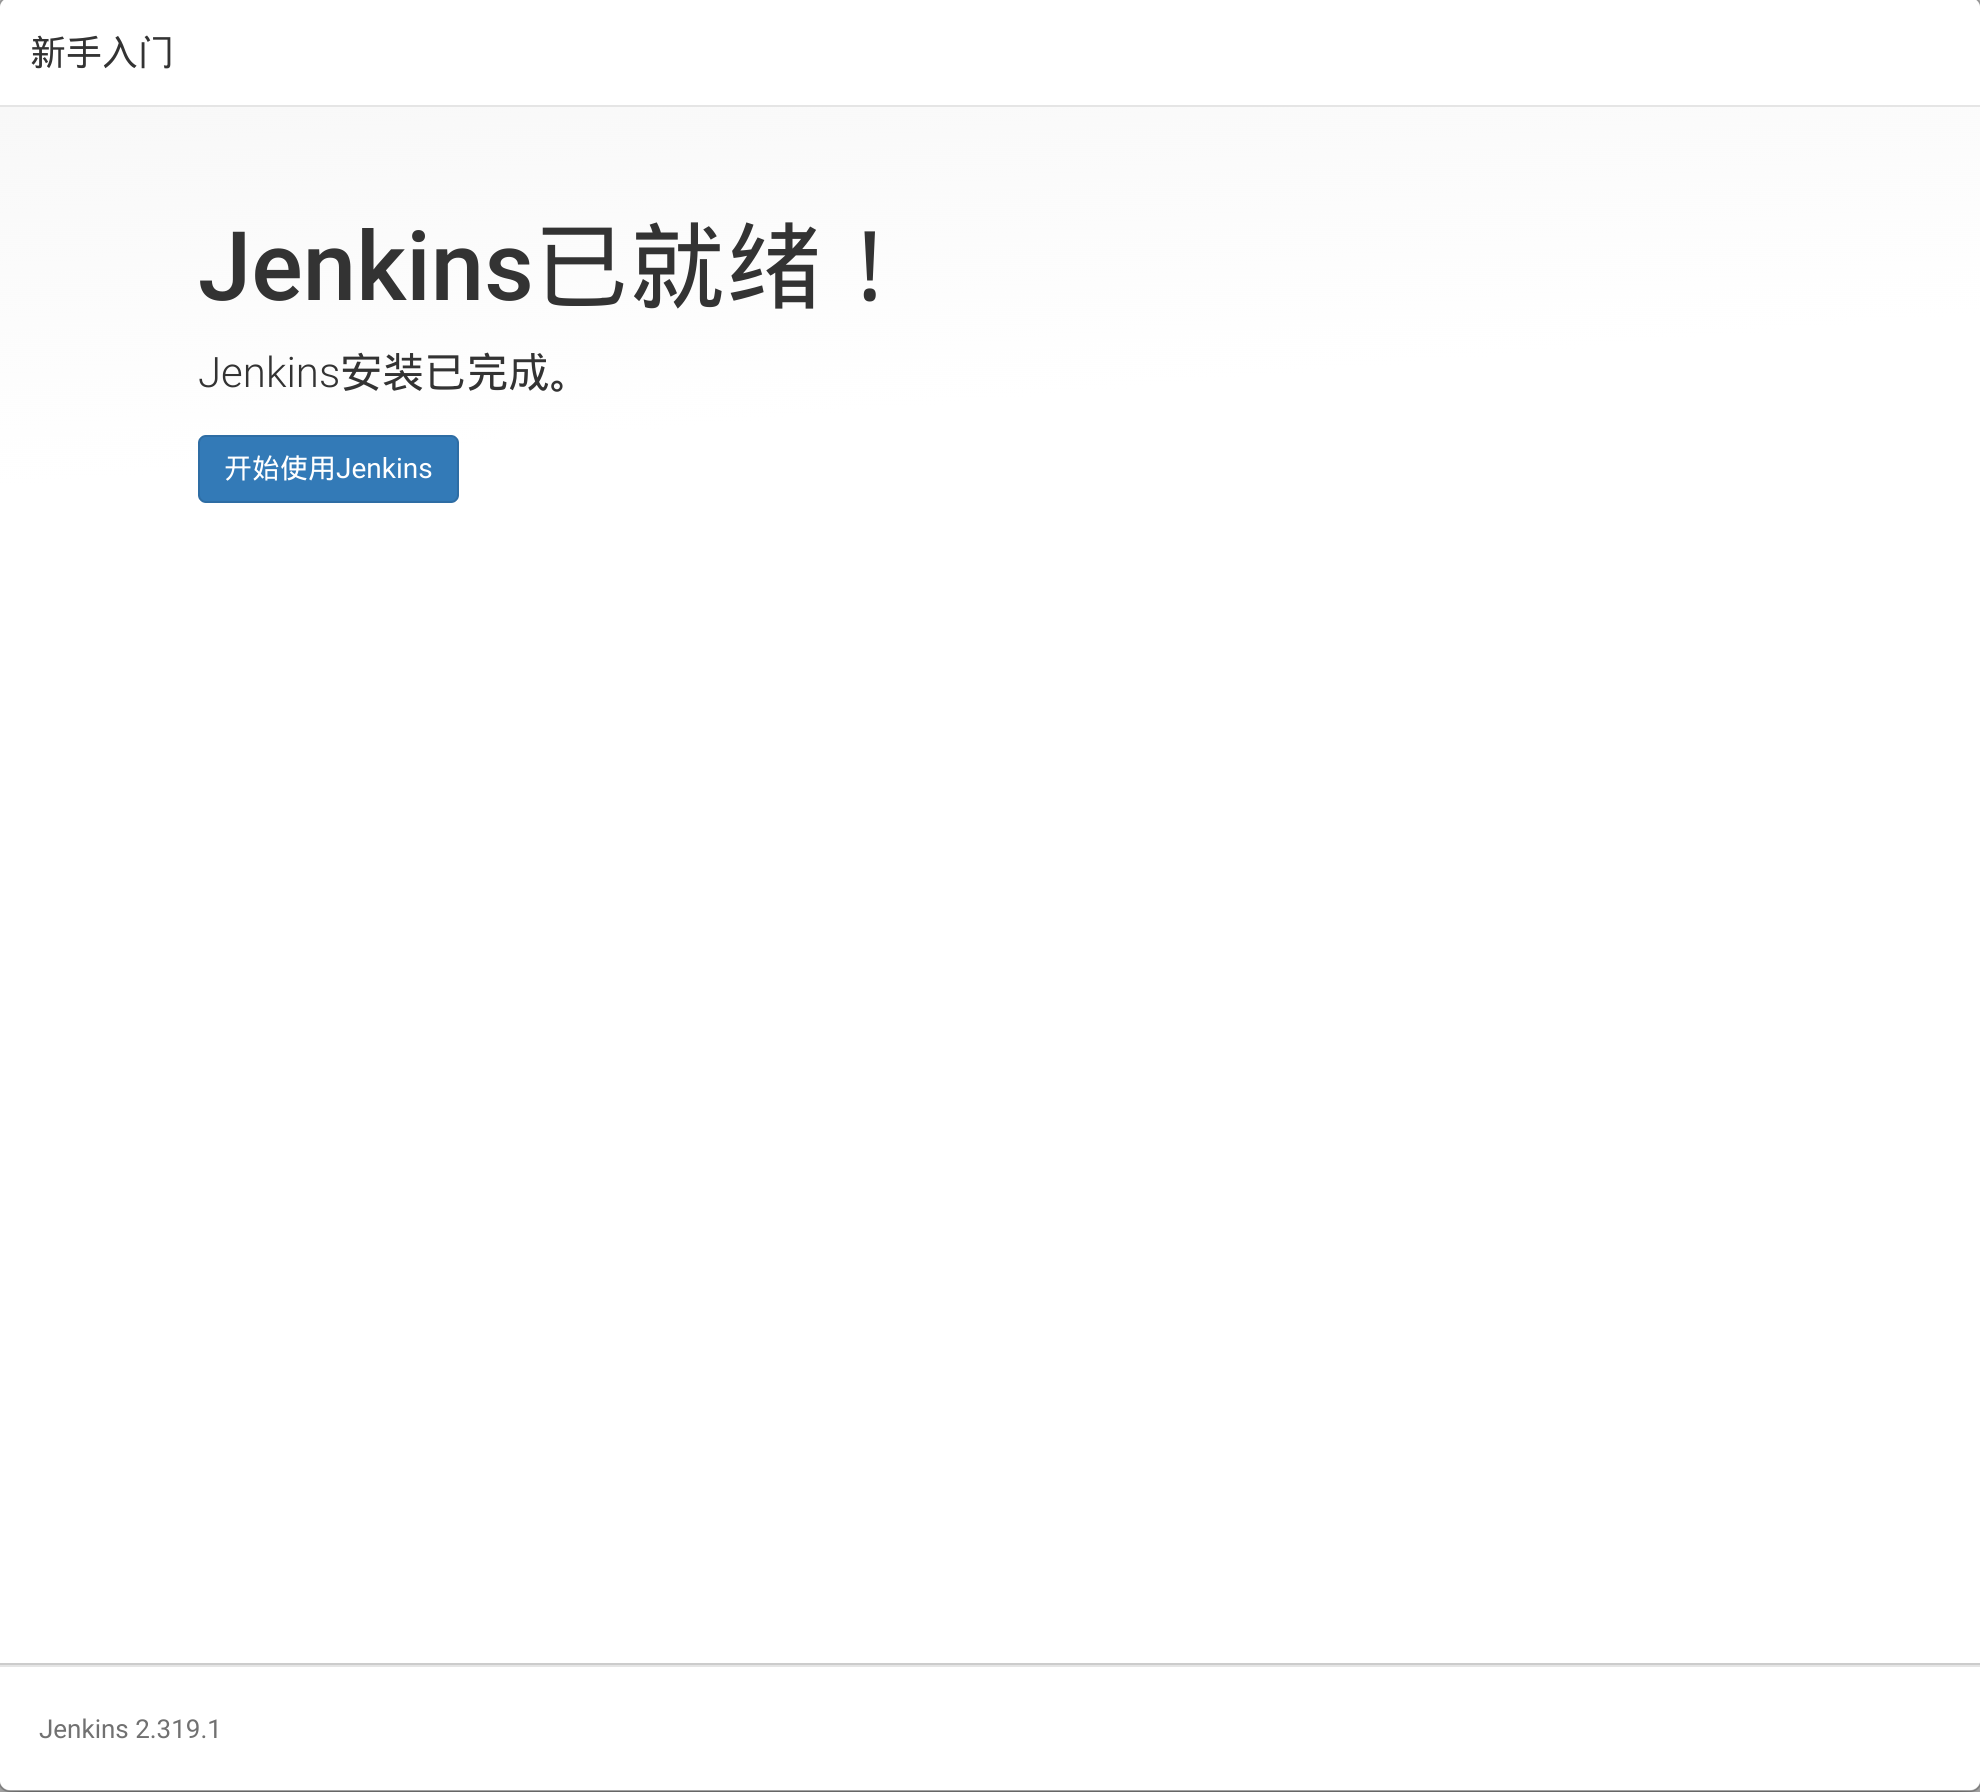
安装完成后,访问 http://localhost:8080 访问 Jenkins 首页。
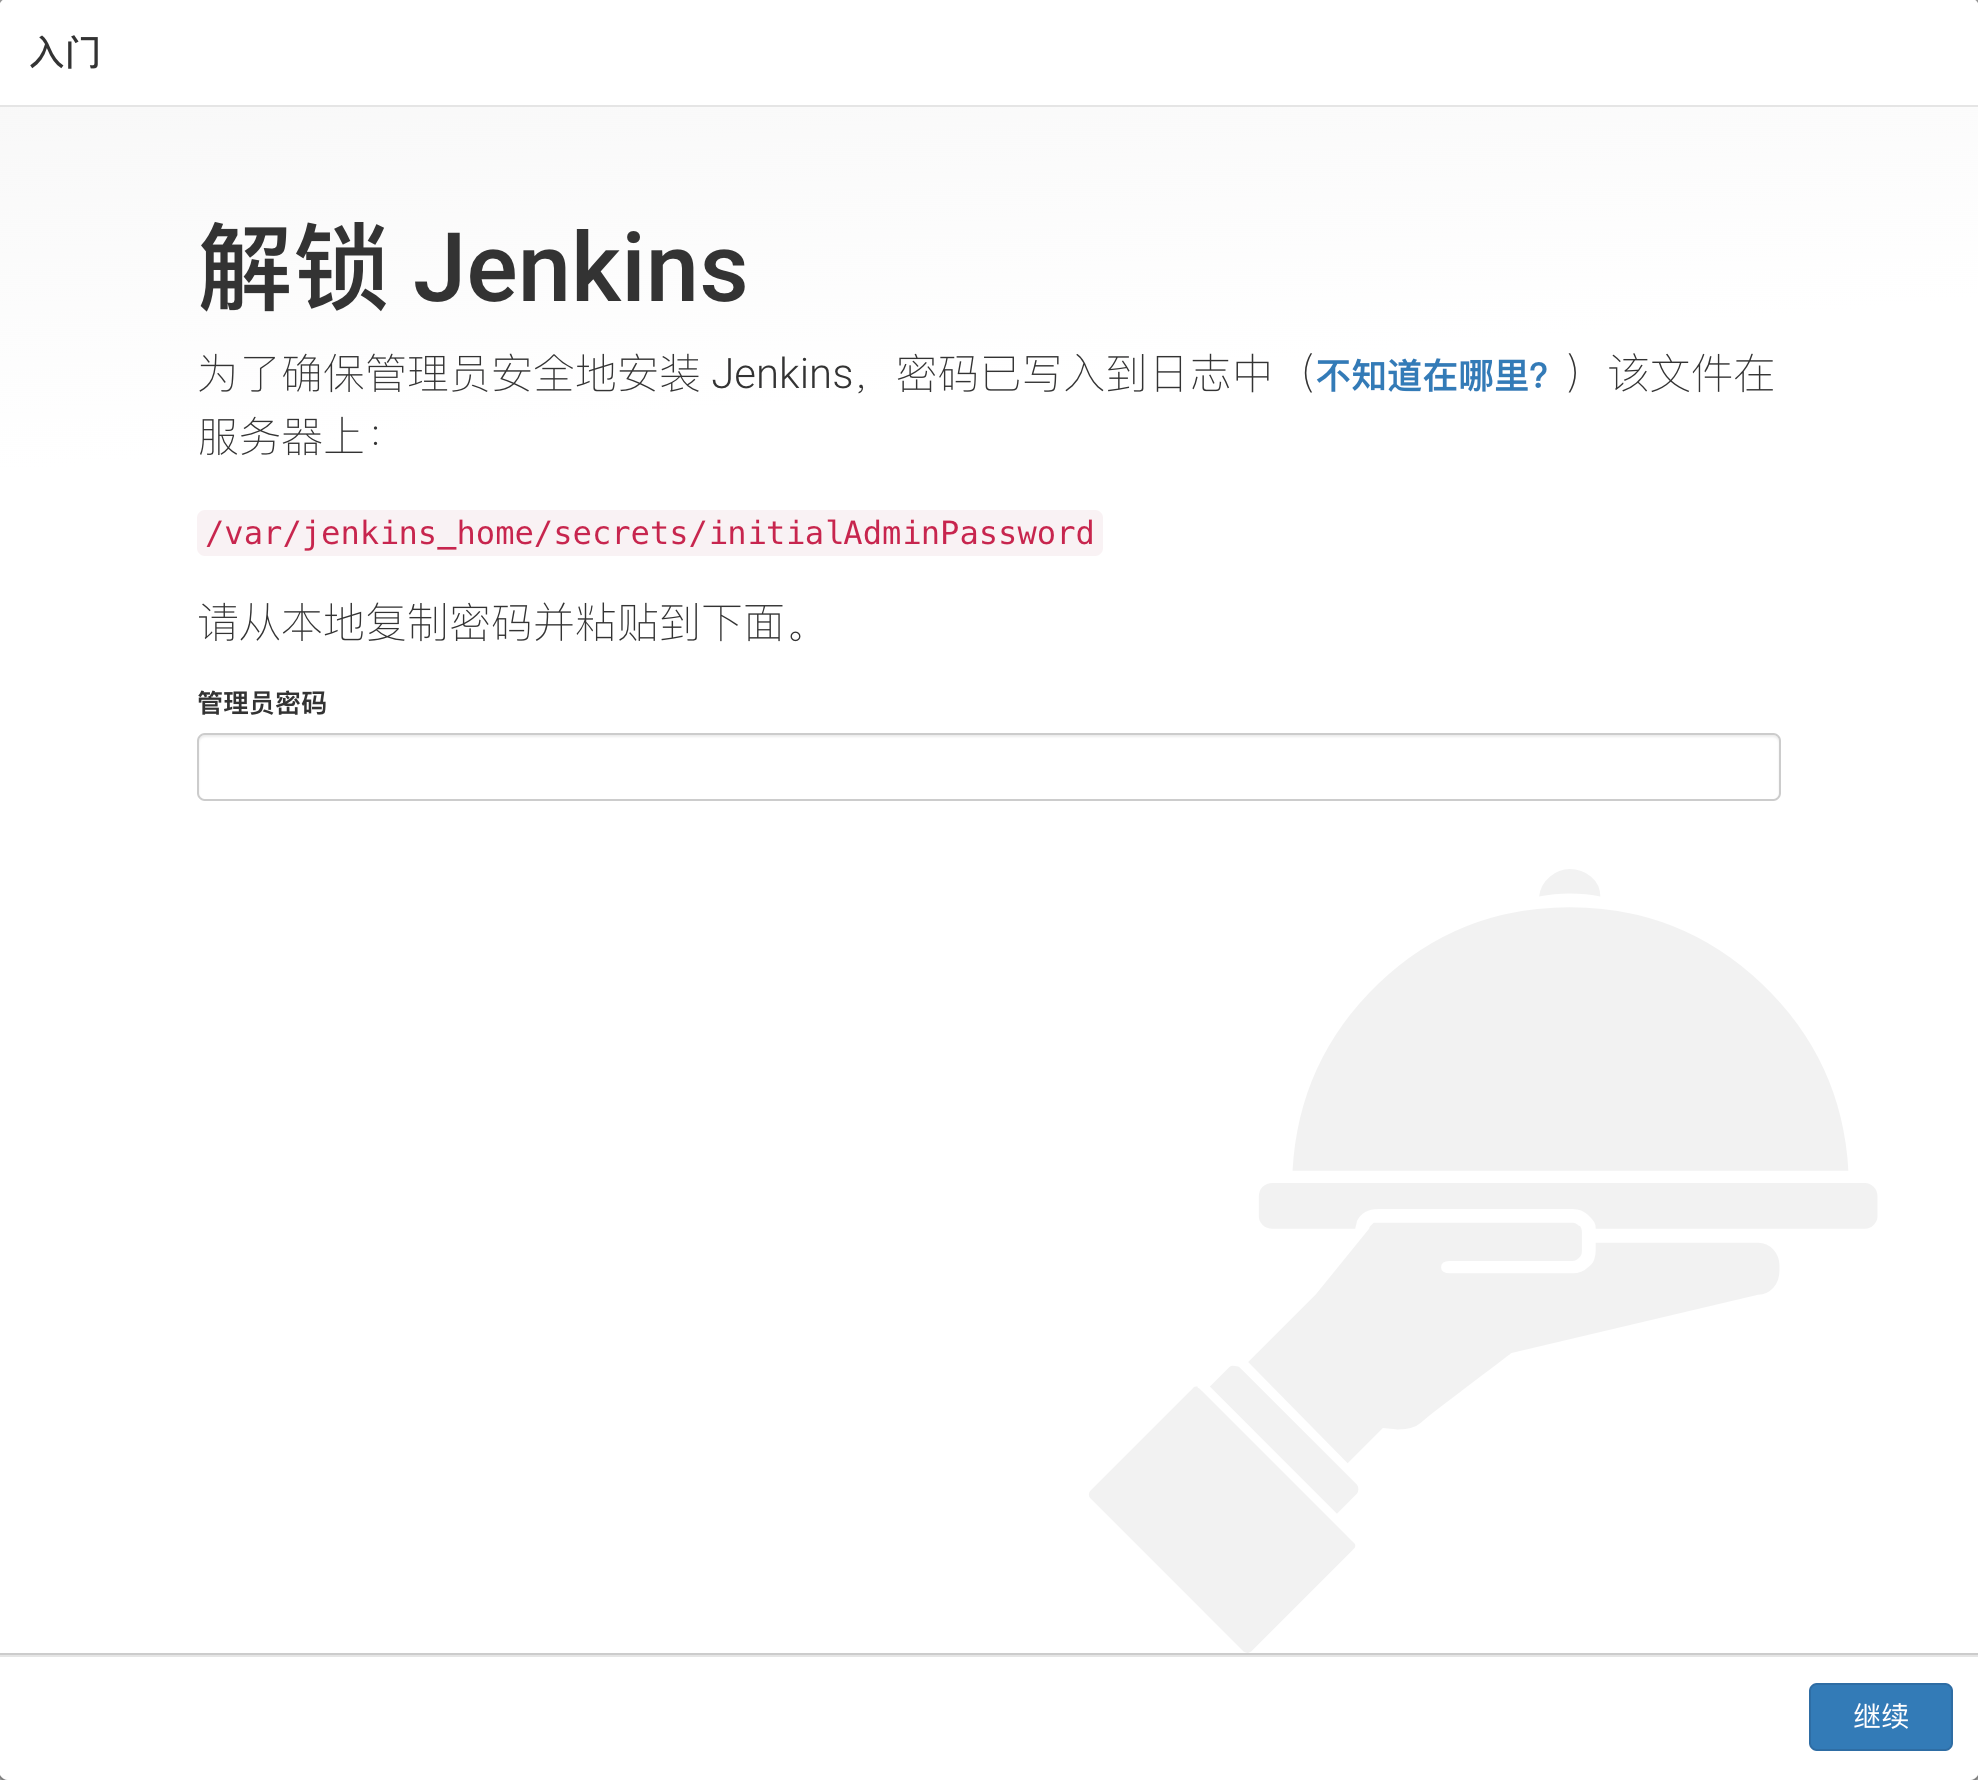
初始化 Jenkins
解锁 Jenkins,使用如下命令从日志中查找密码:
docker logs containerId
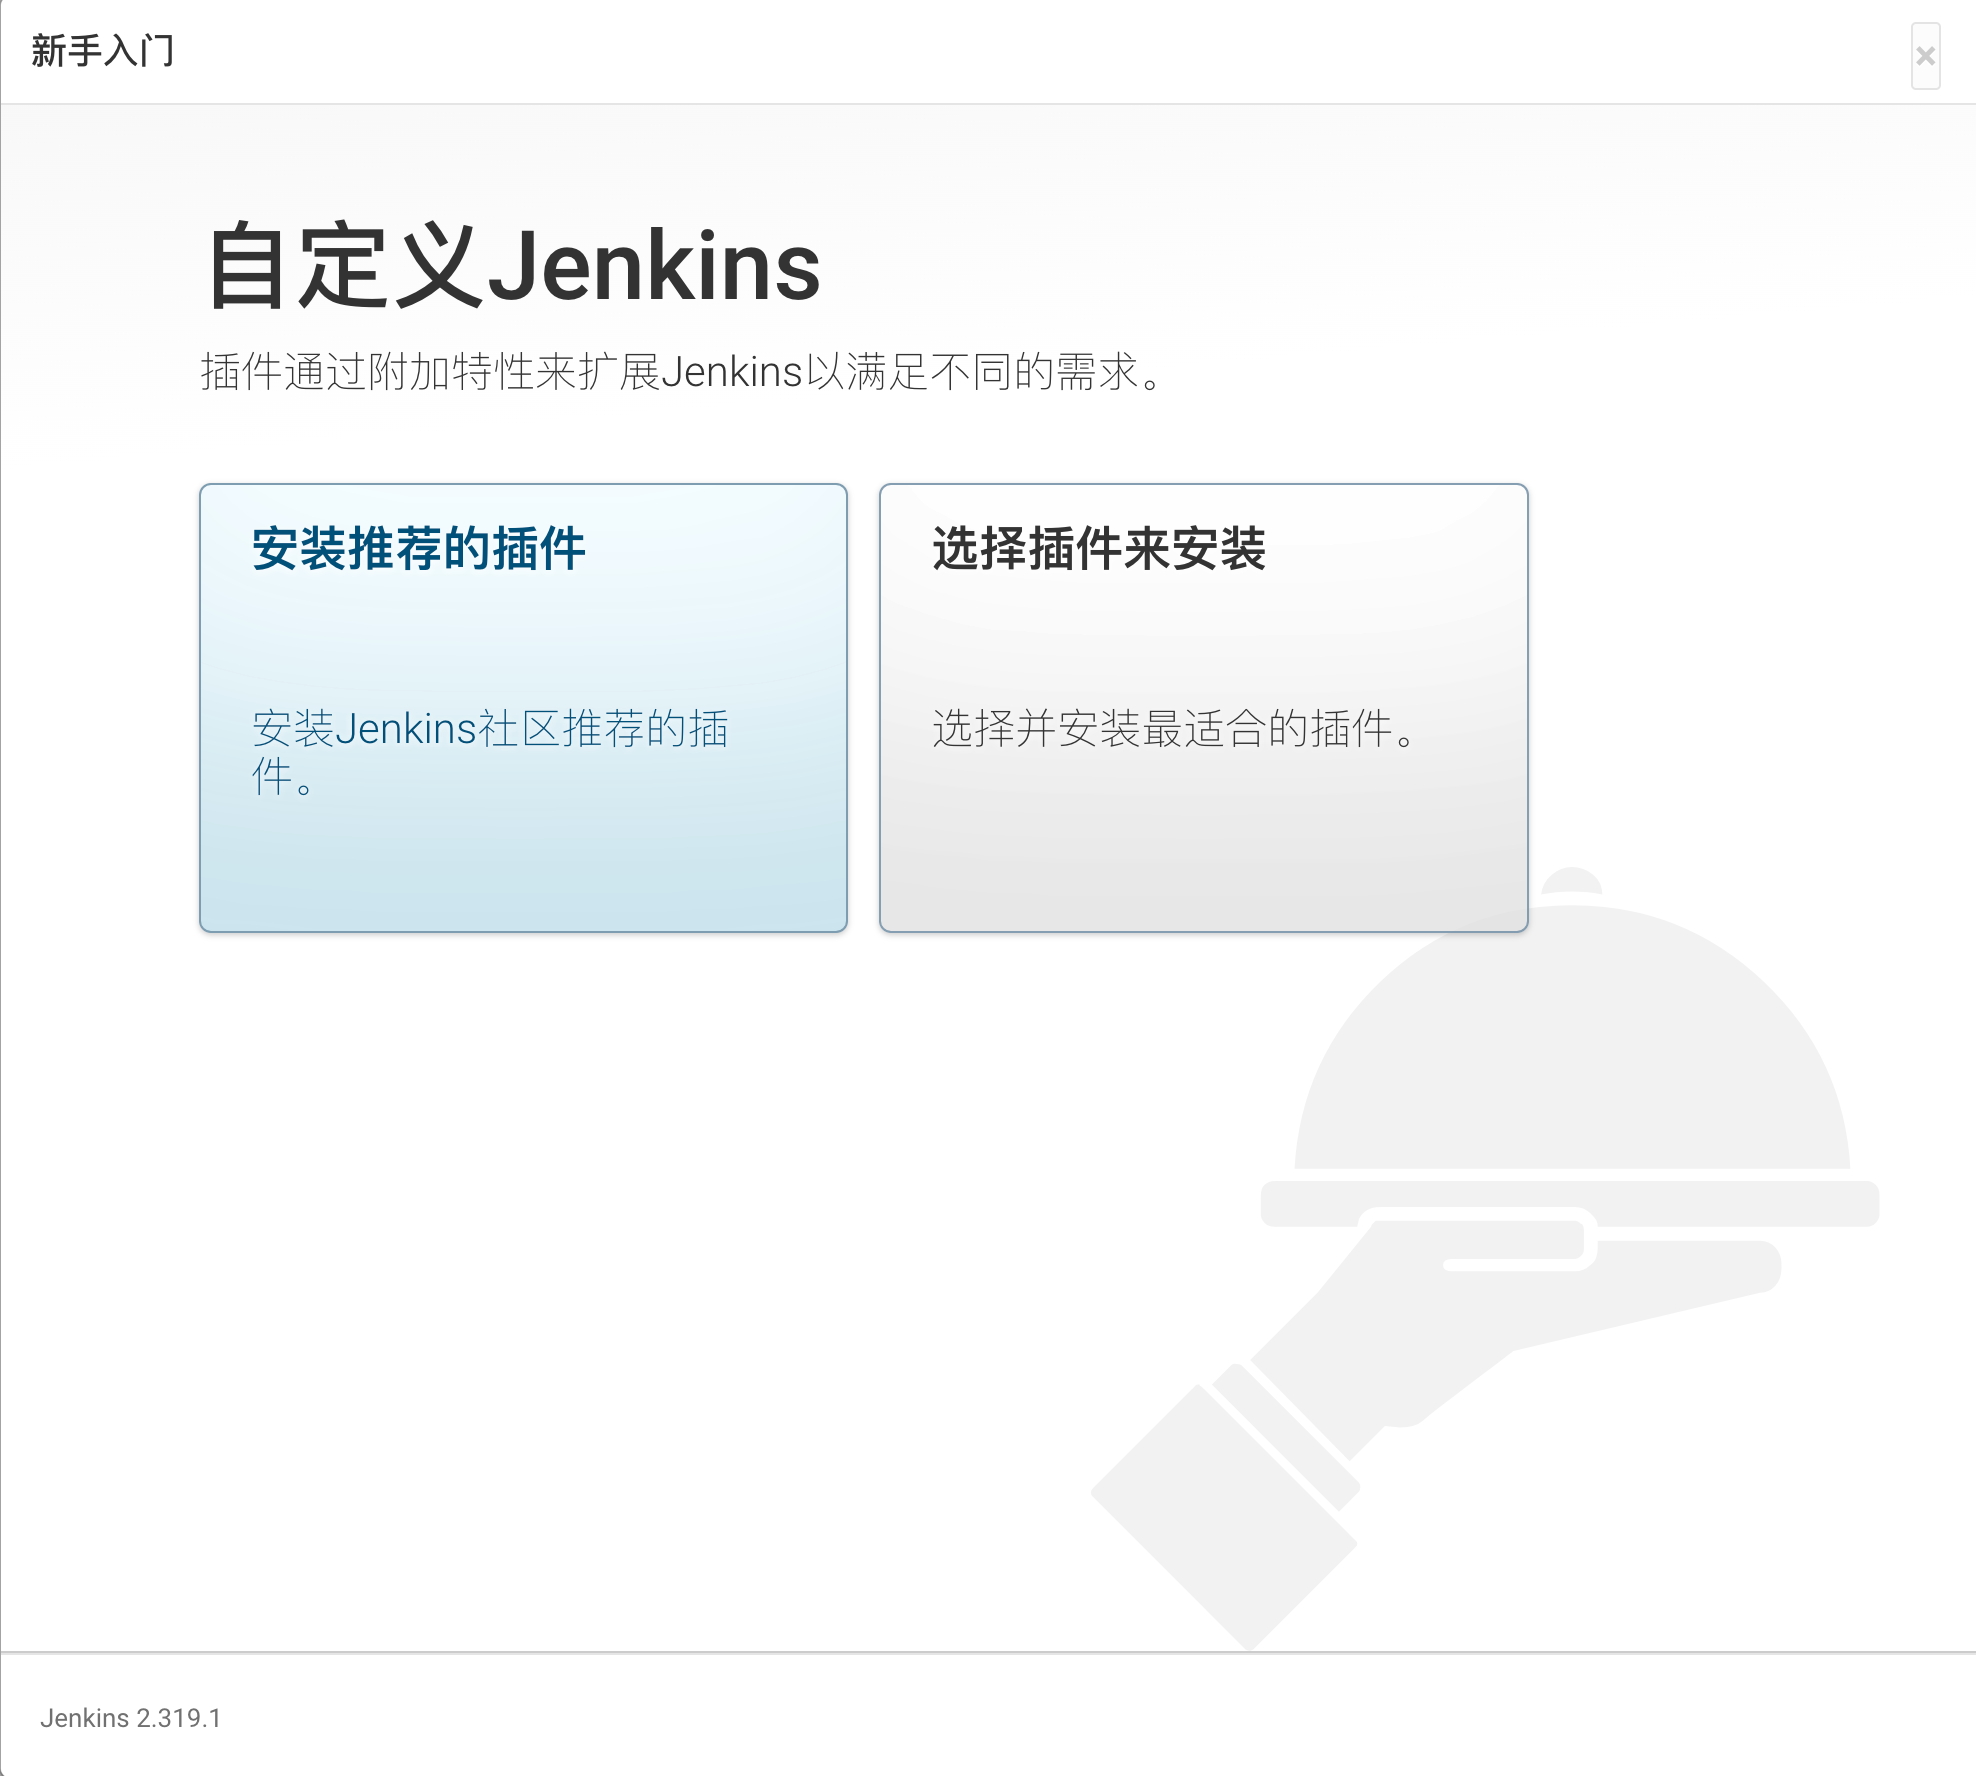
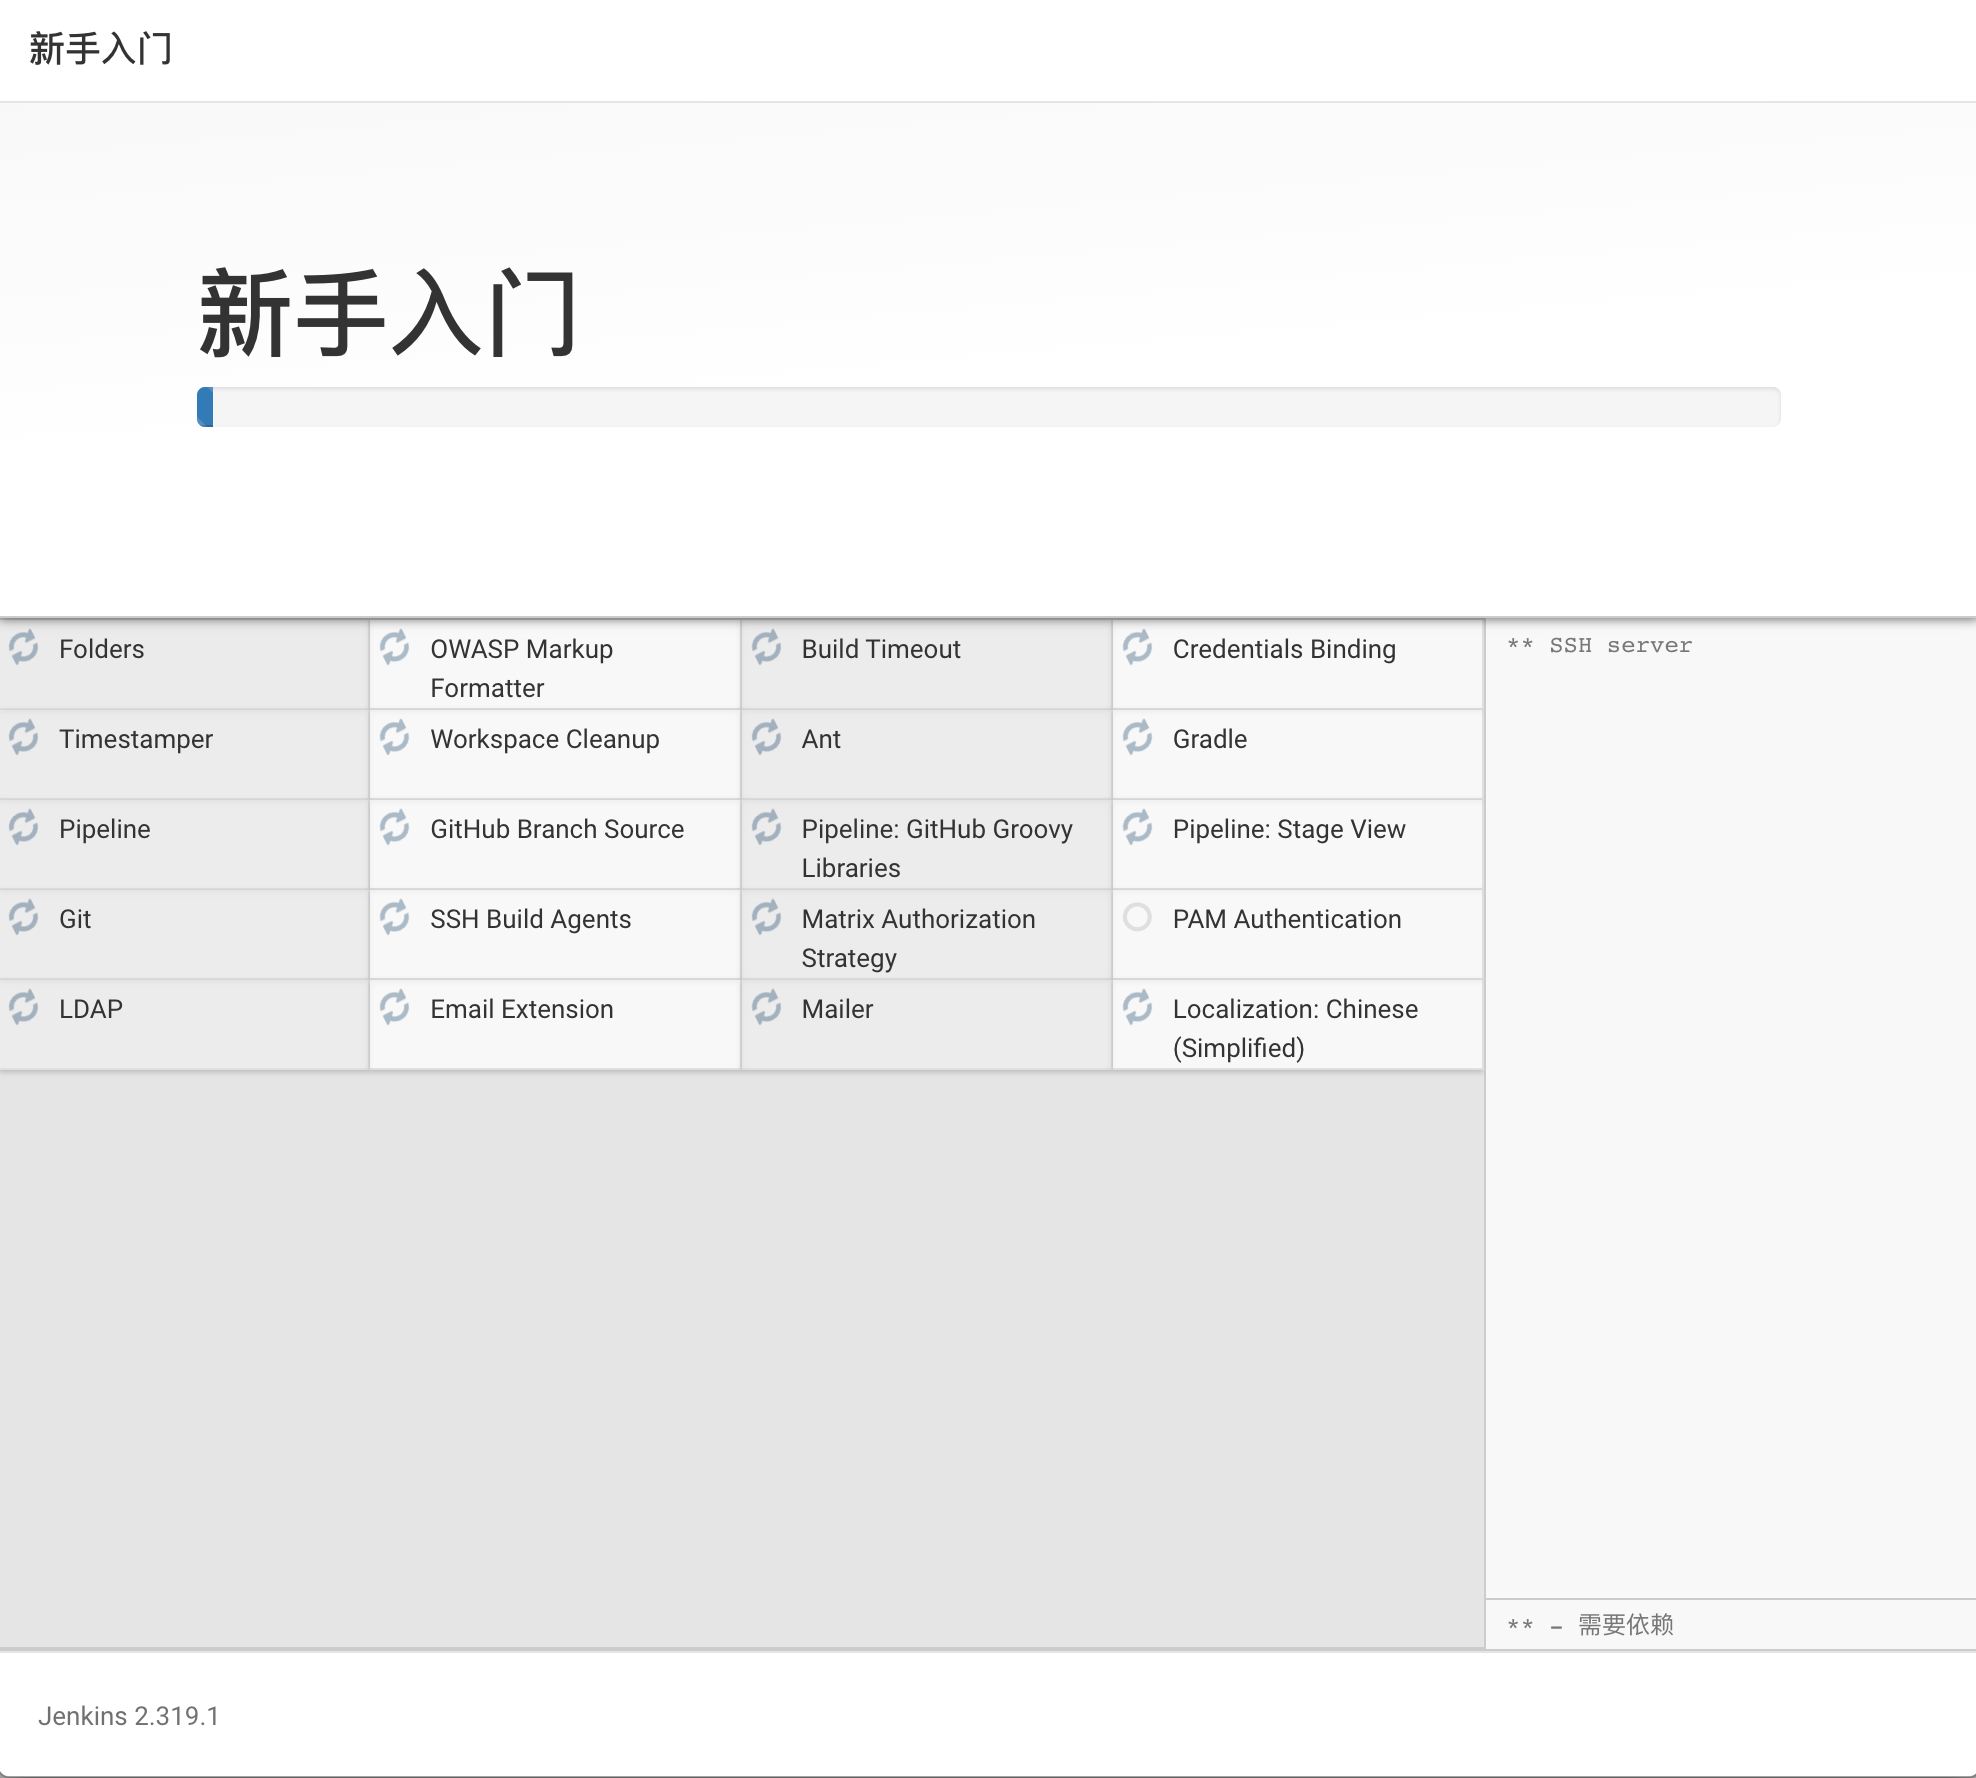
安装推荐插件
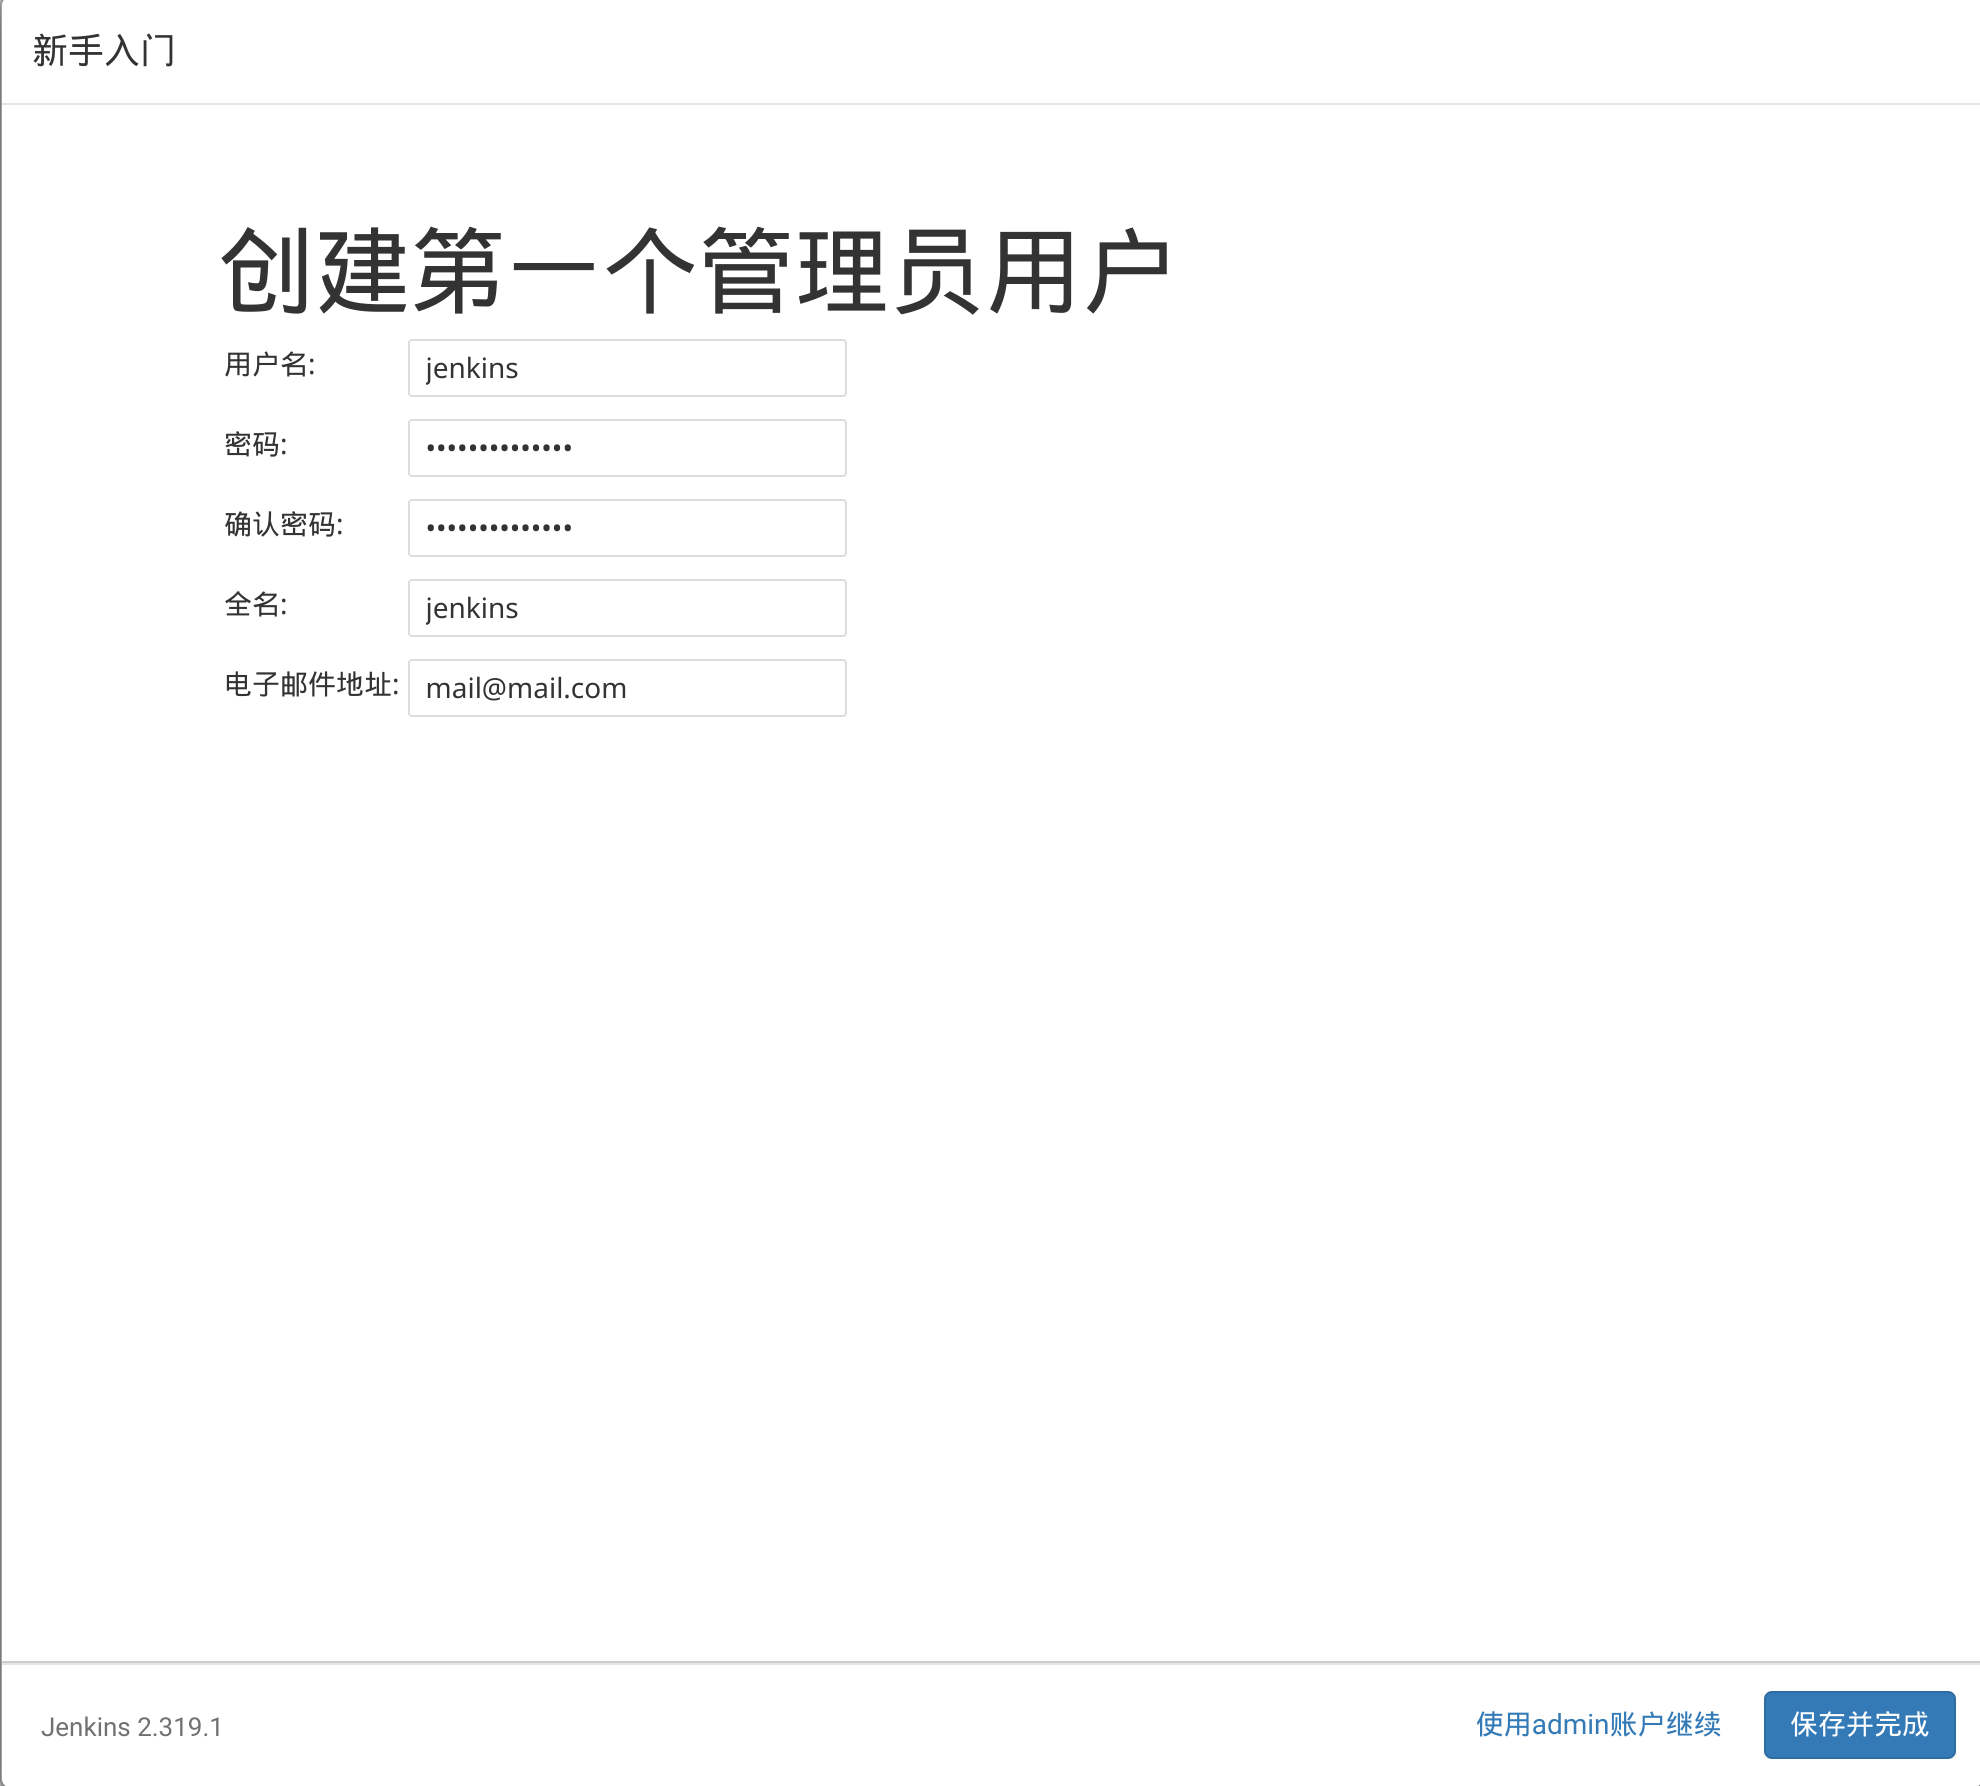
创建用户
完成安装
准备项目
准备两个项目用于配置自动构建:一个 SpringBoot 项目,直接使用内置 tomcat 容器启动;另一个 Vue 项目,使用 nginx 提供服务。
创建 SpringBoot 项目
使用 IDEA 的 Spring Initializr 创建 Spring Boot 项目:
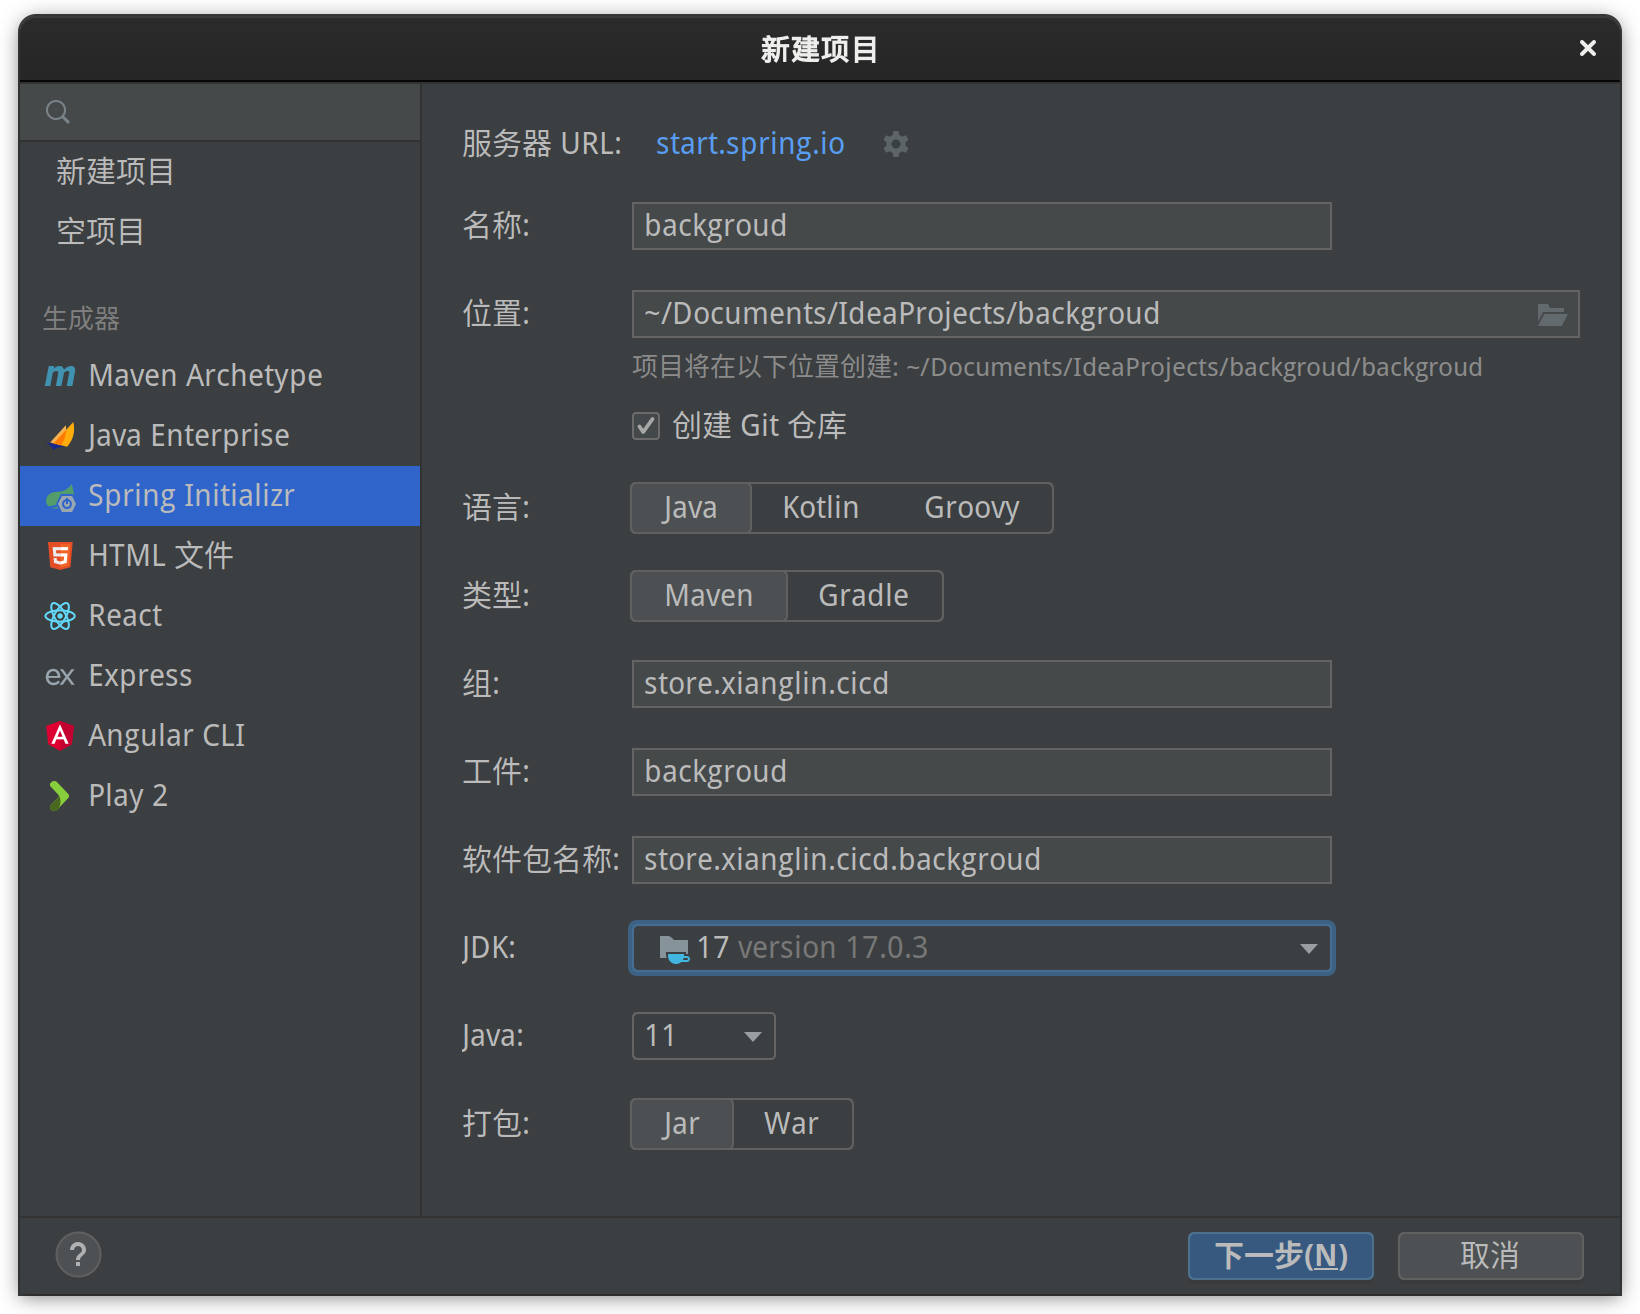
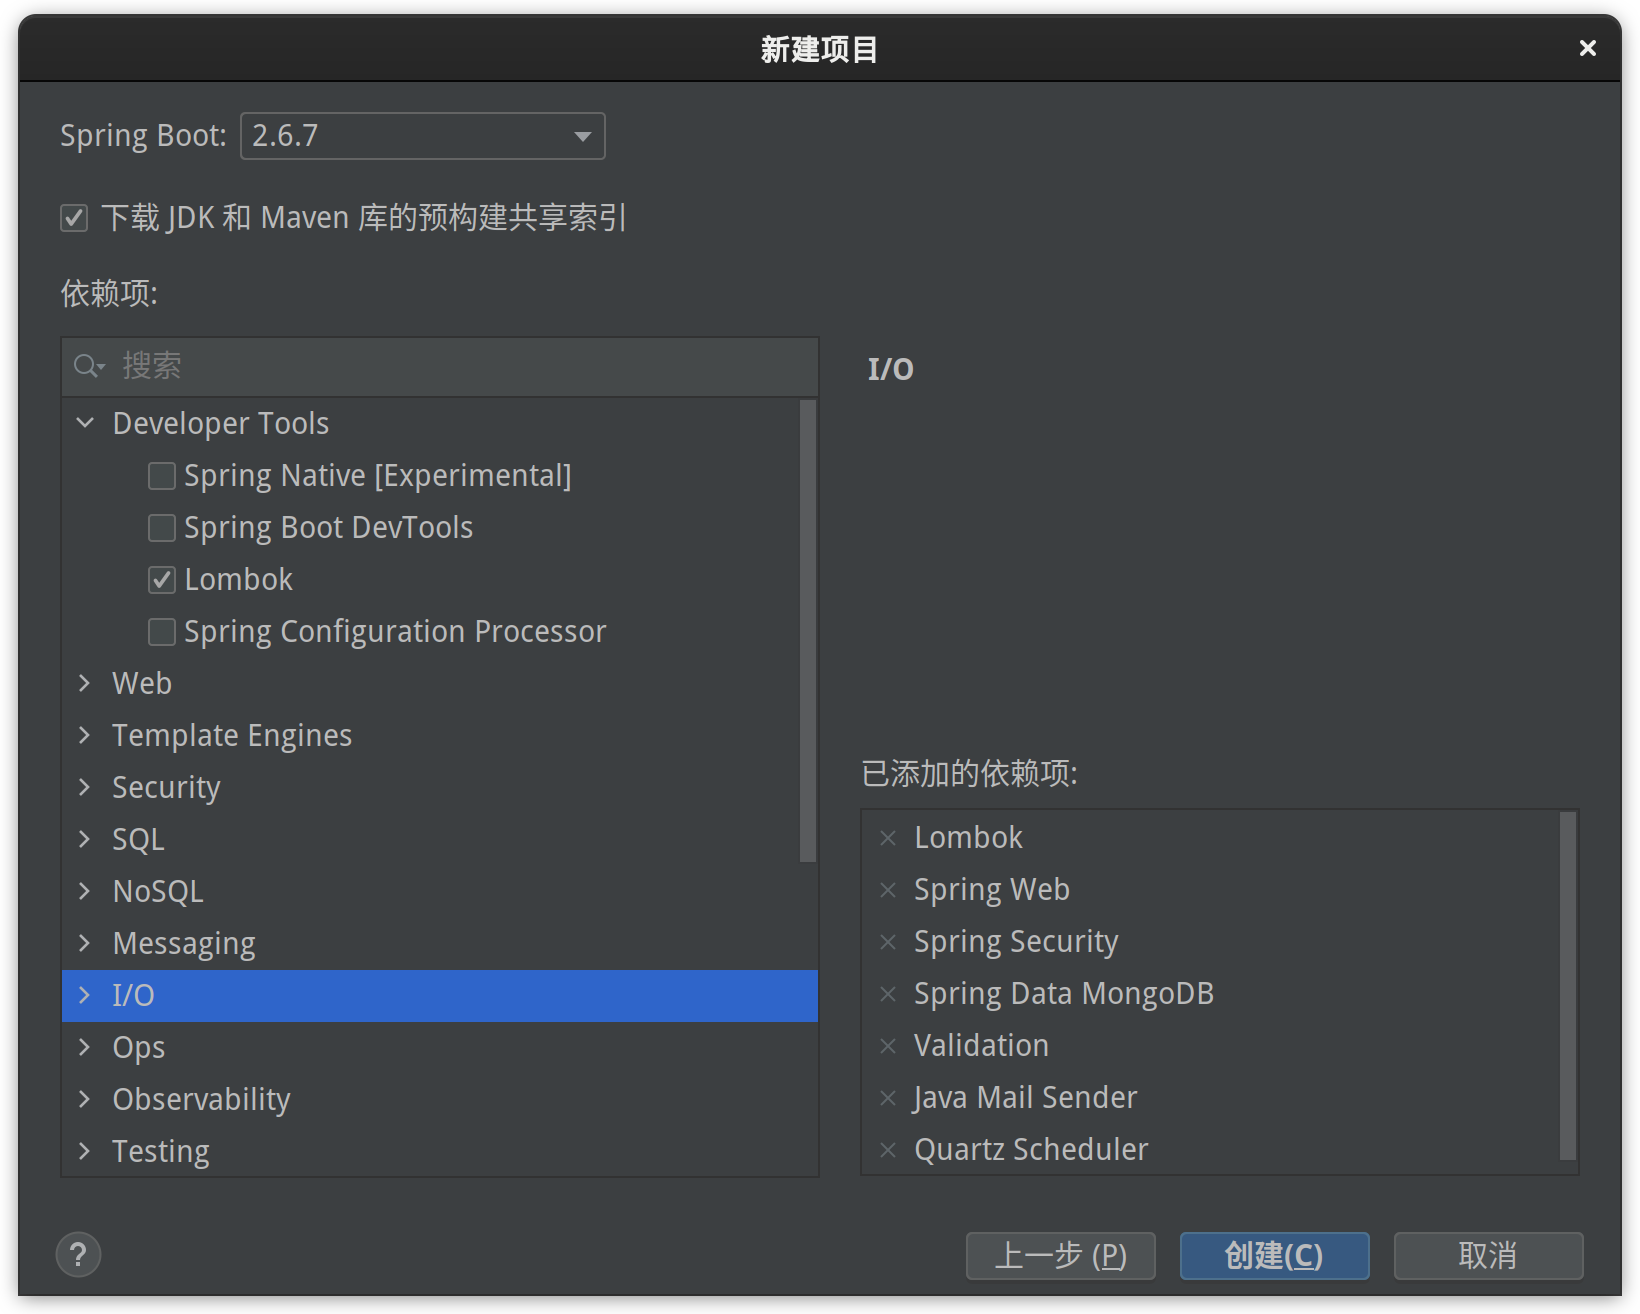
根据项目需要选择所需的依赖项:
添加一个用于测试的请求 hello,打印当前日期:
package store.xianglin.cicd.background.controller;

import org.springframework.web.bind.annotation.CrossOrigin;
import org.springframework.web.bind.annotation.GetMapping;
import org.springframework.web.bind.annotation.RequestParam;
import org.springframework.web.bind.annotation.RestController;

import java.time.LocalDateTime;
import java.time.format.DateTimeFormatter;

/**
 * @author xianglin
 */
@RestController
@CrossOrigin(originPatterns = "*")
public class HelloController {

    @GetMapping("/hello")
    public String hello(@RequestParam(value = "name") String name) {
        String now = LocalDateTime.now().format(DateTimeFormatter.ofPattern("yyyy-MM-dd HH:mm:ss"));
        return "hello " + name + ", now is " + now;
    }
}
在浏览器中测试结果如下:

创建 Vue 项目
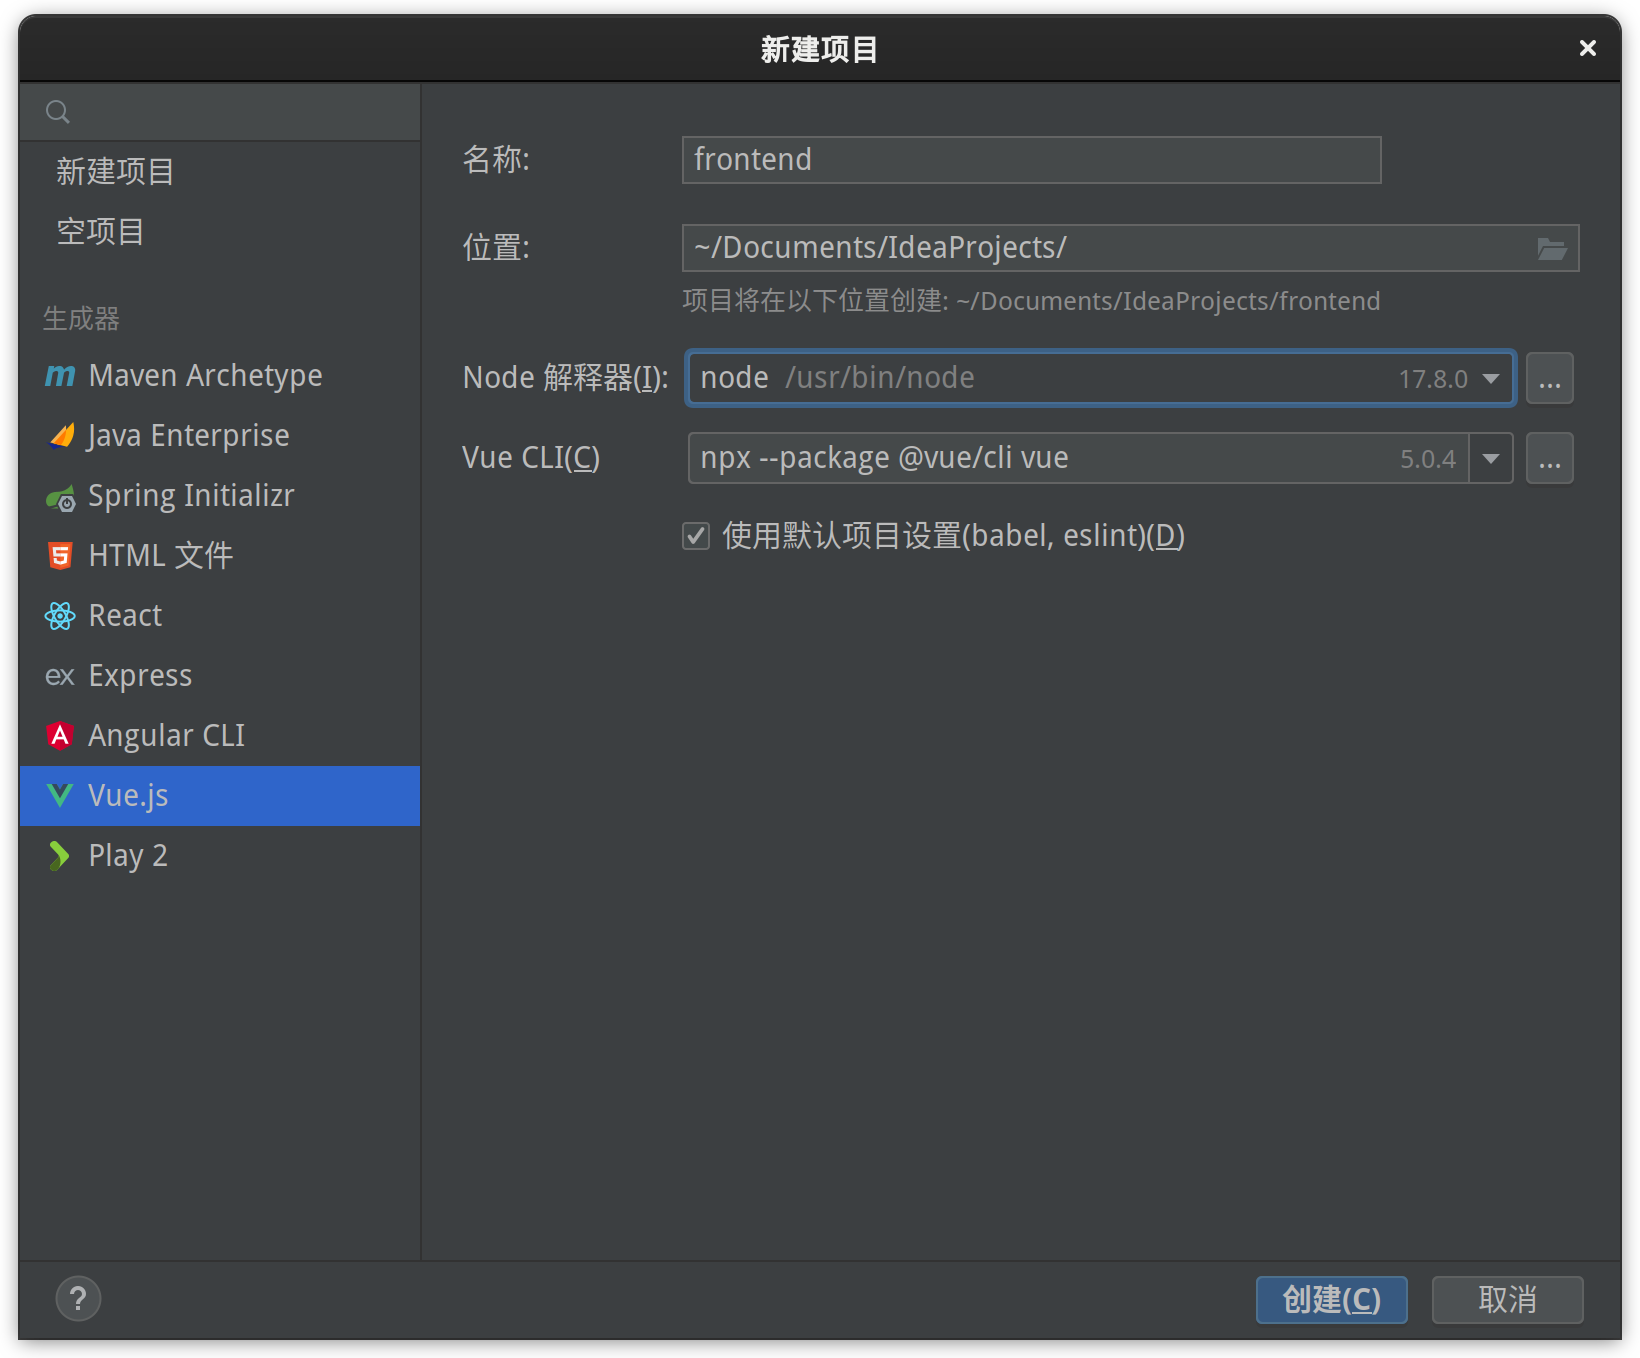
使用 IDEA 创建 Vue 项目可能需要先安装 Vue.js 插件:
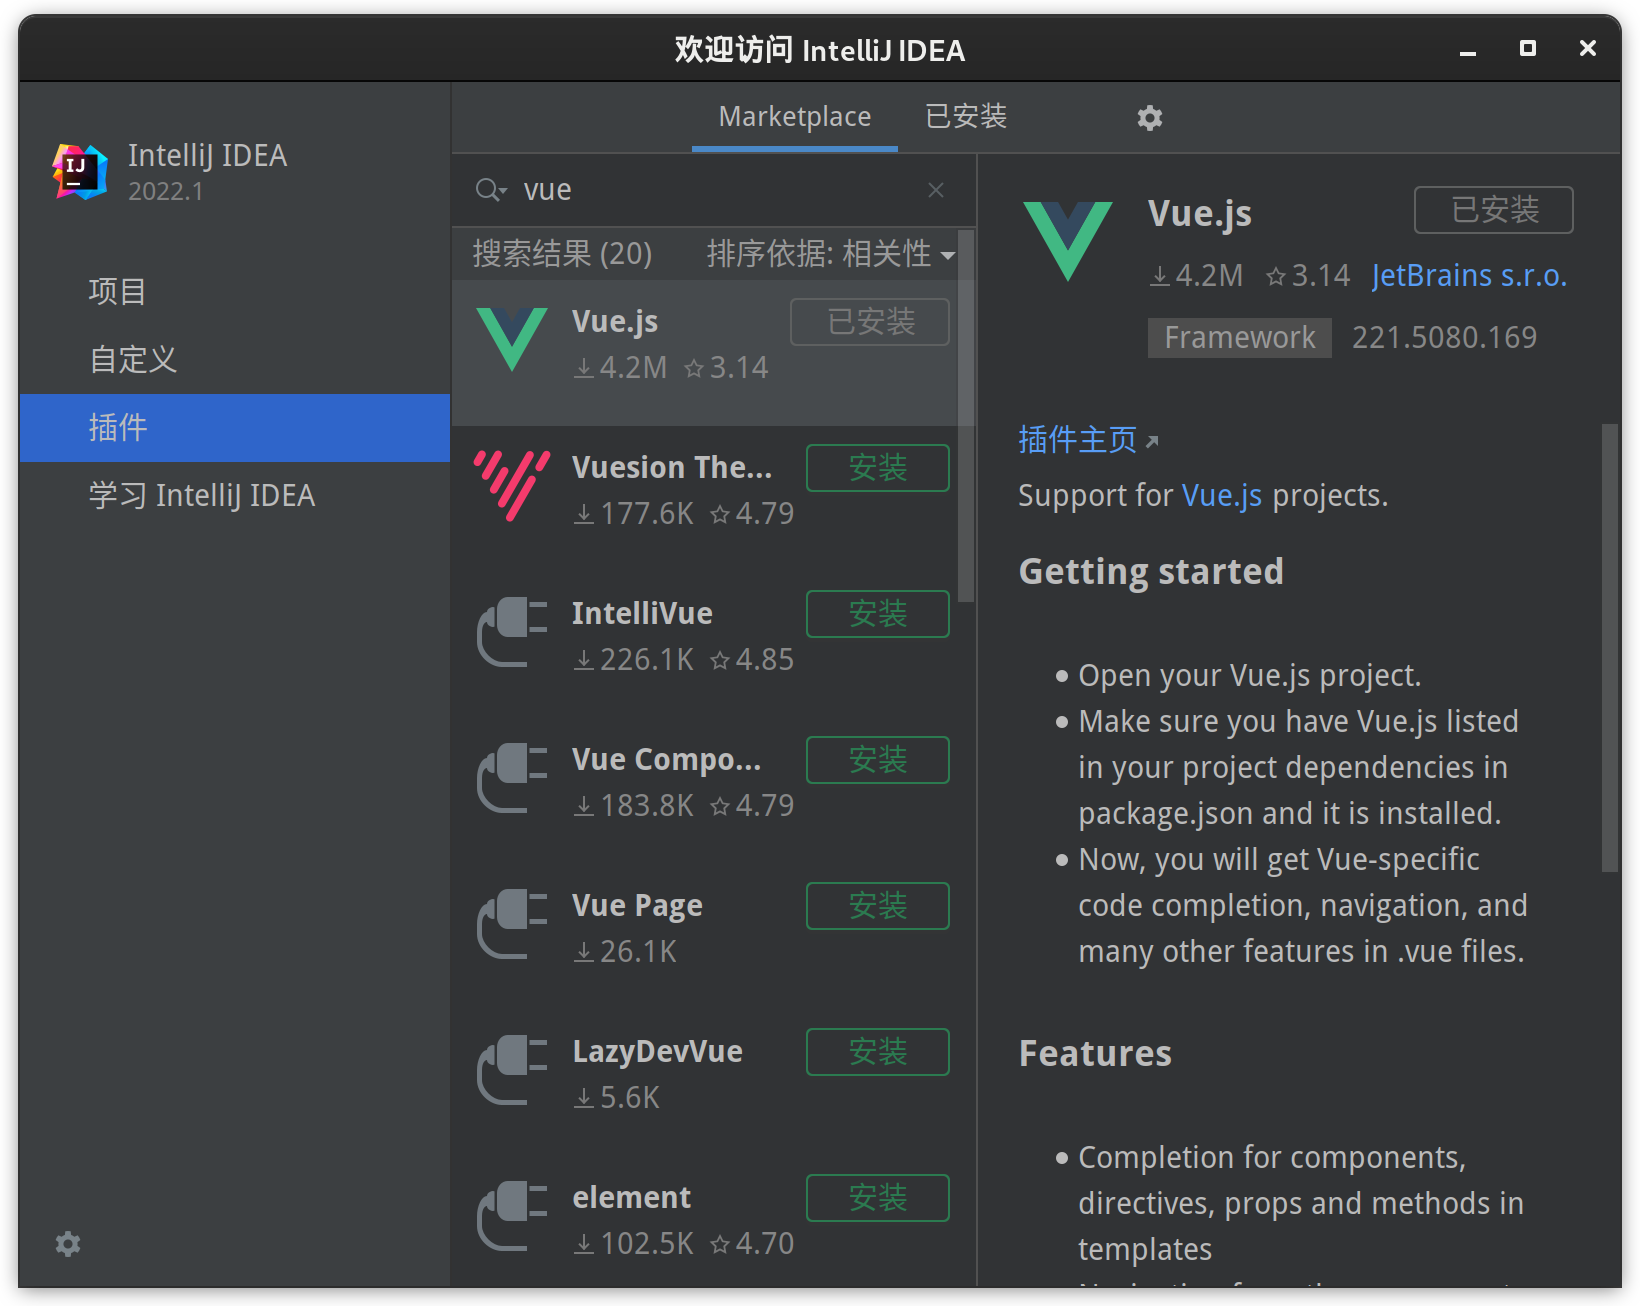
使用 IDEA 创建 Vue 项目:
在 Vue 中使用 axios 向 SpringBoot 发送请求并展示。首先添加 axios 的依赖:
npm install axios
然后修改 src/components/HelloWorld.vue:
<template>
  <div class="hello">
    <h1>{{ msg }}</h1>
  </div>
</template>

<script>

export default {
  name: 'HelloWorld',
  data() {
    return {
      msg: 'Vue'
    }
  },
  mounted() {
    setInterval(() => {
      const axios = require('axios');
      const a = this
      axios.get('http://localhost:9509/hello?name=Vue')
          .then(function (response) {
            a.msg = response.data
          }).catch(function (error) {
        console.log(error);
      })
    }, 1000)
  }
}
</script>
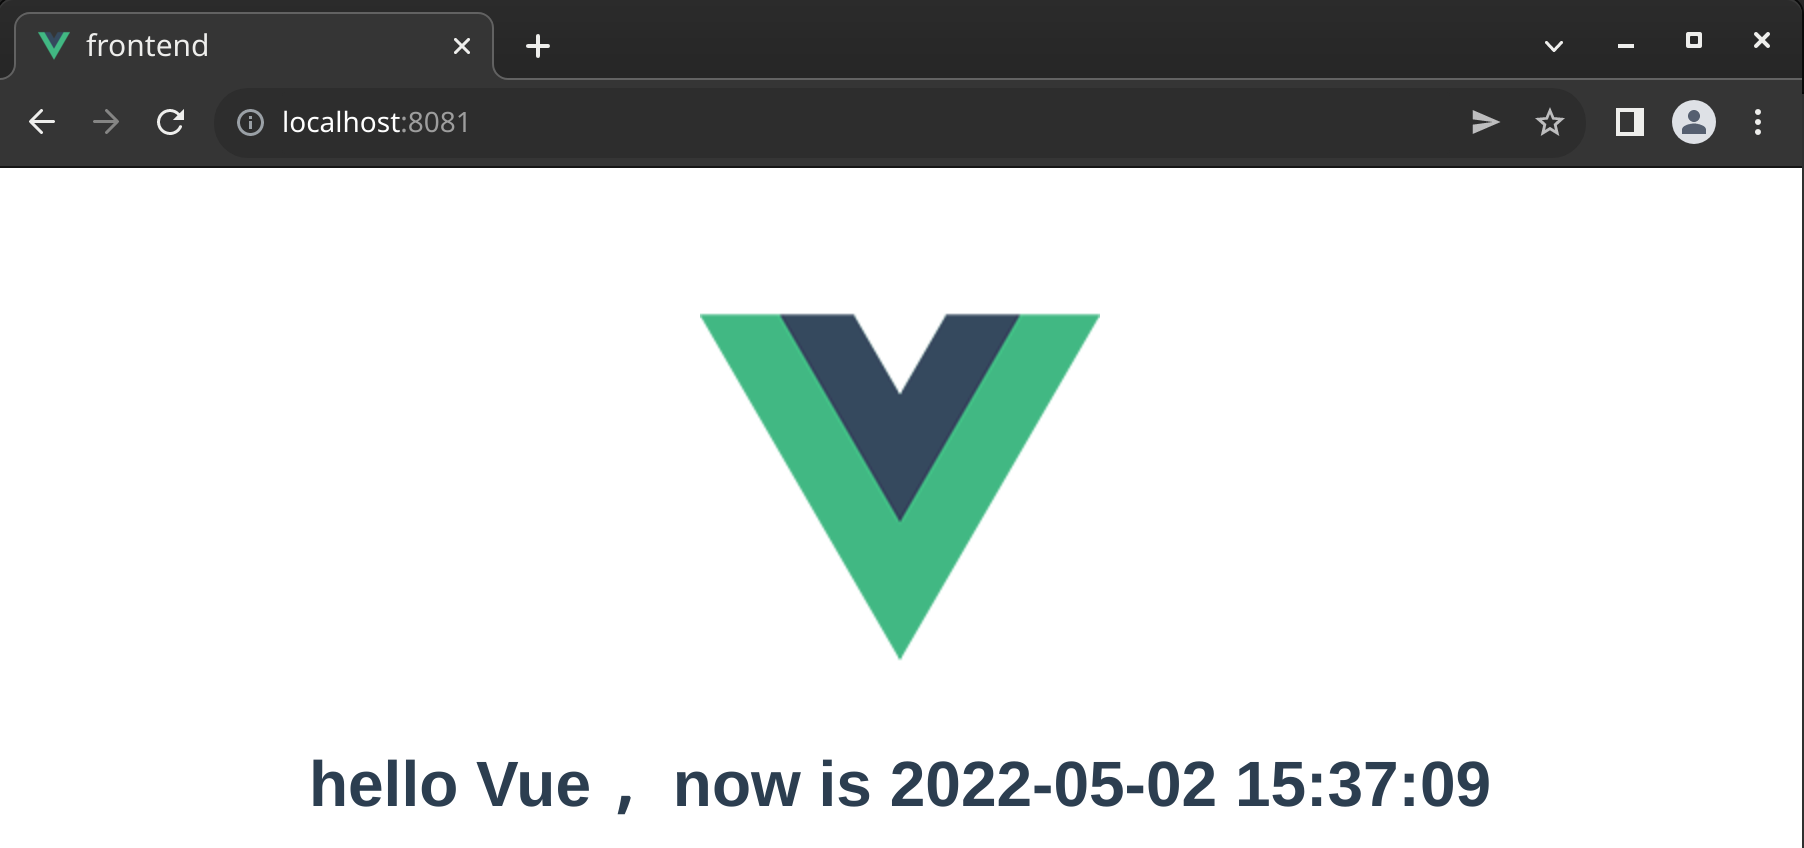
从 IDEA 中启动项目,在浏览器中测试结果:
将项目提交到 GitLab 上
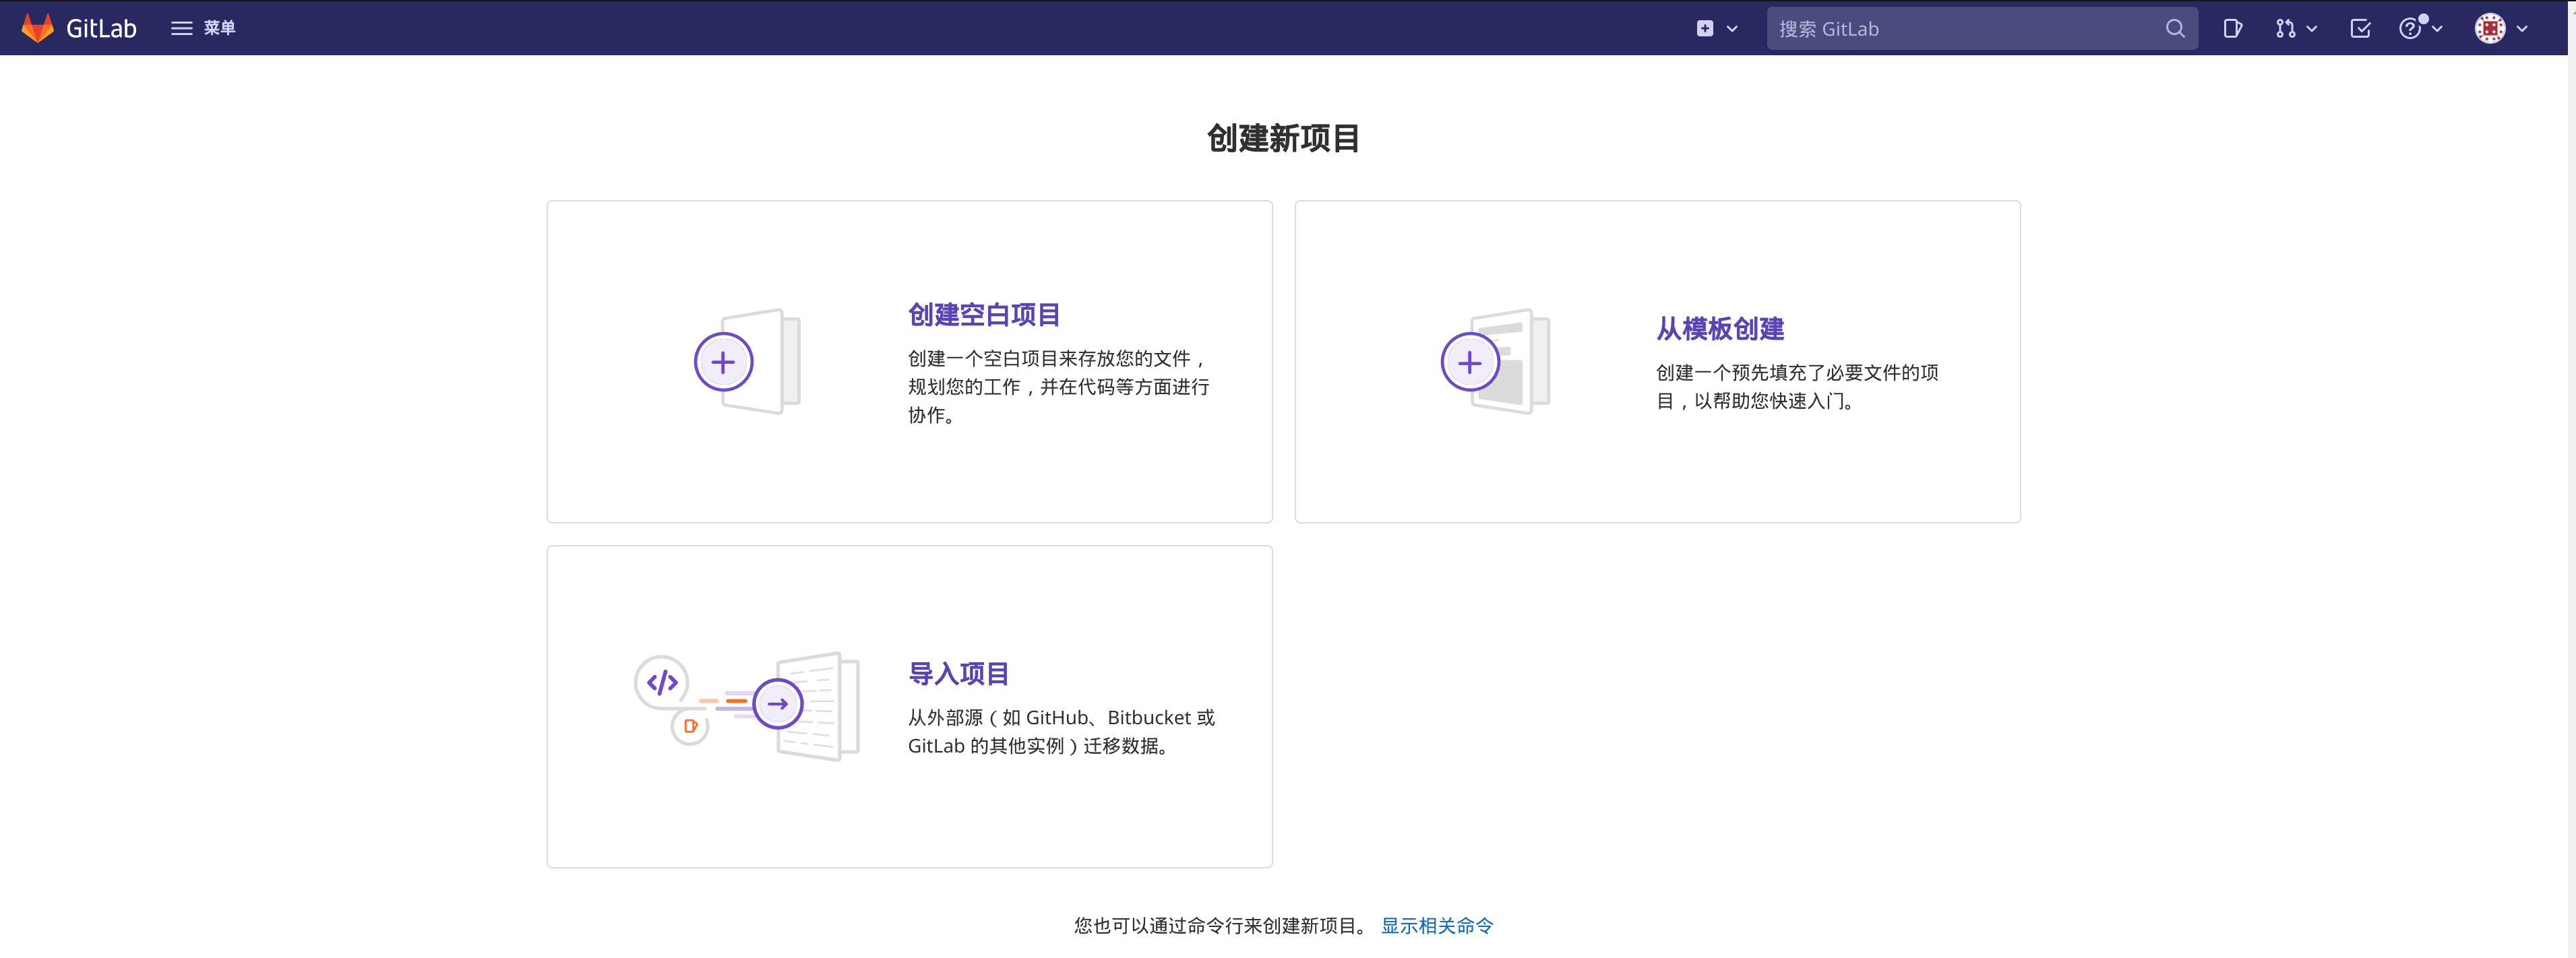
首先需要在 GitLab 上创建项目对应的仓库,选择 “create a project” —— “创建空白项目”:

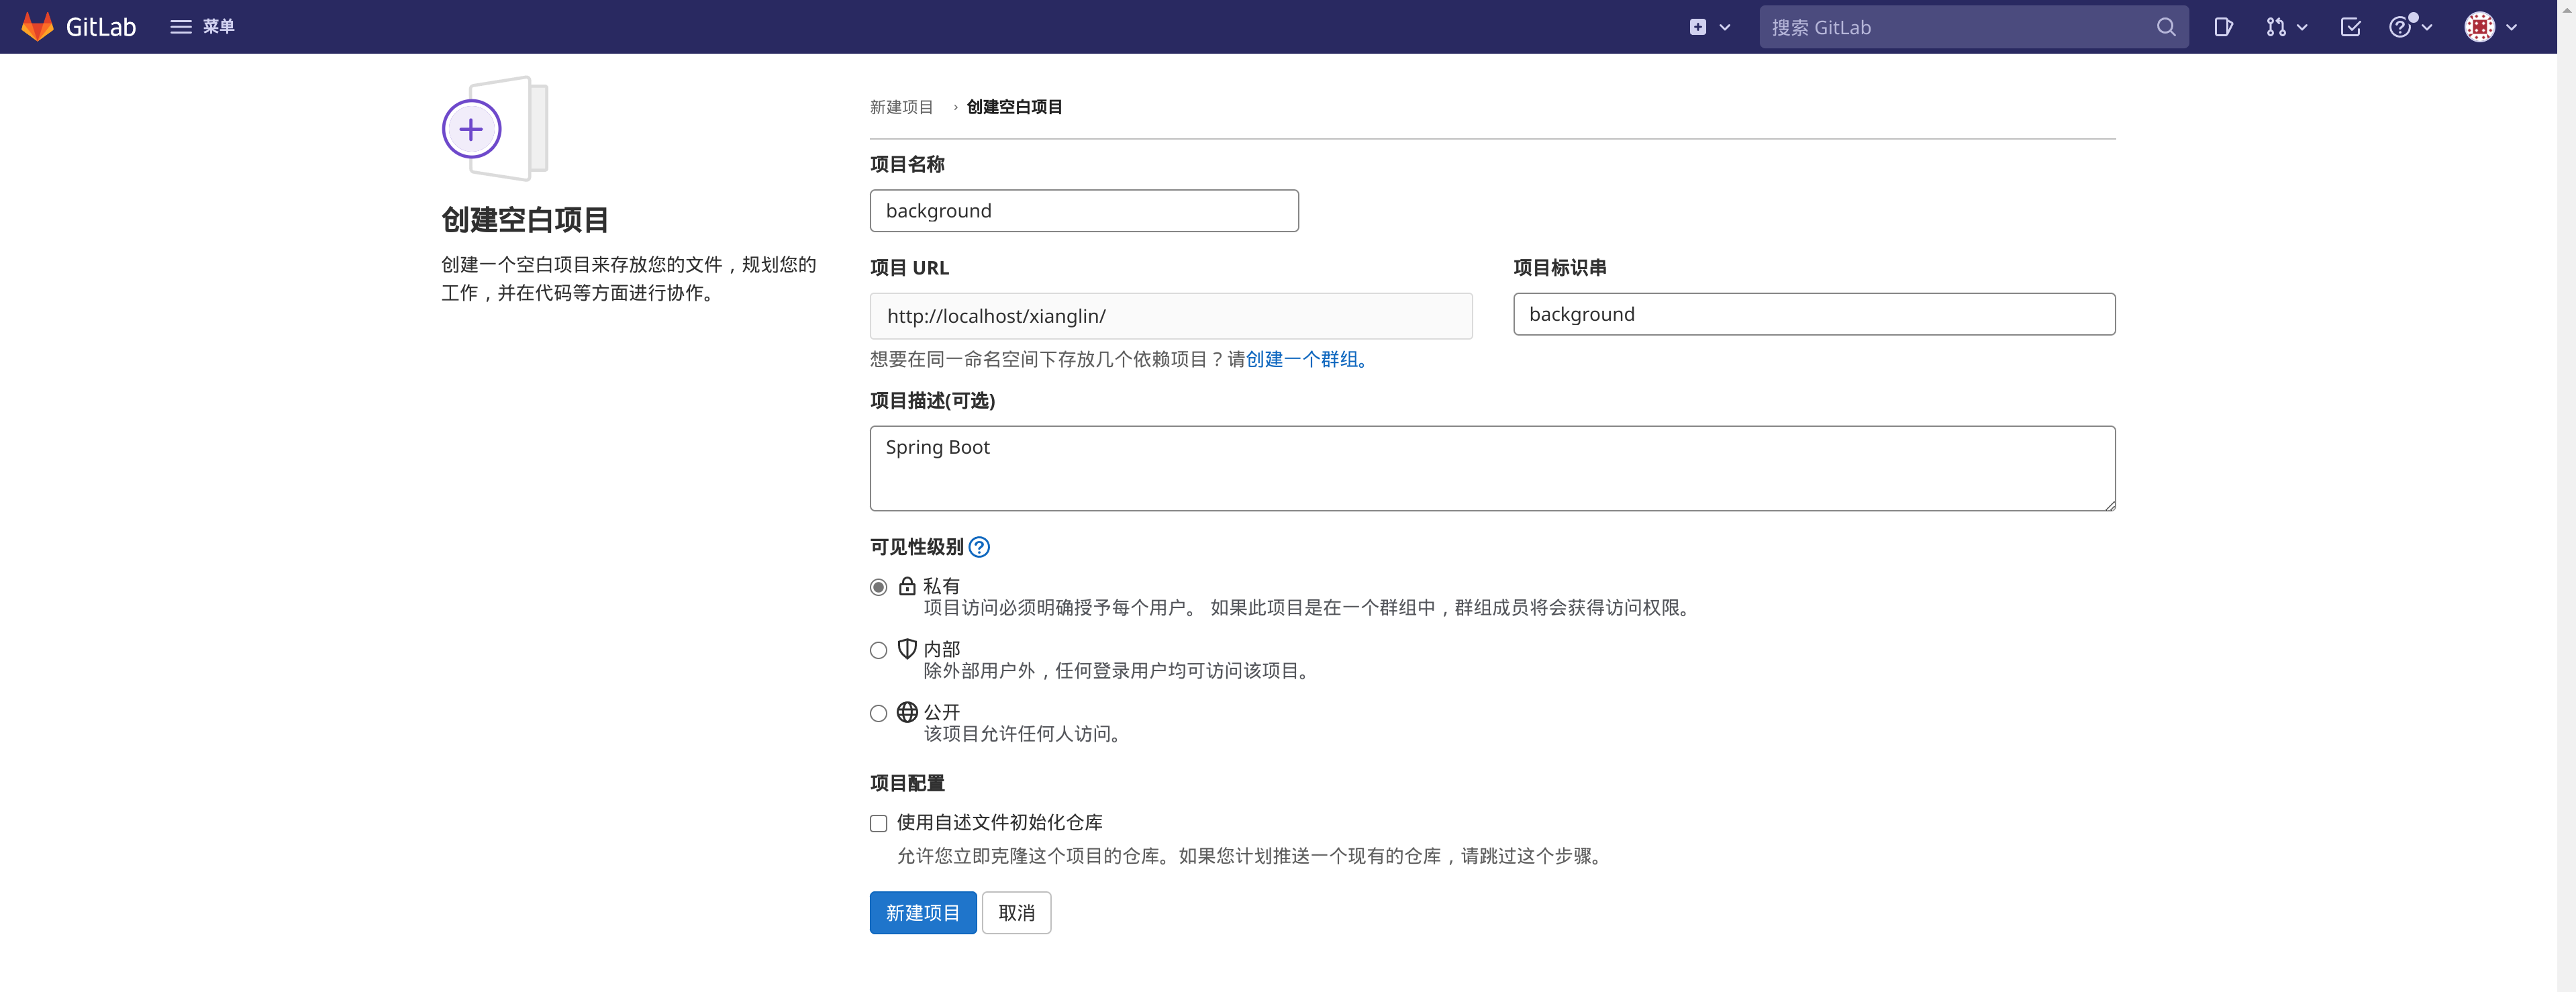
填写项目基本信息后,点击“新建项目”:
使用如下命令将本地仓库推送到 GitLab 上(以 Spring Boot 项目为例):
# 设置帐号信息
git config --global user.email "you@example.com"
git config --global user.name "Your Name"
# 提交修改
git add .
git commit -m 'init'
# 推送远程仓库
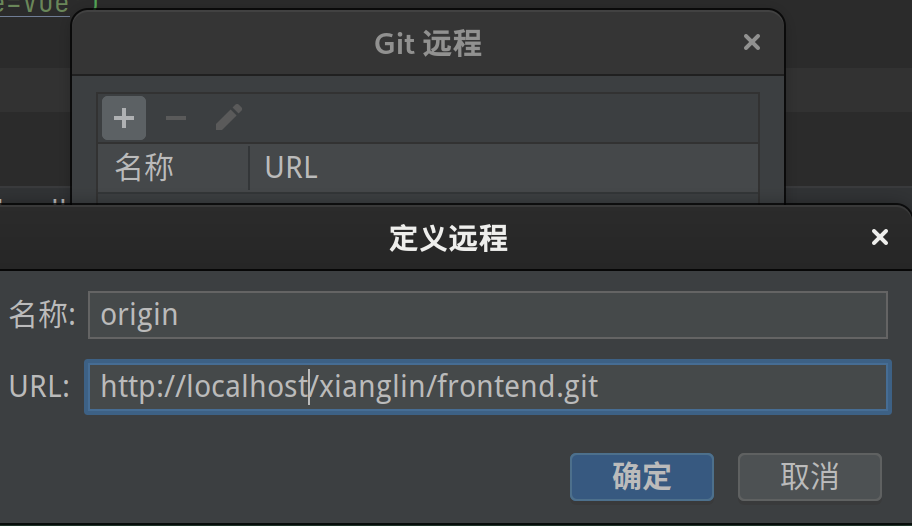
git remote add origin http://localhost/xianglin/background.git
git push -u origin --all
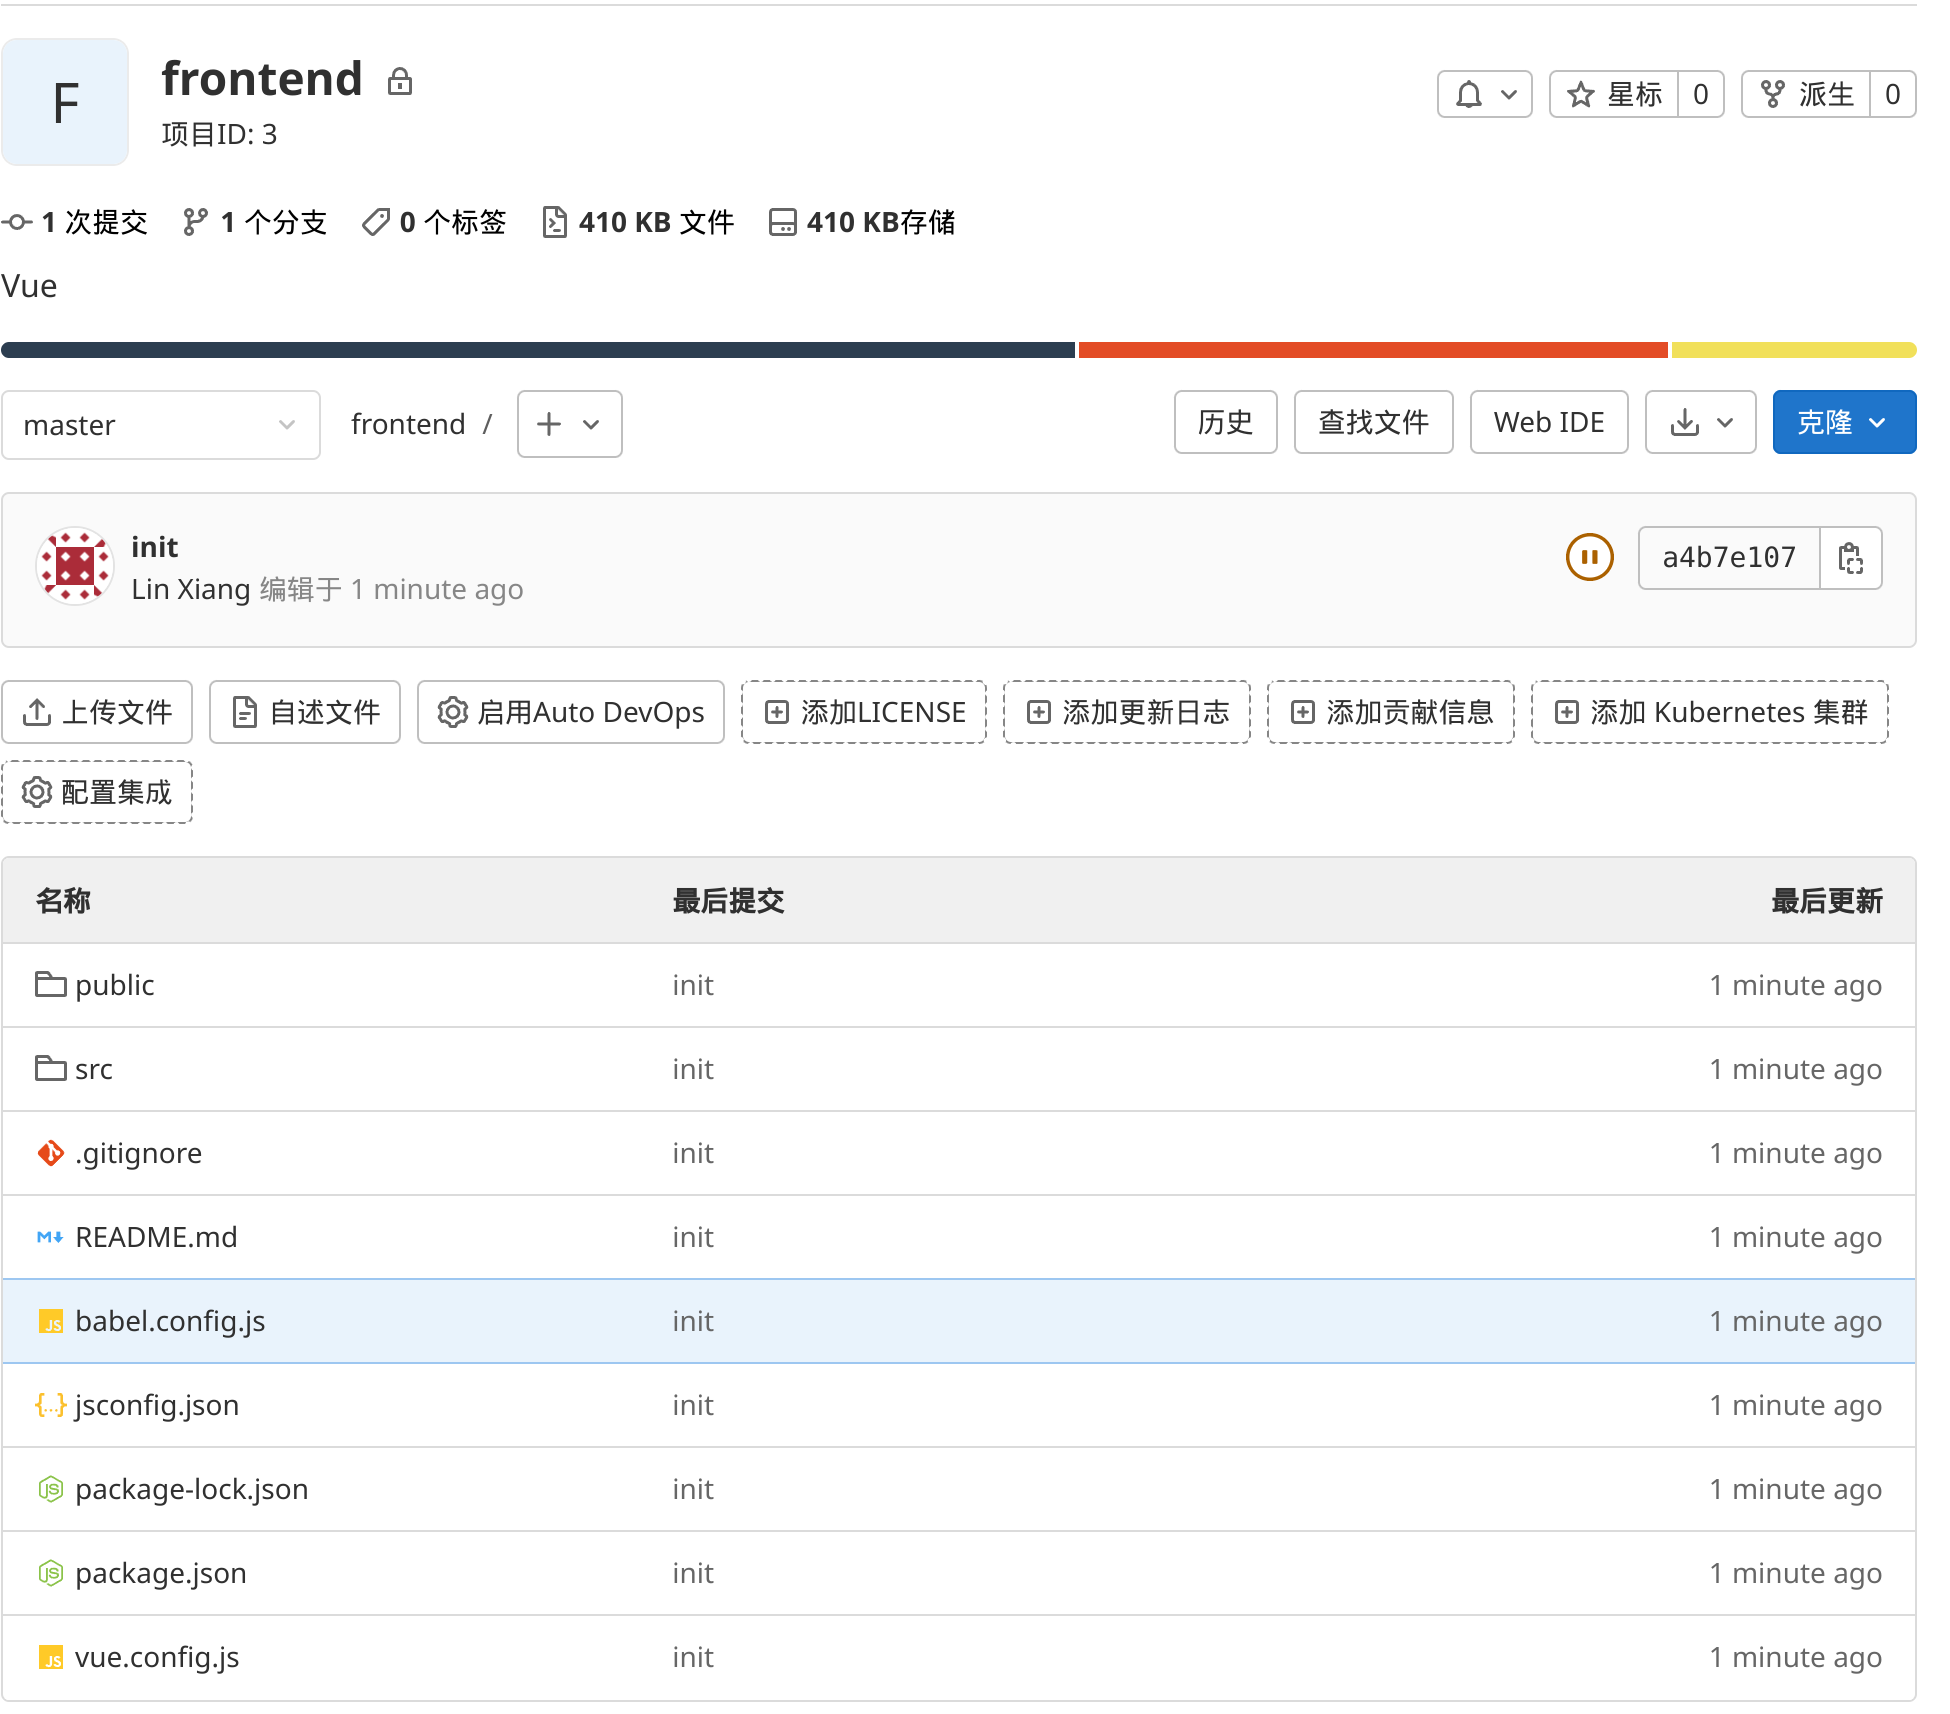
刷新 GitLab 仓库,即可看到提交信息:

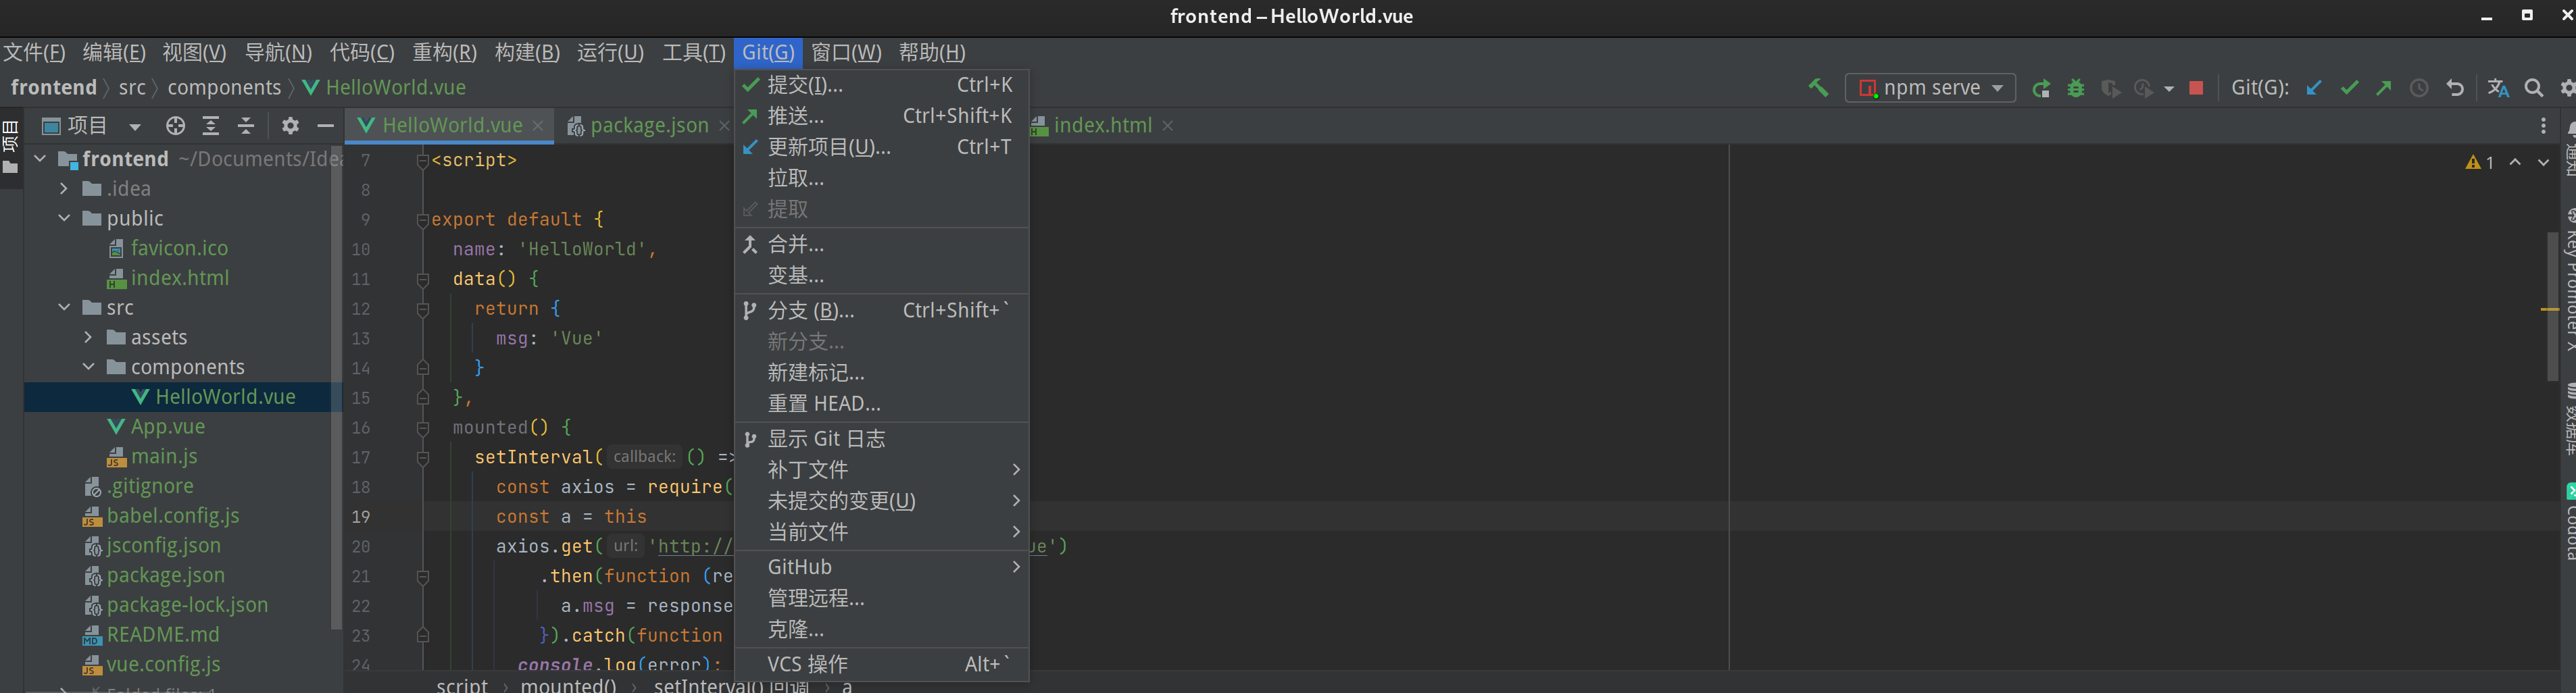
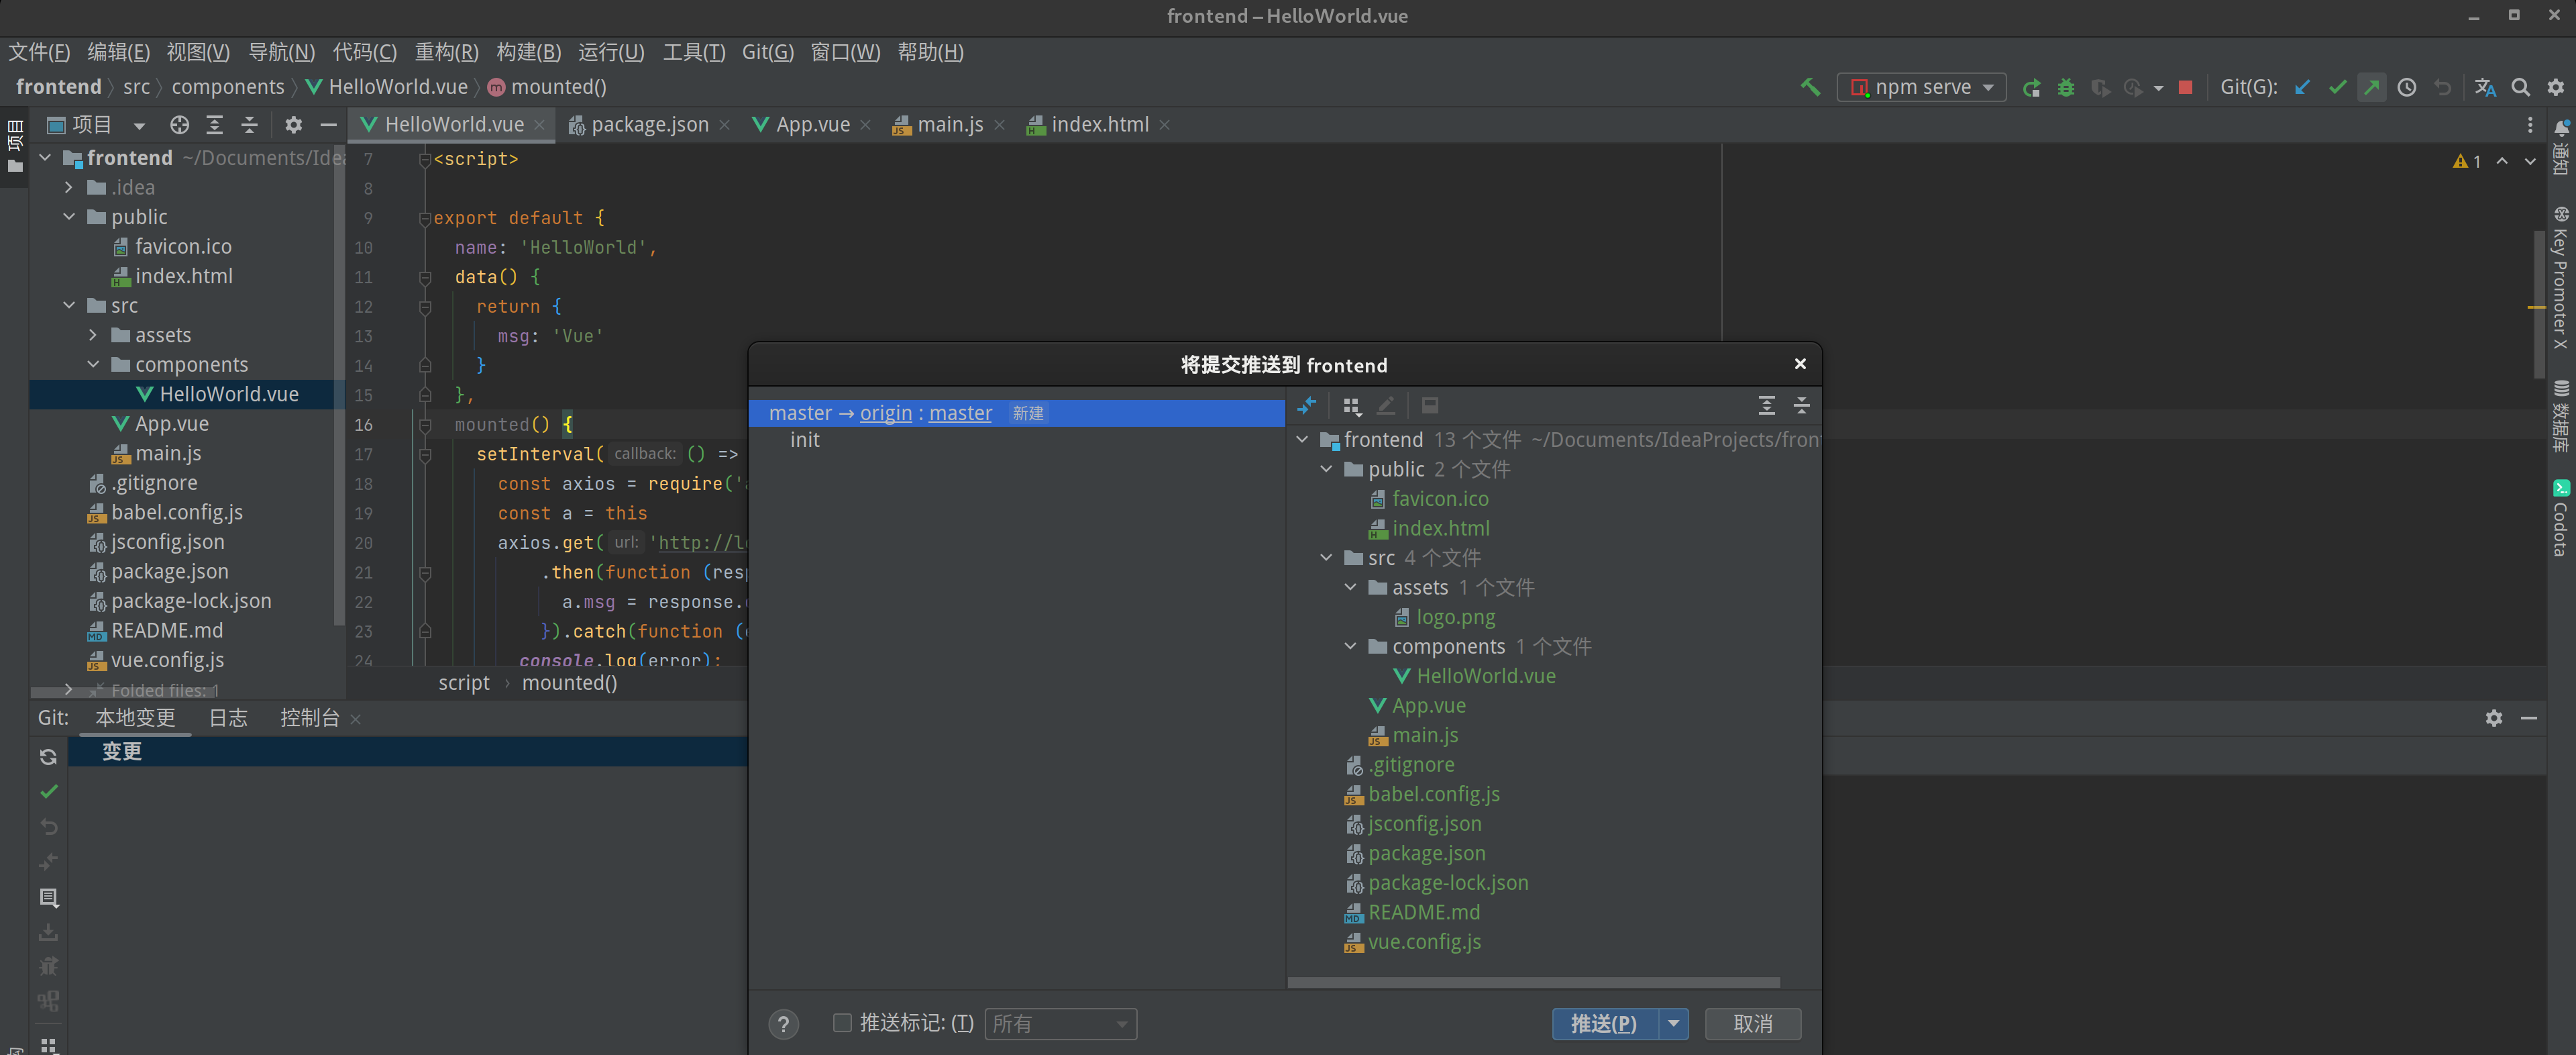
在 IDEA 中也可以通过以下步骤提交并推送(以 Vue 项目为例):

配置 Jenkins 自动构建及部署
全局工具配置
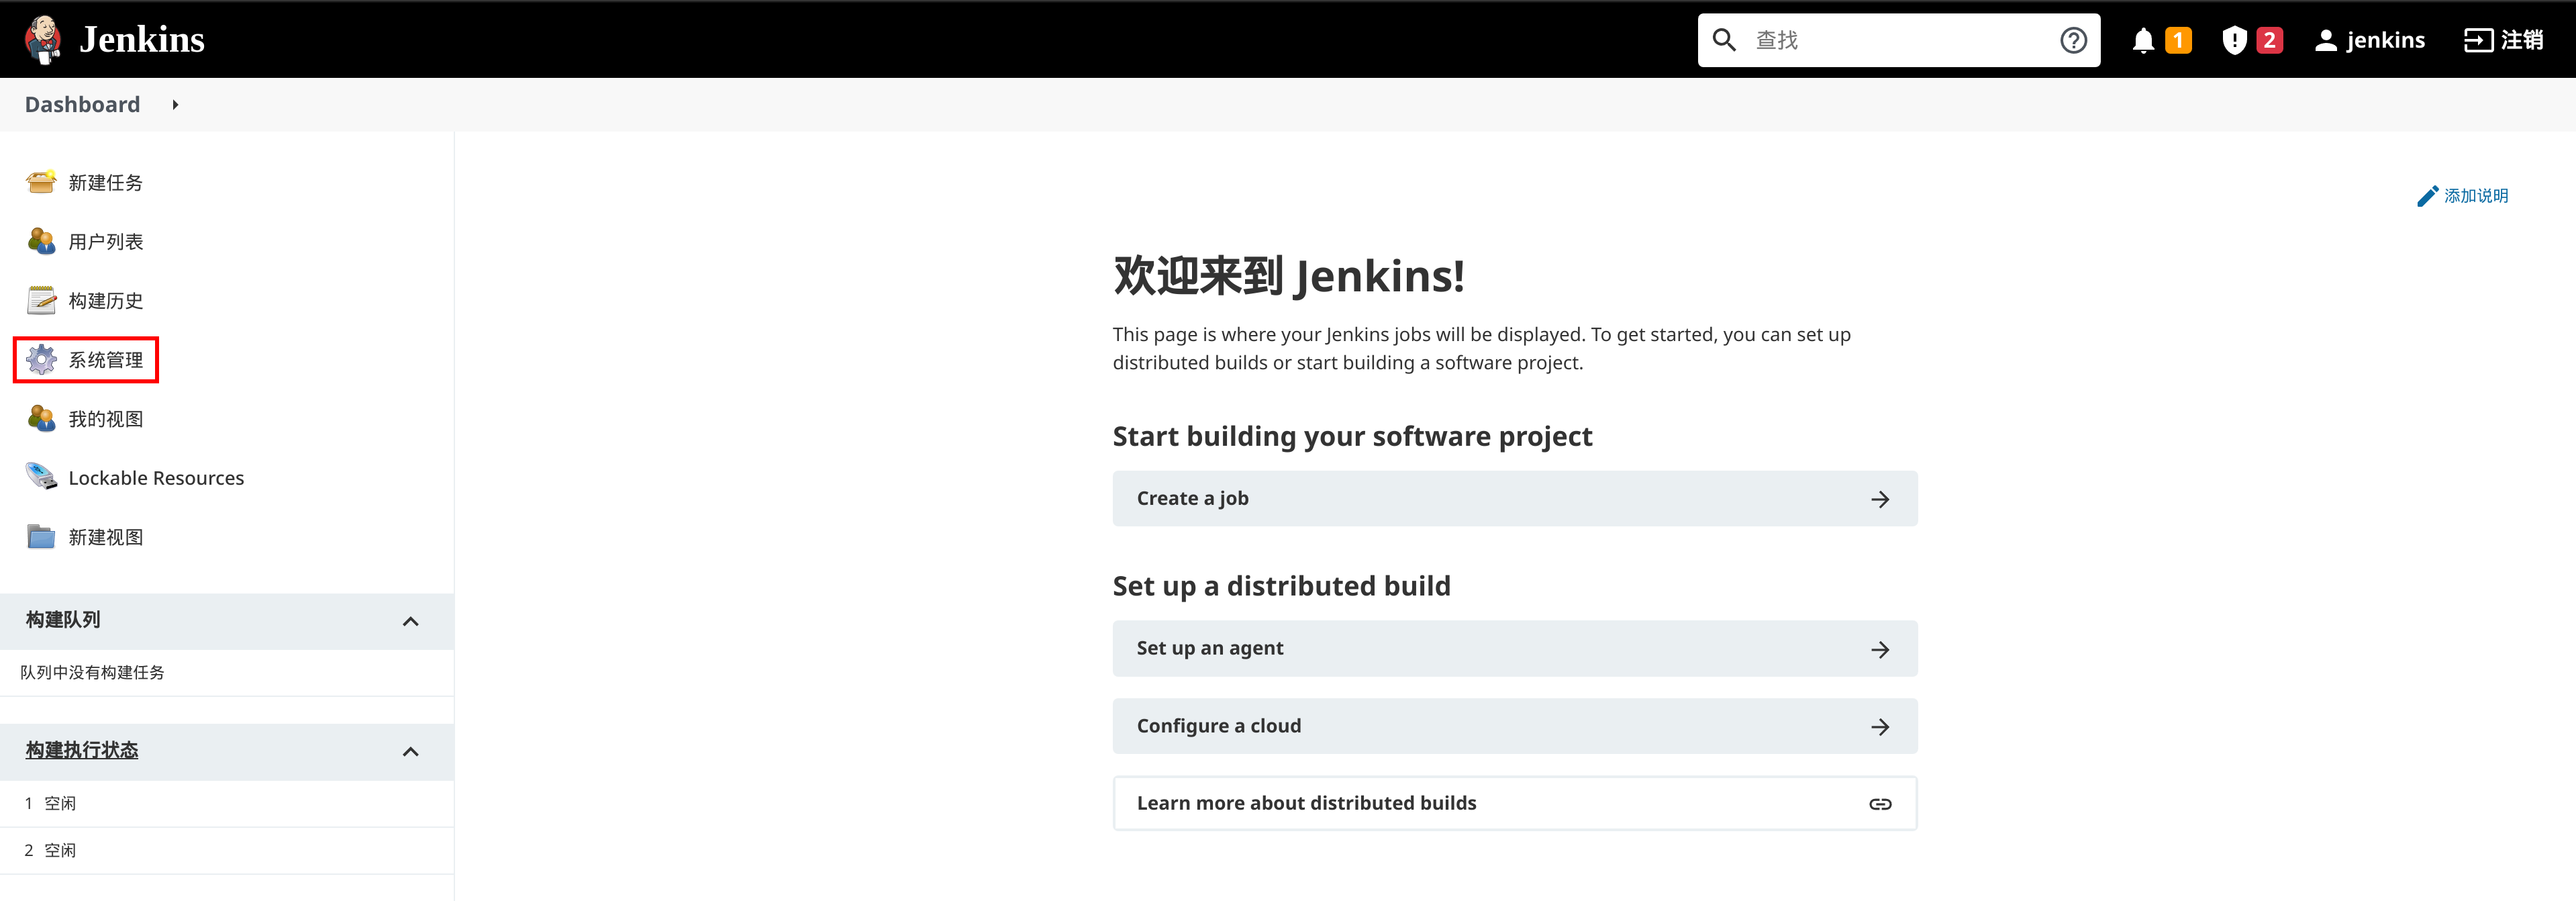
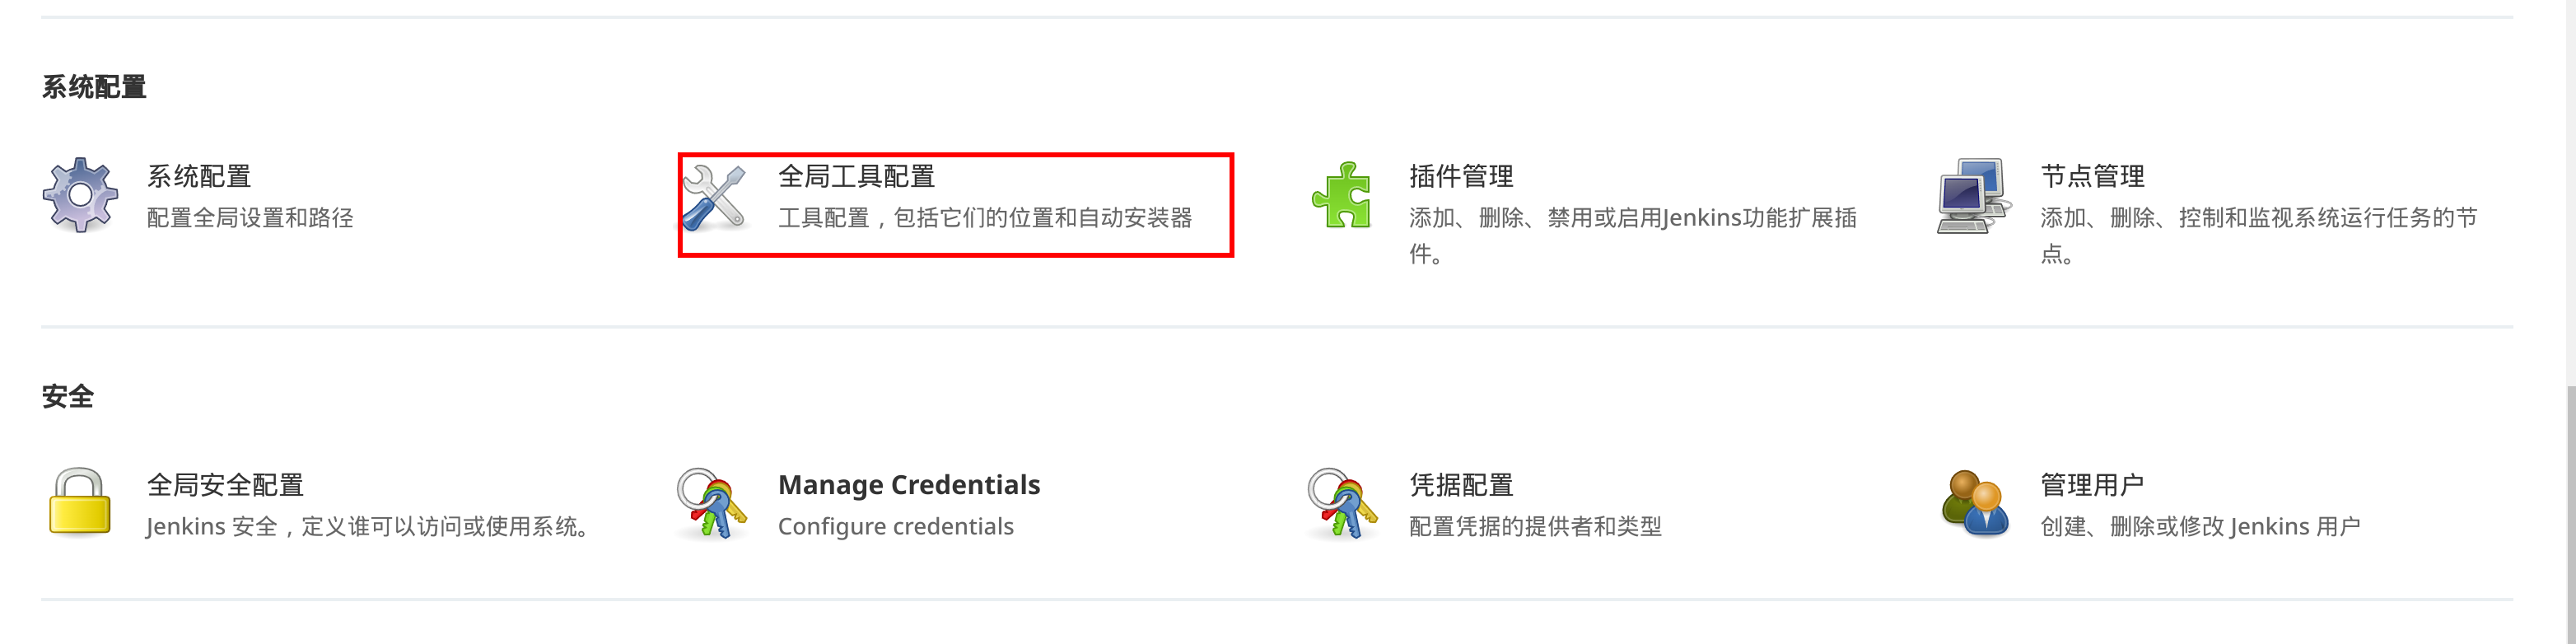
依次点击 “系统管理” —— “插件管理”、 “全局工具配置”:
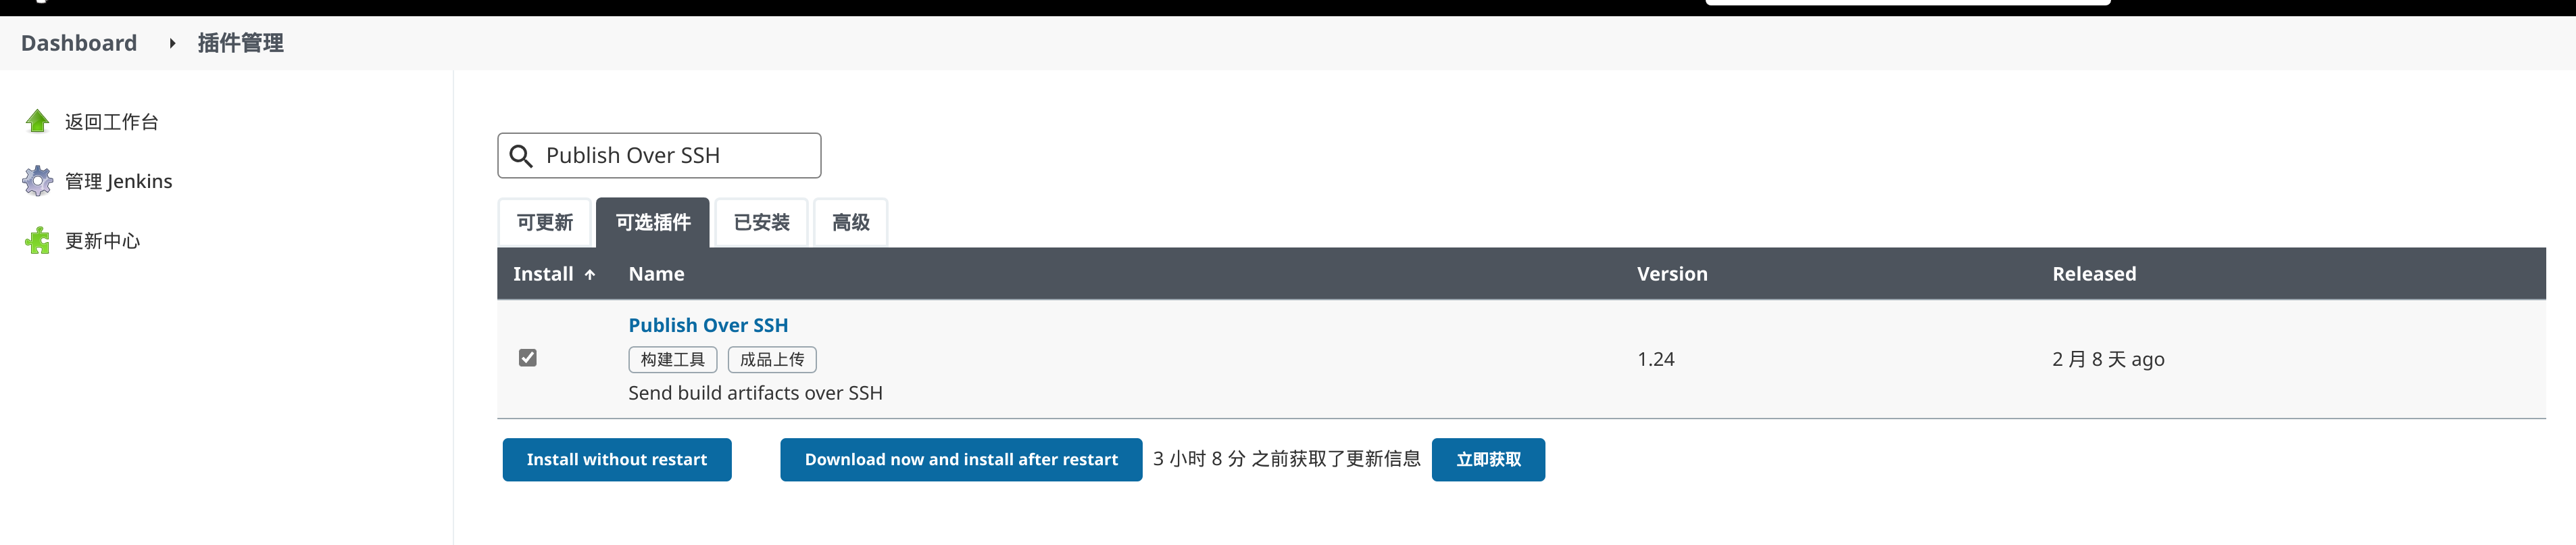
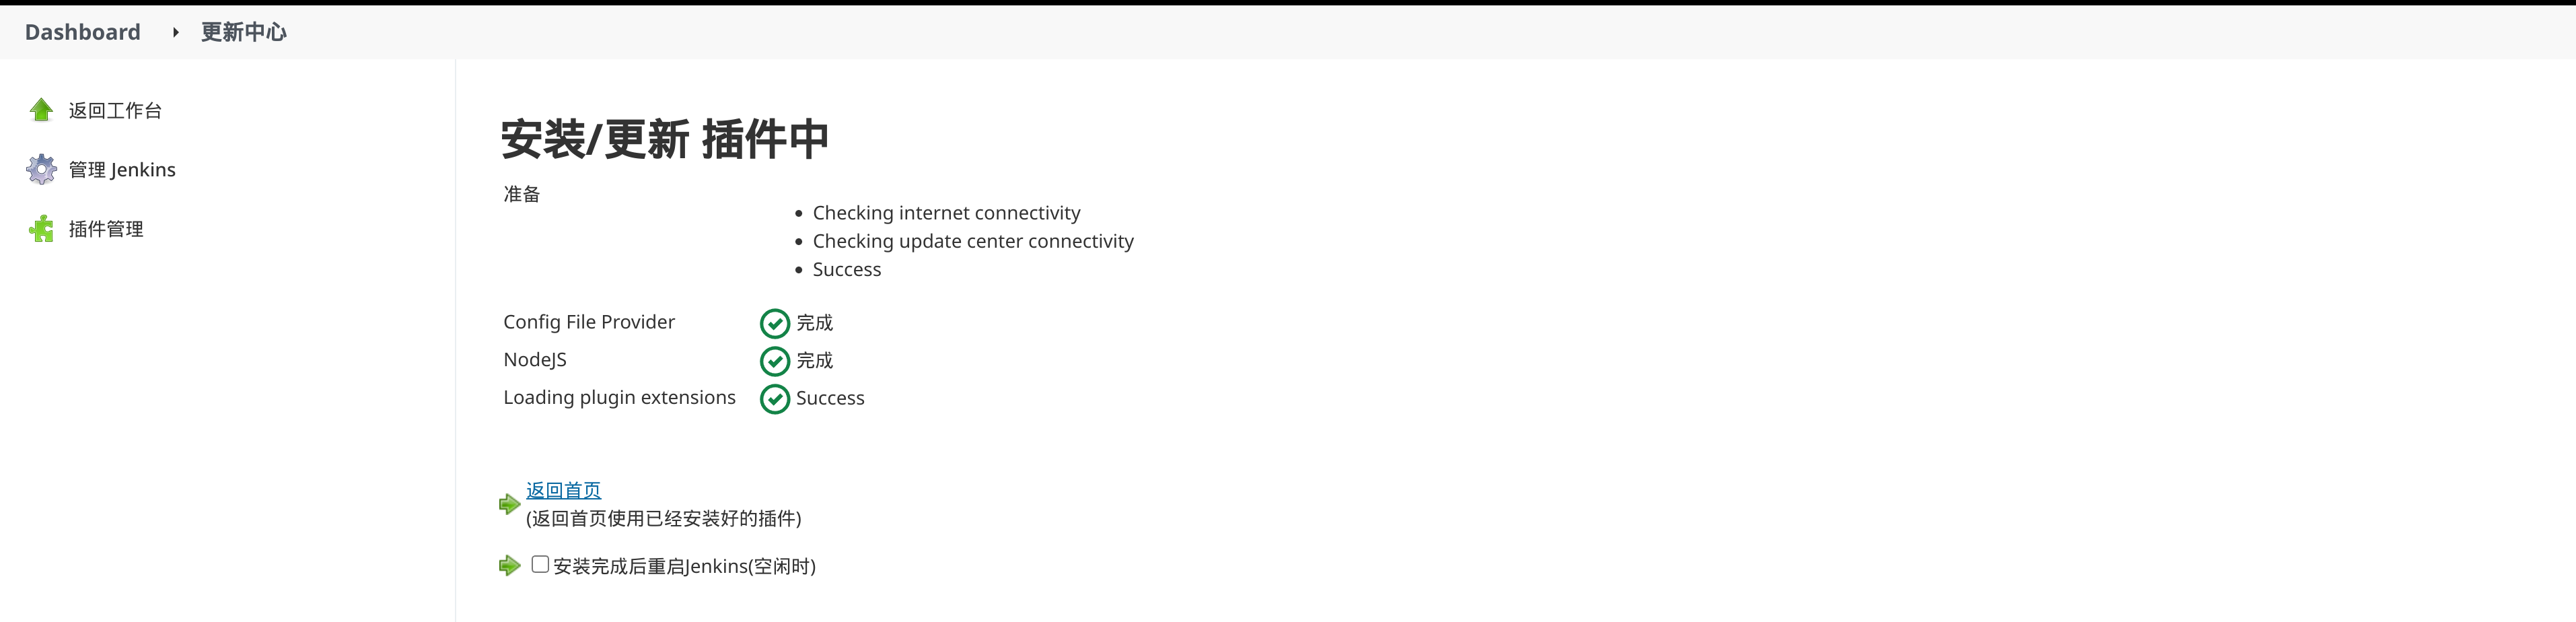
在插件管理中,选择“可选插件”,选择对应插件勾选后点击 “Install without restart” 安装插件:

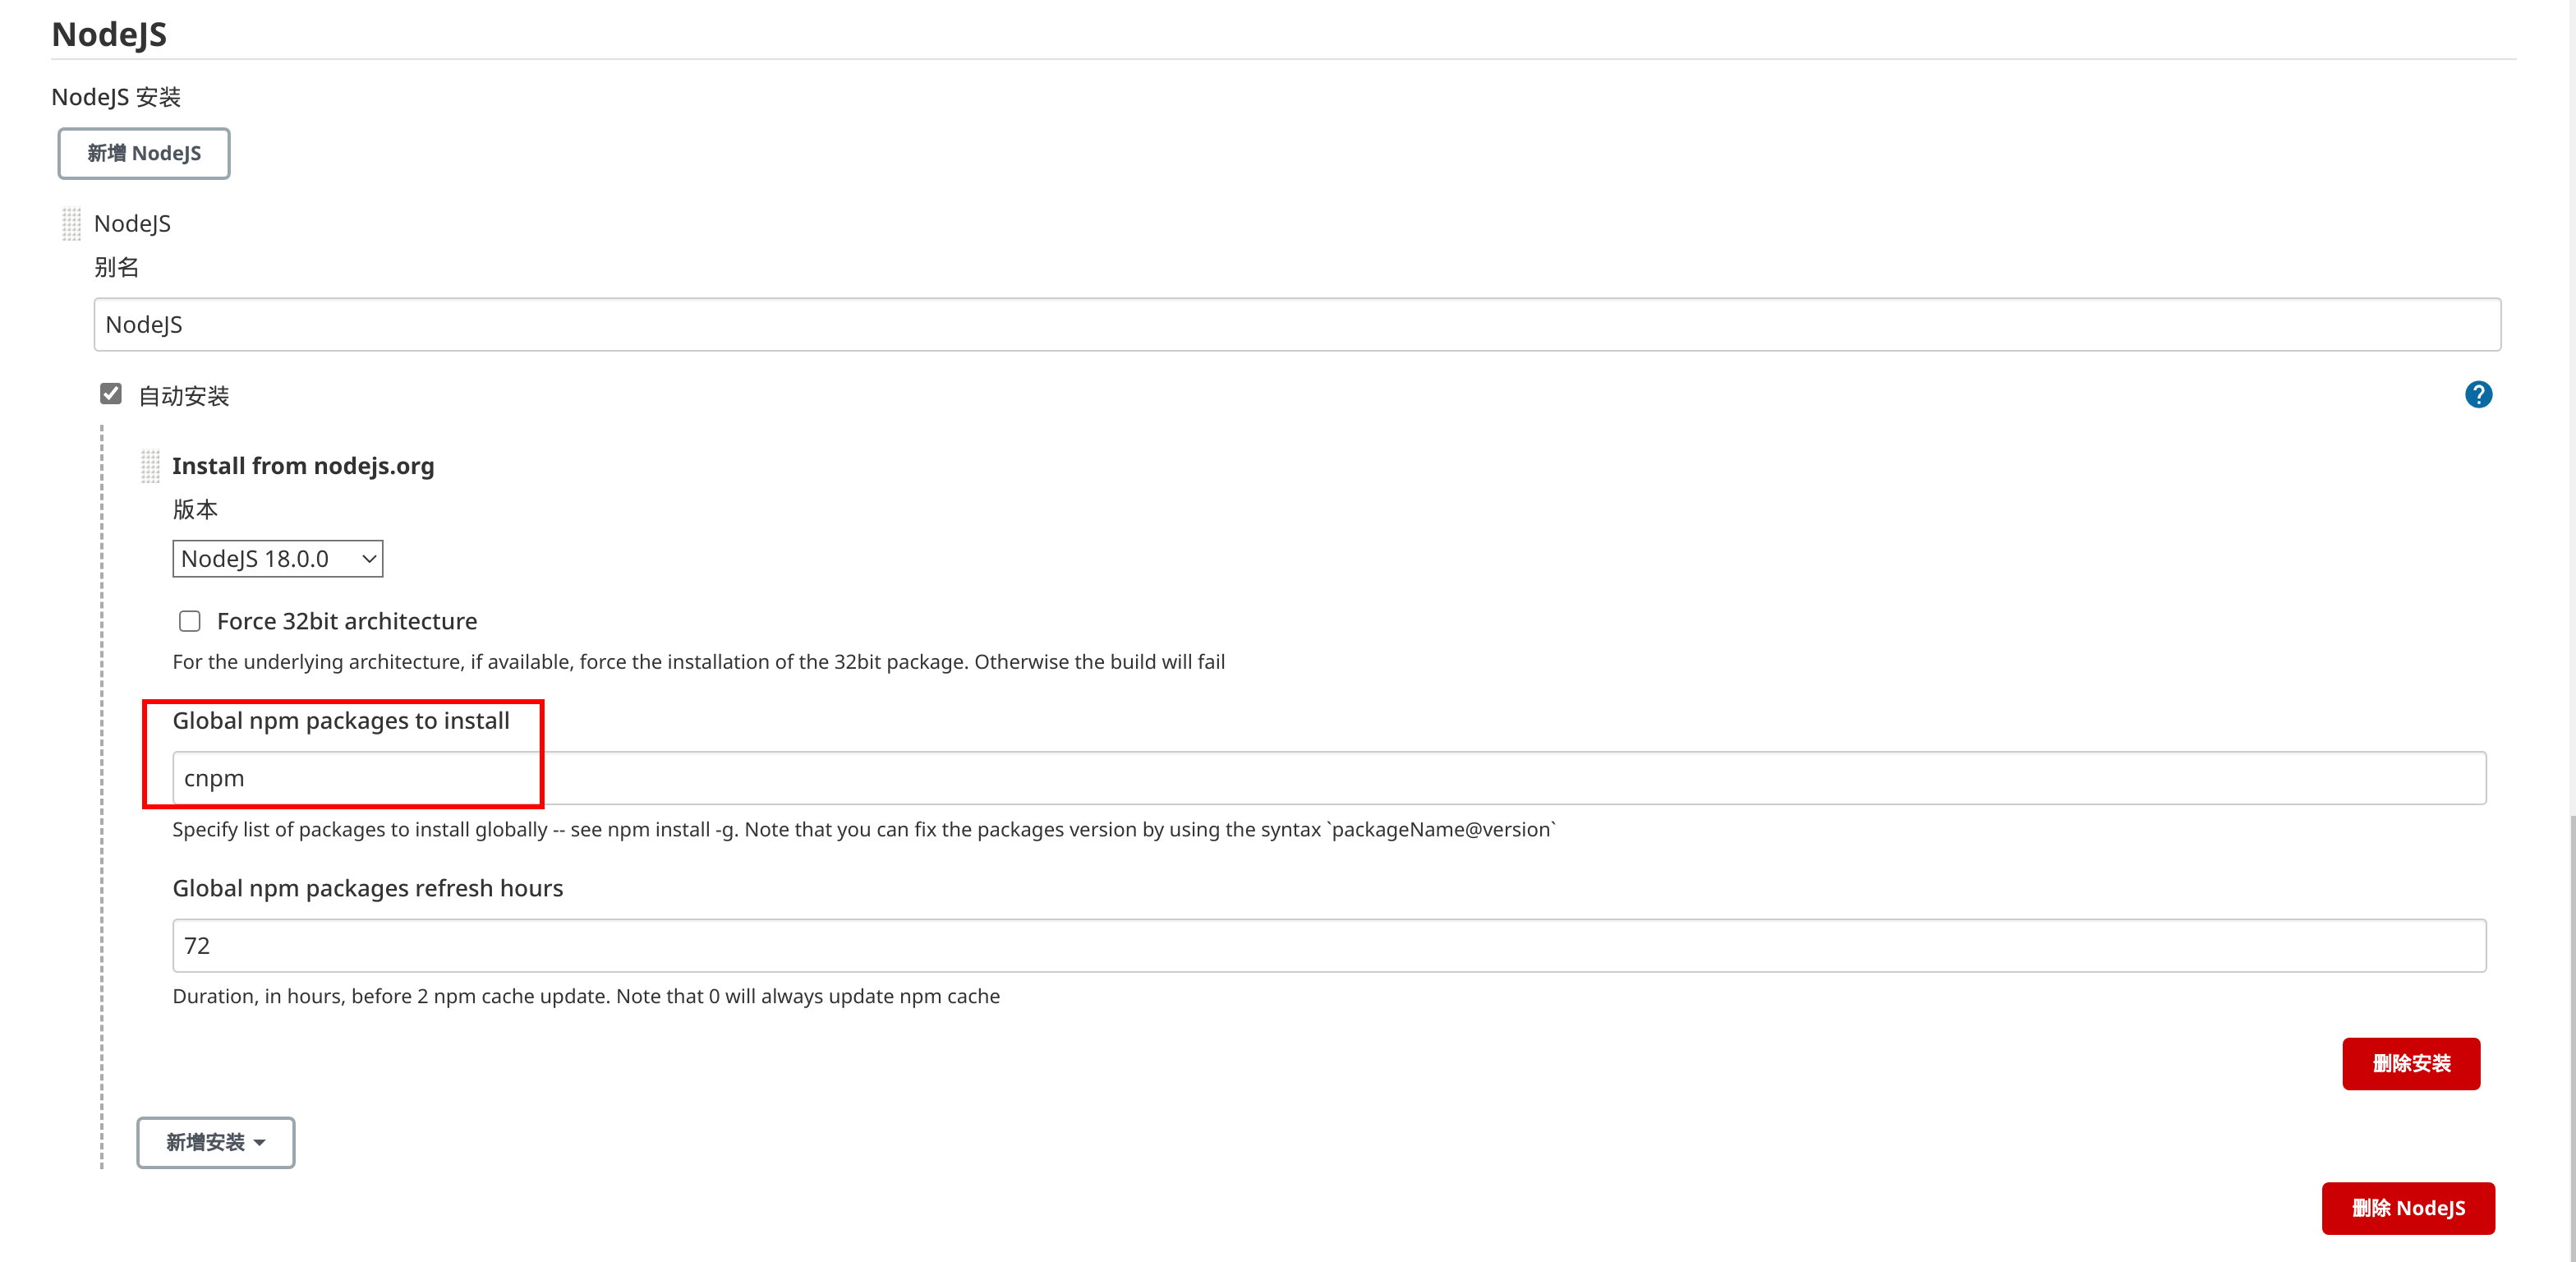
安装 NodeJS:
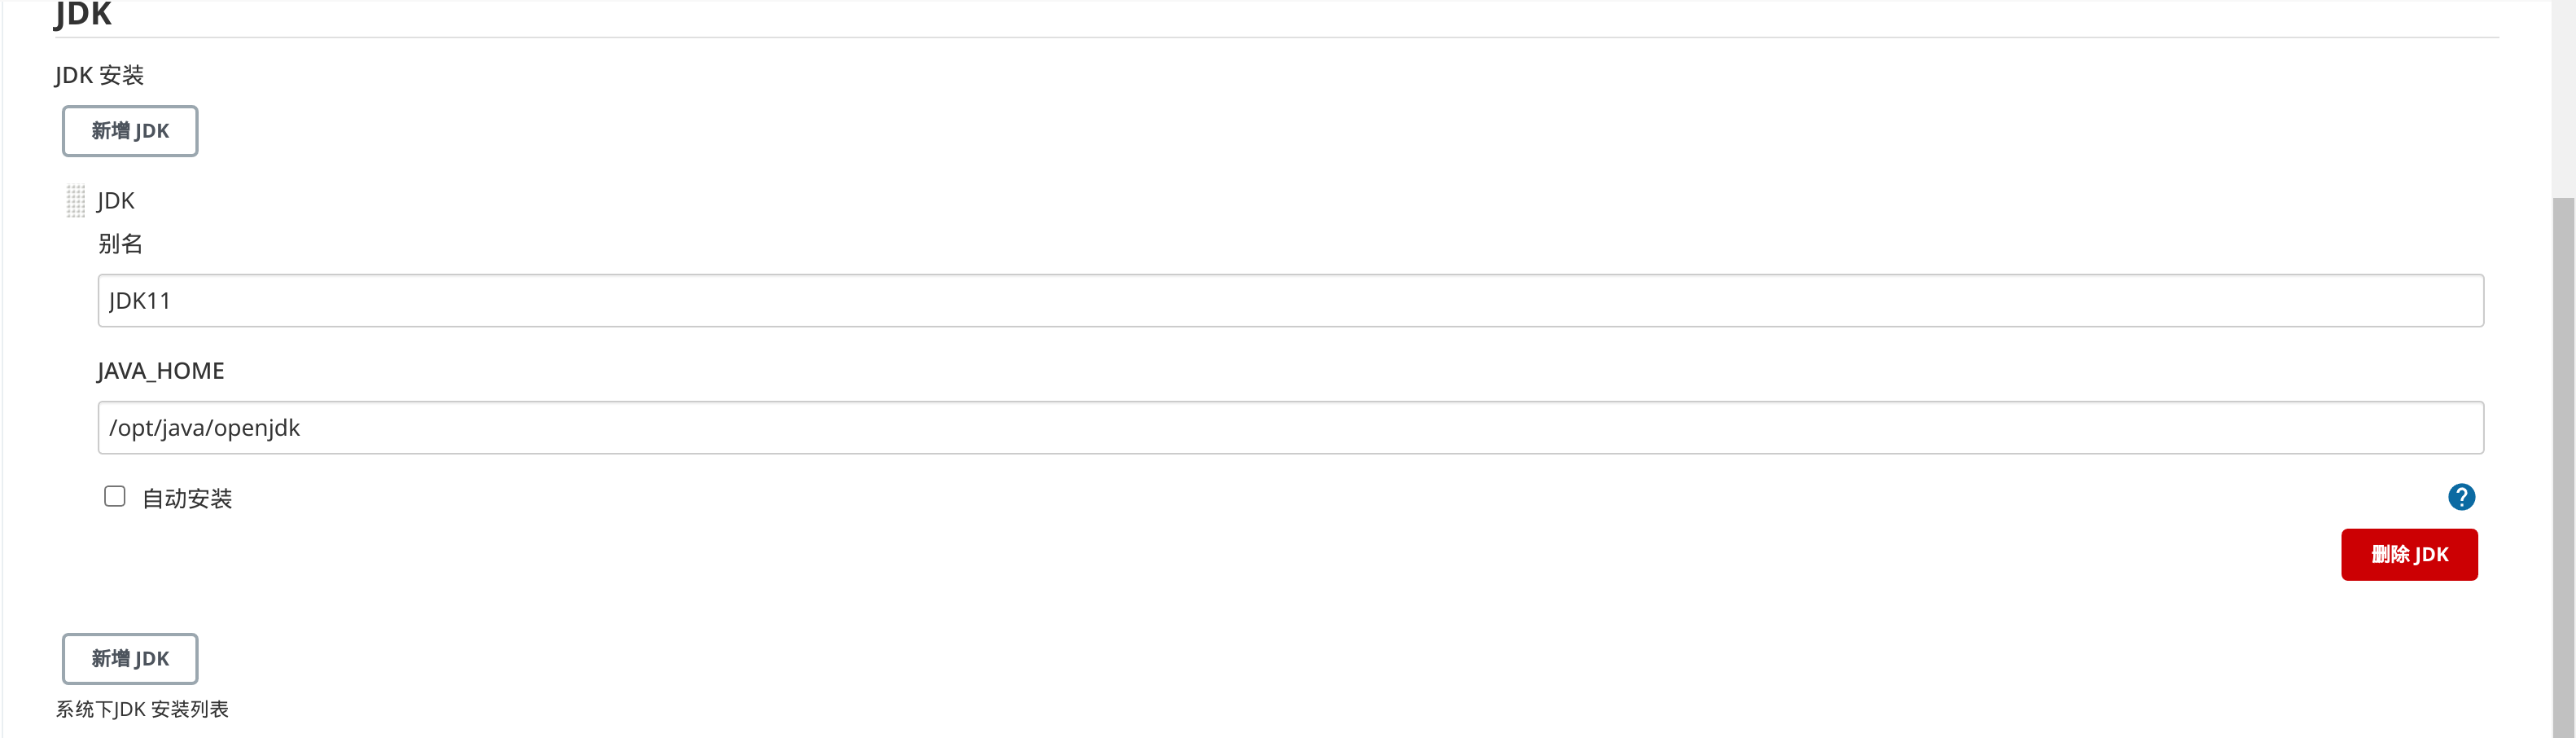
安装 JDK,这里选择使用 Jenkins 已有的 JDK 11:
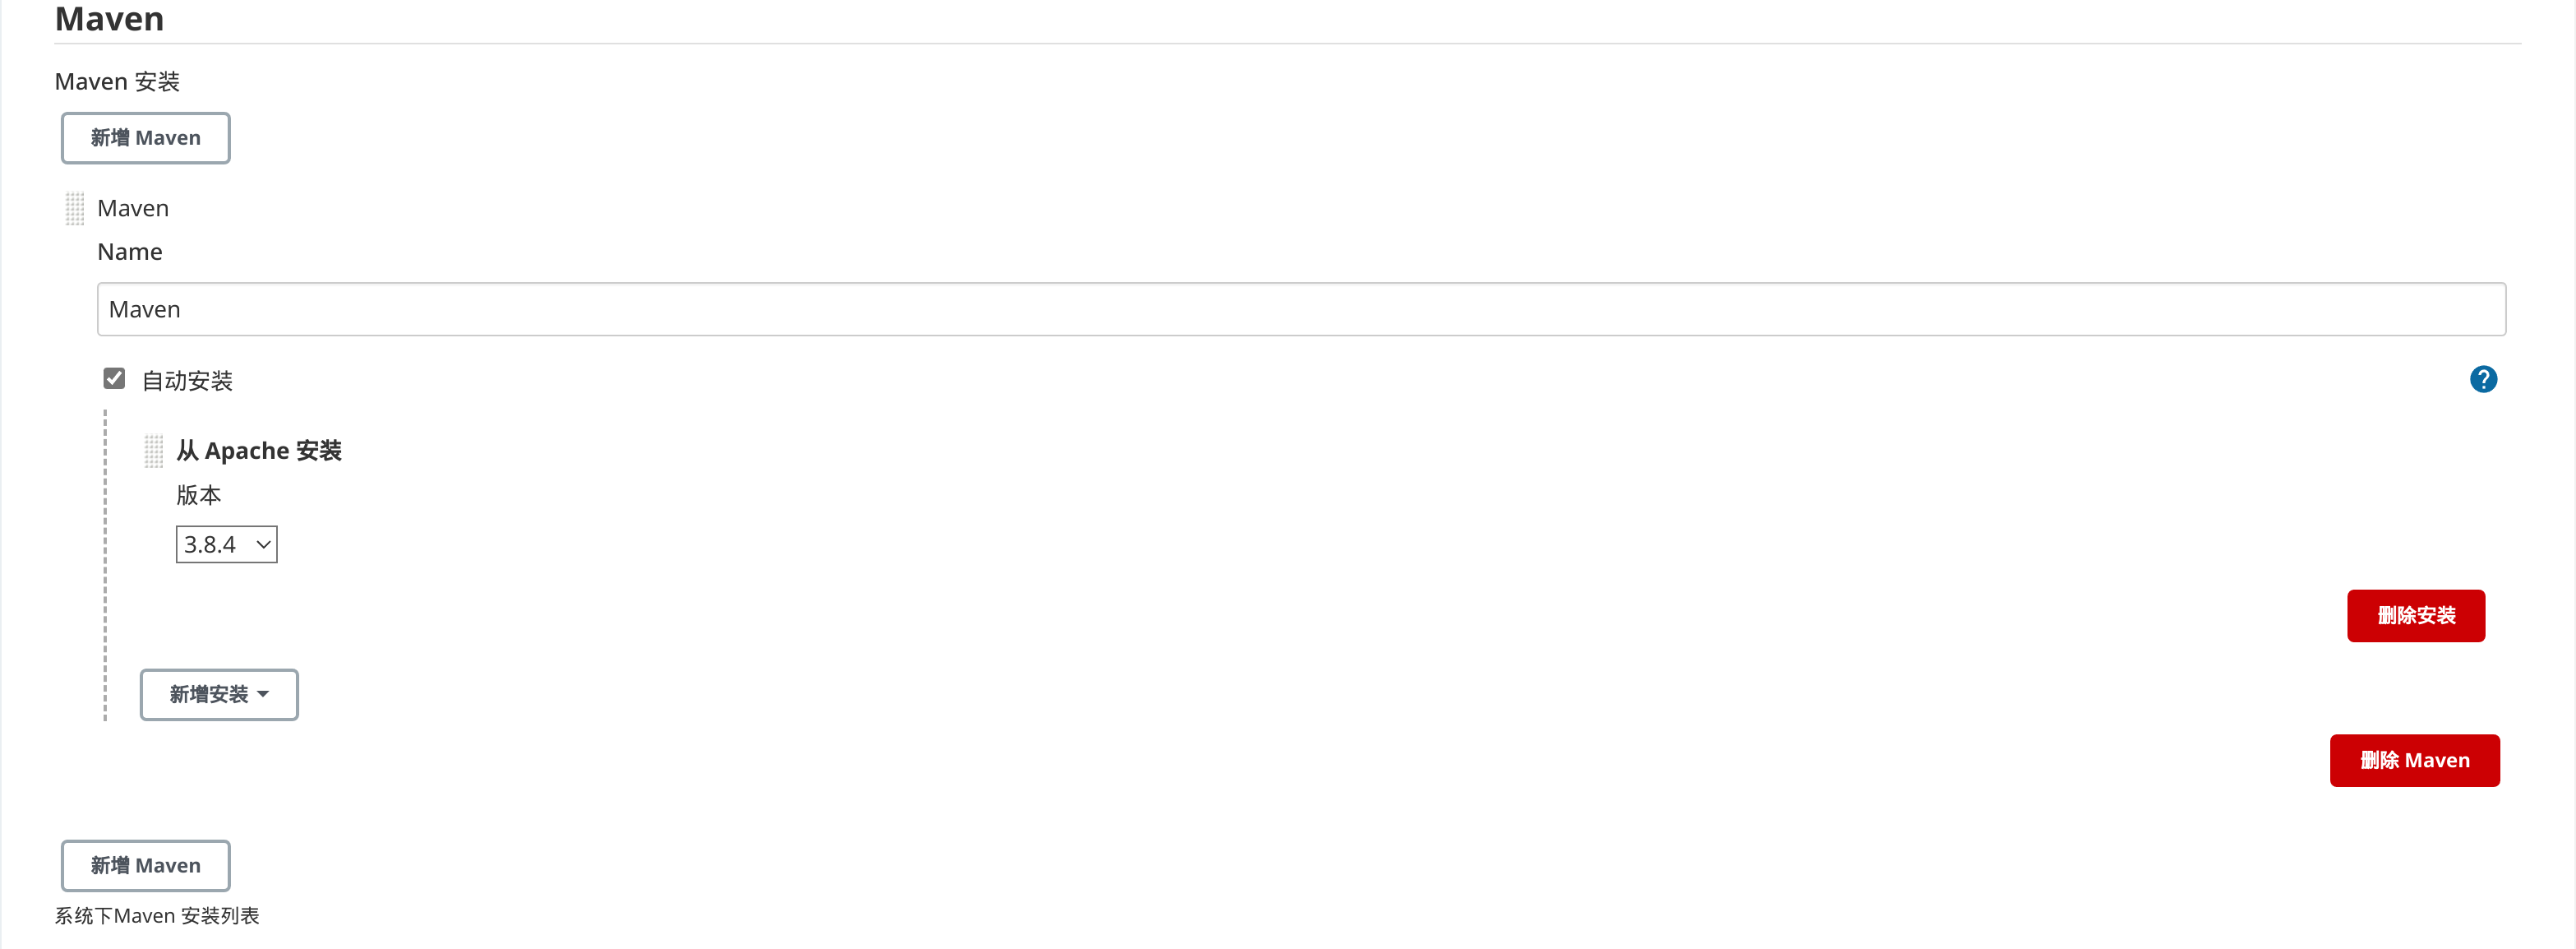
安装 Maven:
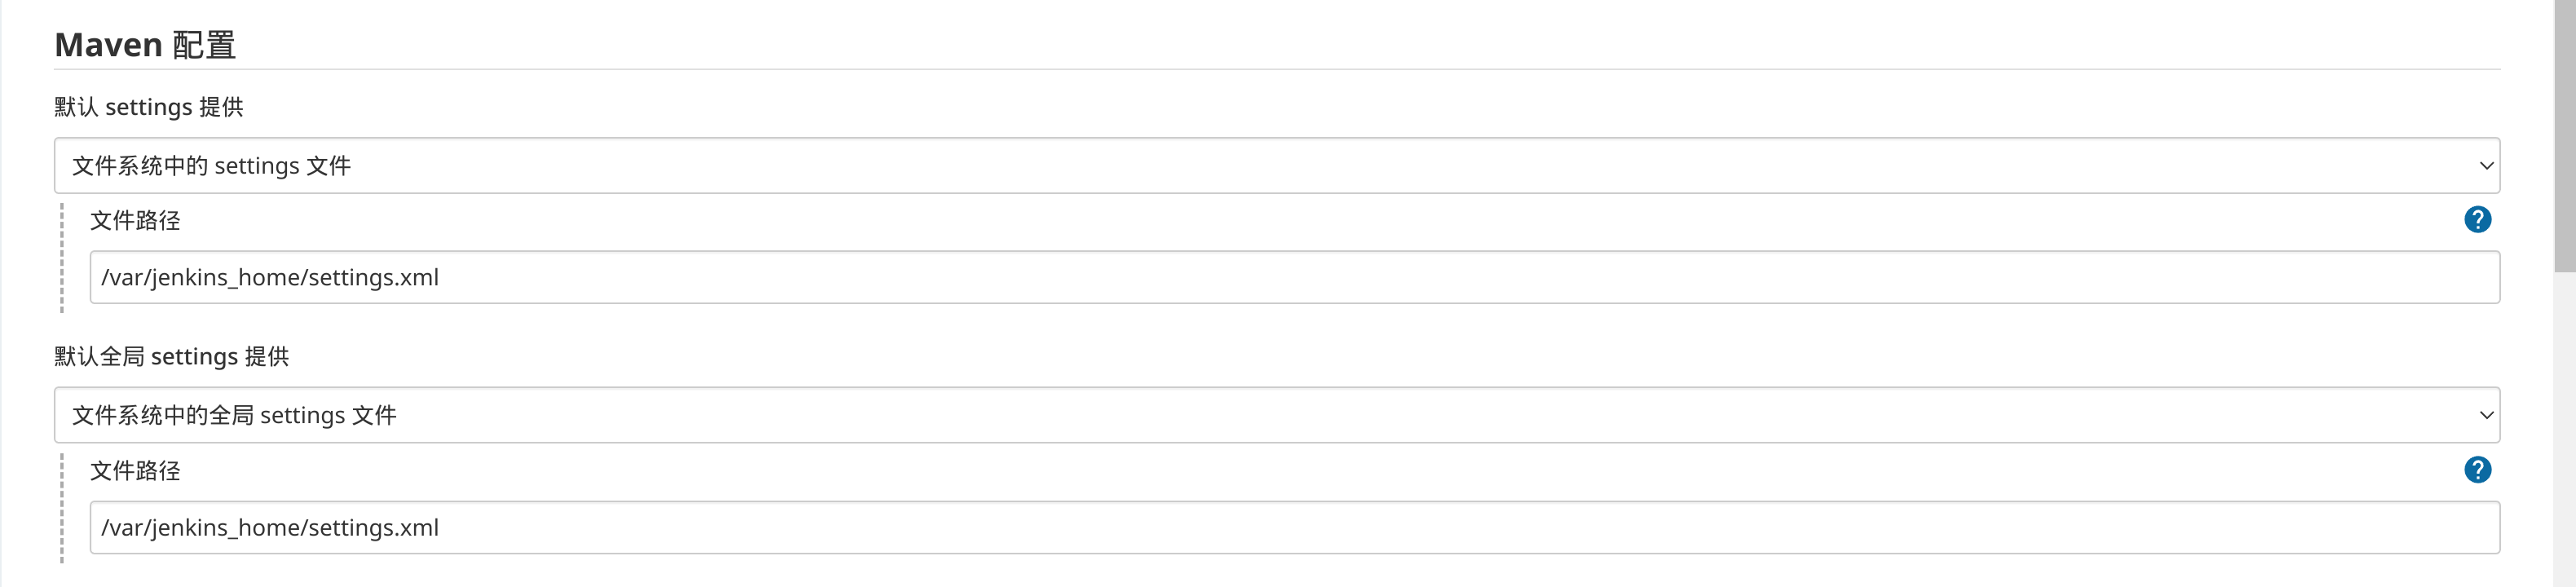
修改 Maven 配置,使用阿里云的 Maven 镜像(根据创建 jenkins 使用的 -v ~/.docker/data/jenkins:/var/jenkins_home 可以将 settings.xml 文件复制到对应目录):
配置 Spring Boot 自动构建
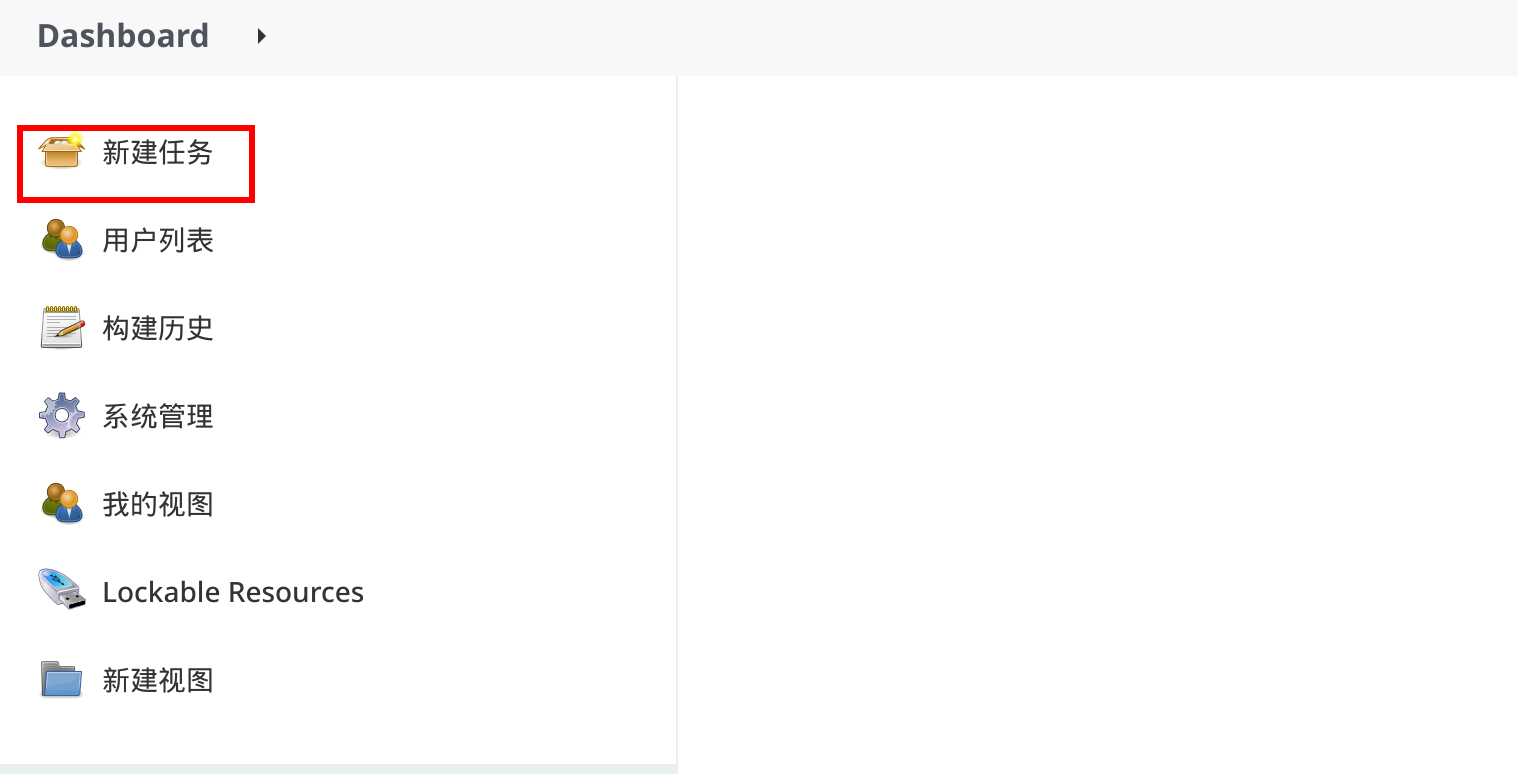
选择“新建任务”:
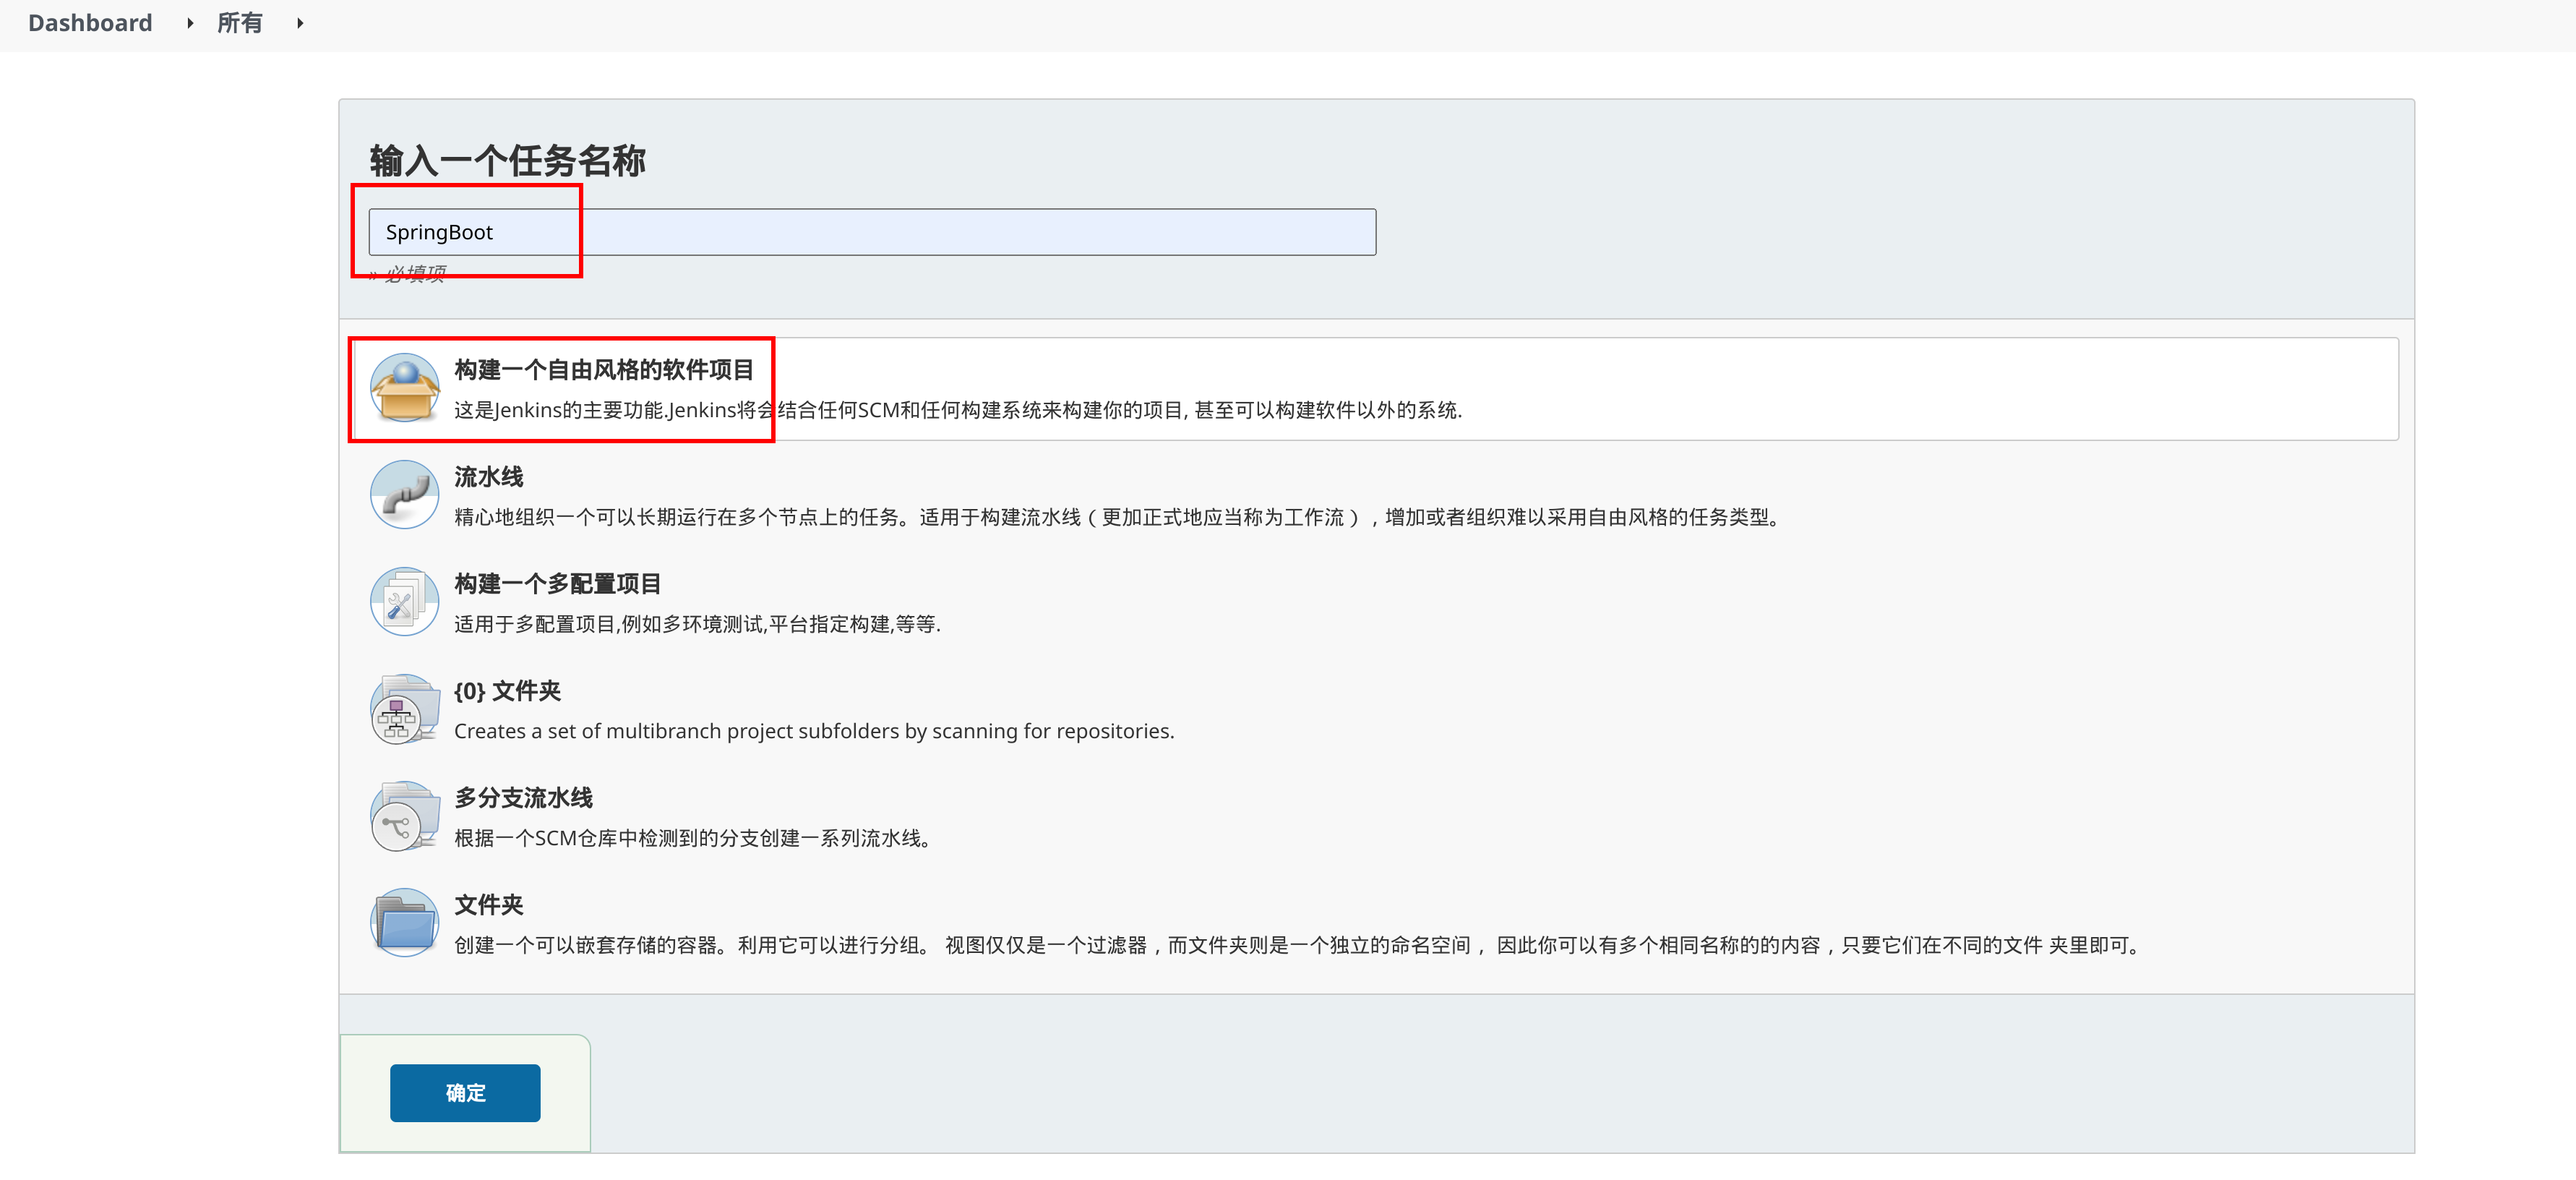
输入任务名称,选择”构建一个自由风格的软件项目“,点击“确定”:
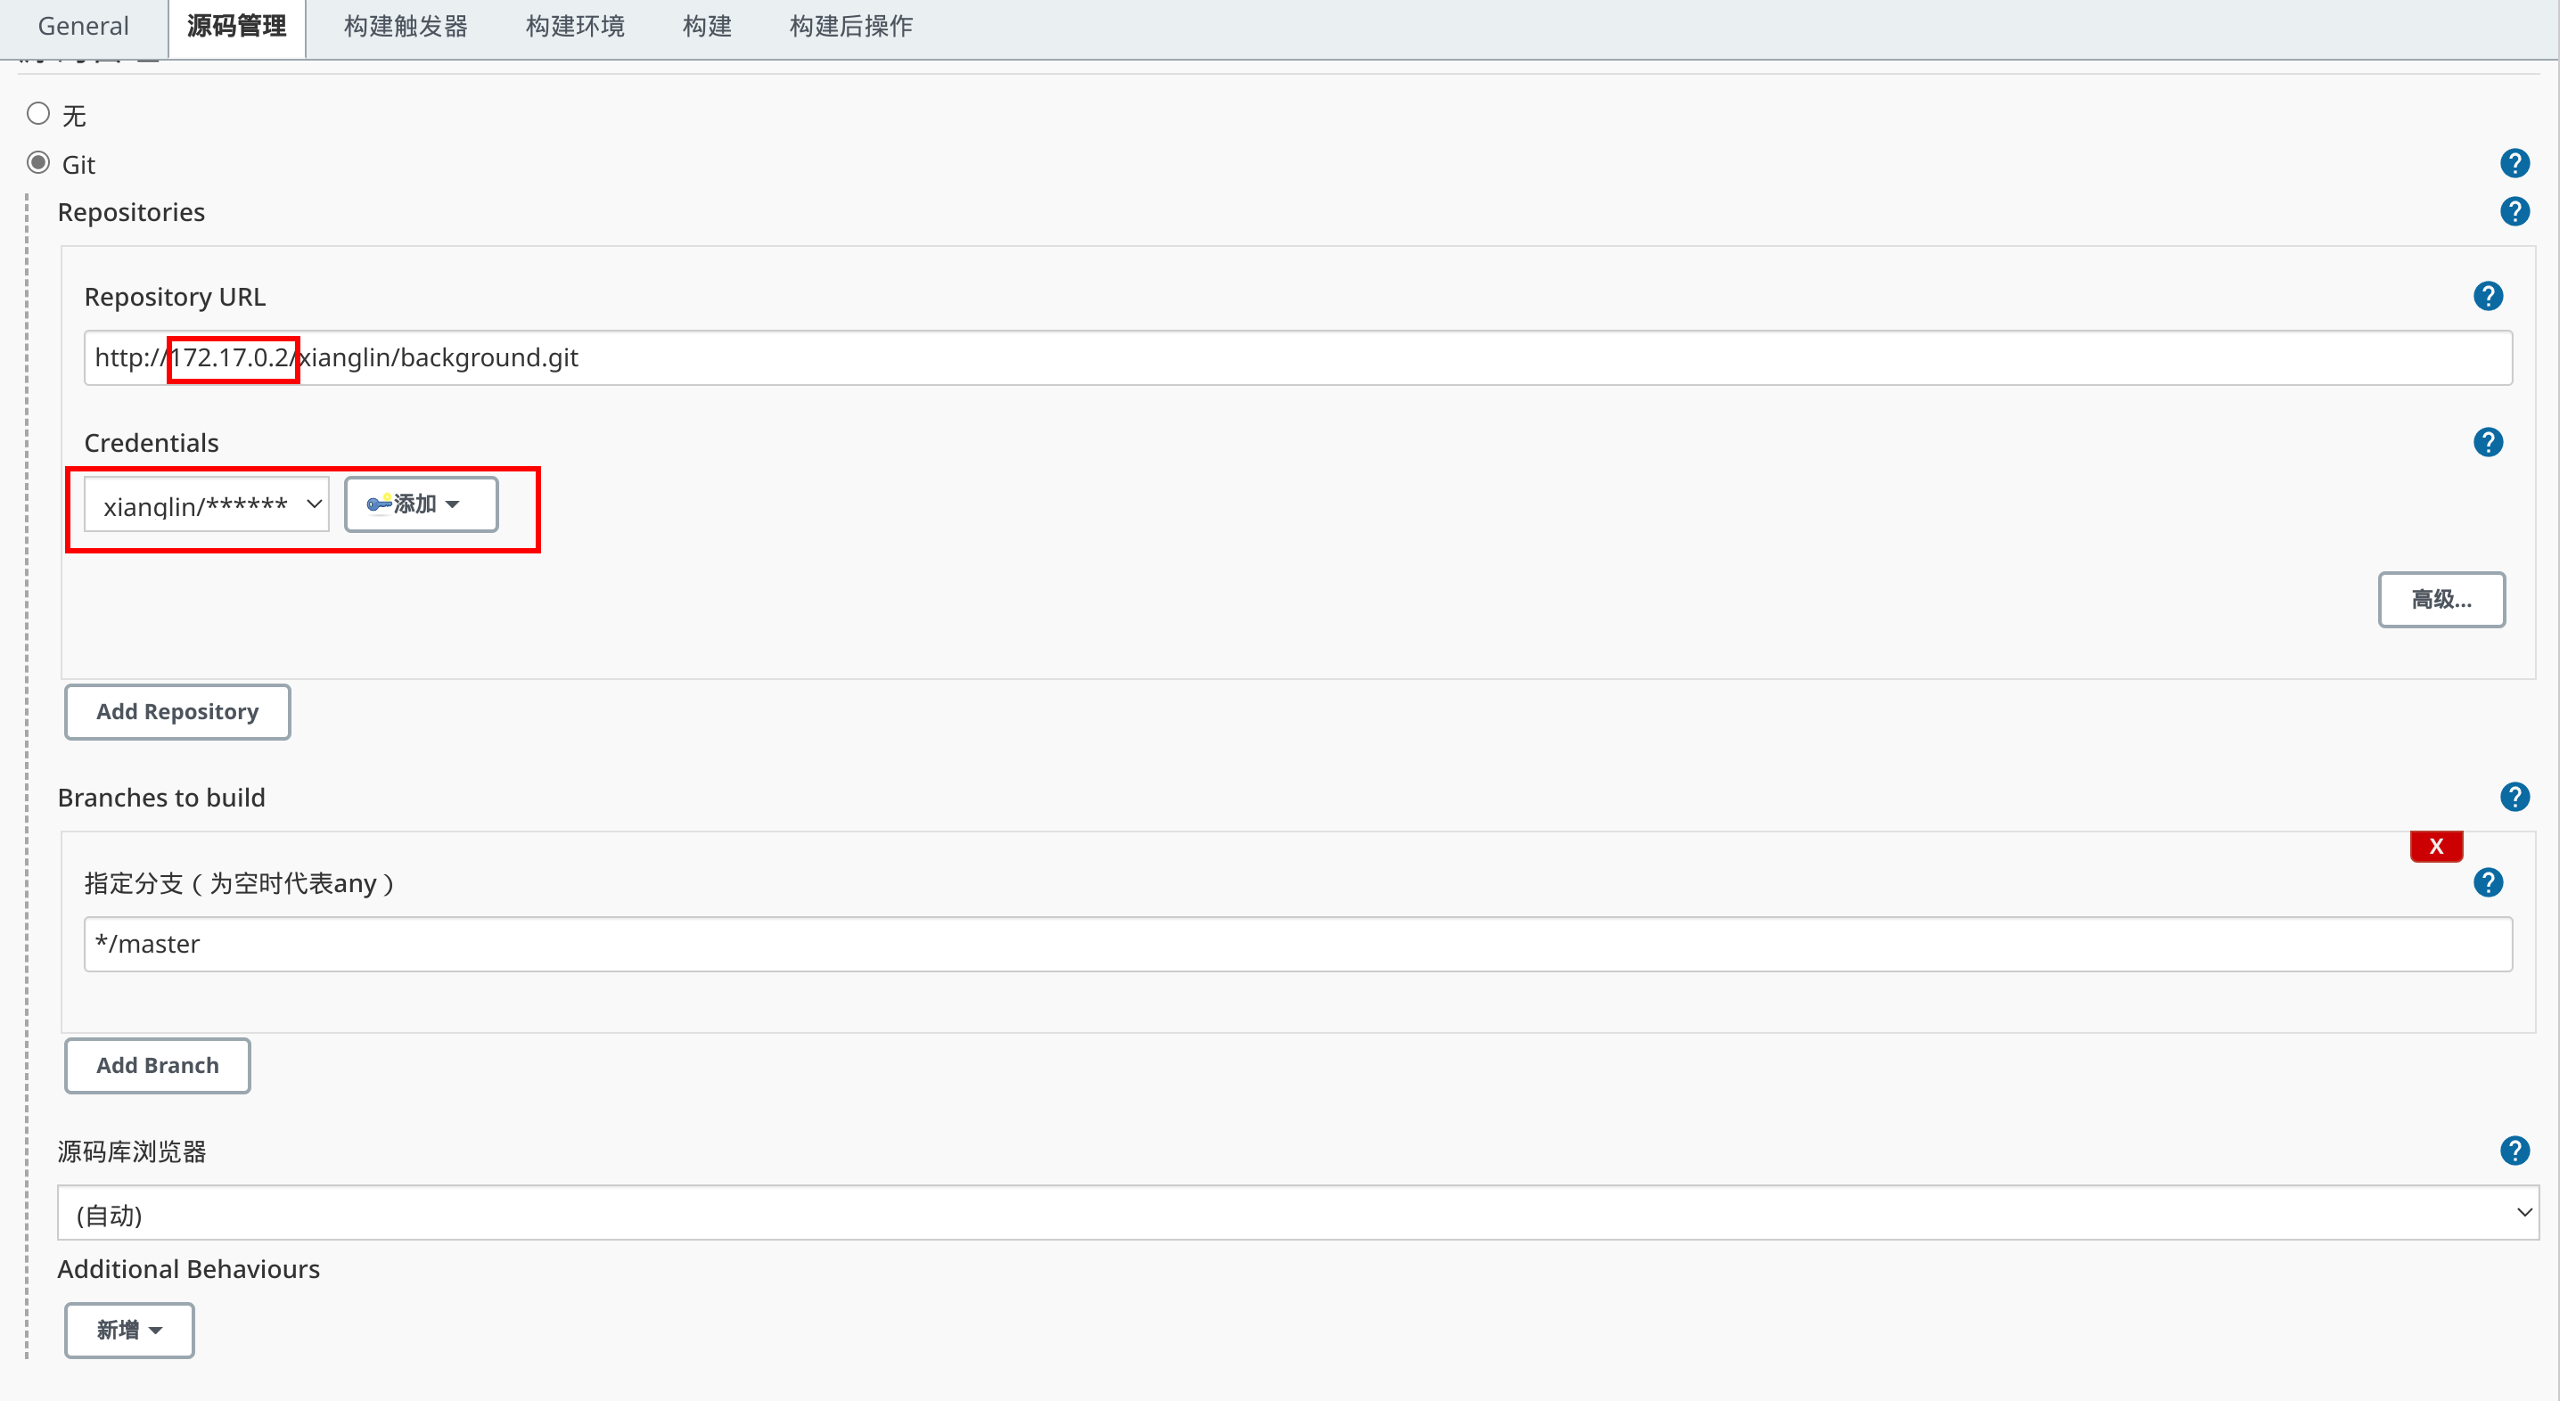
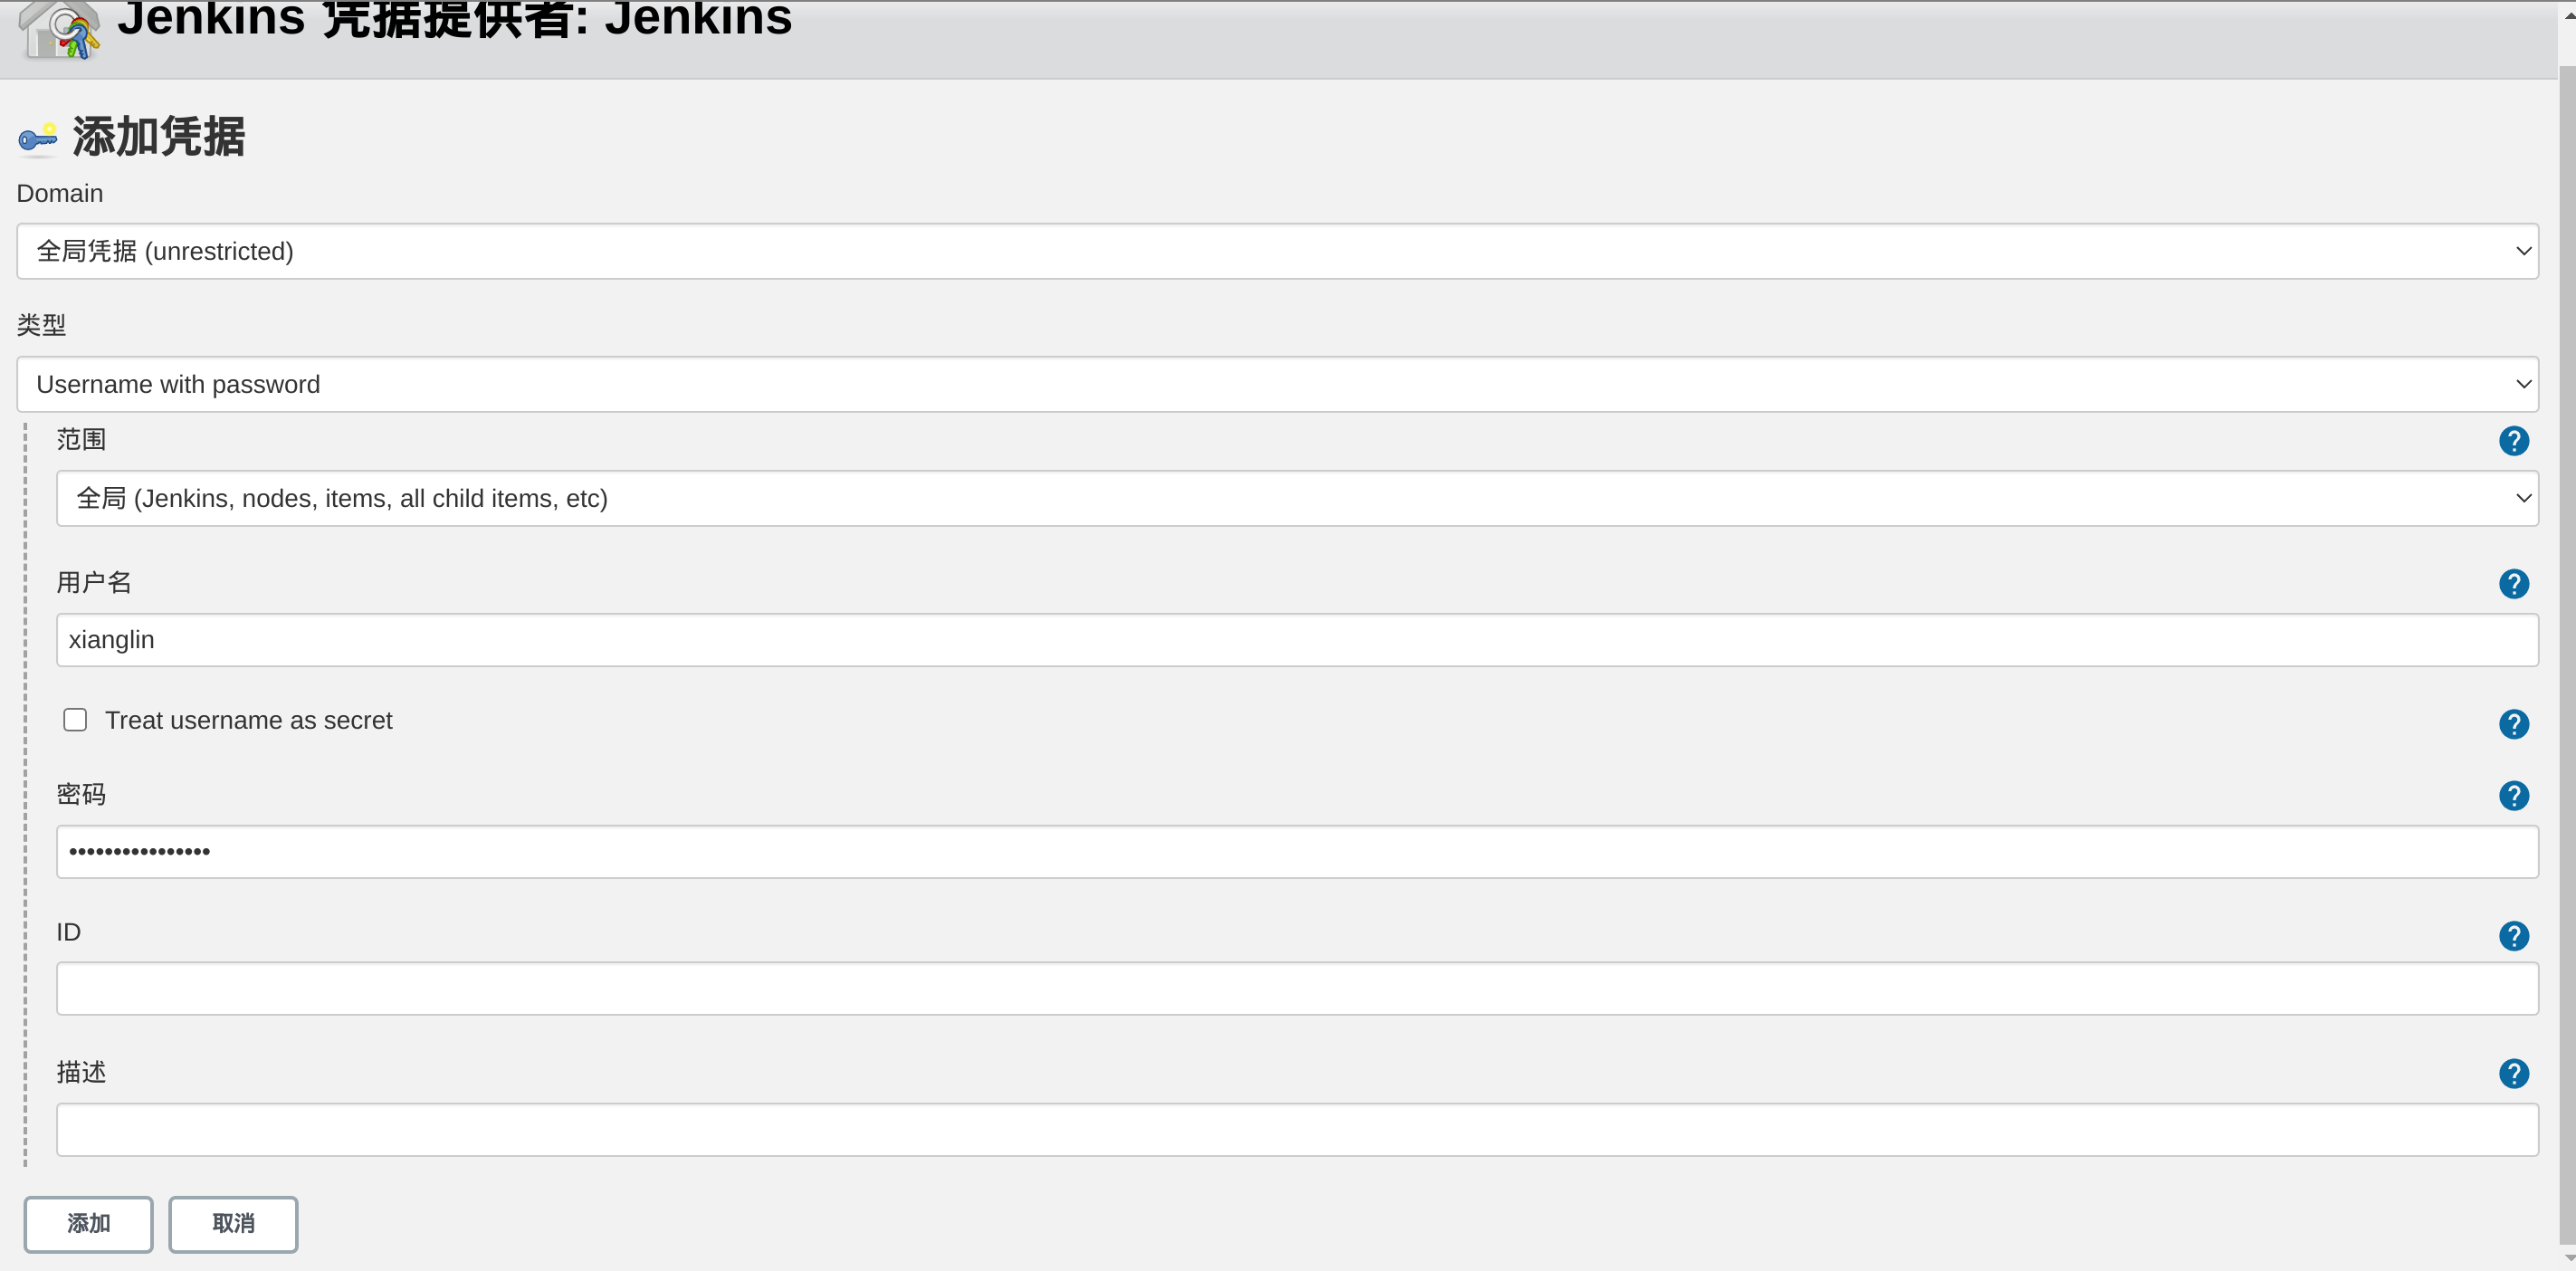
在“源码管理”中选择“Git”,输入GitLab仓库地址,并添加访问的用户名和密码,其中 IP 地址可以通过命令 docker inspect --format '{{ .NetworkSettings.IPAddress }}' <container-ID> 获取:
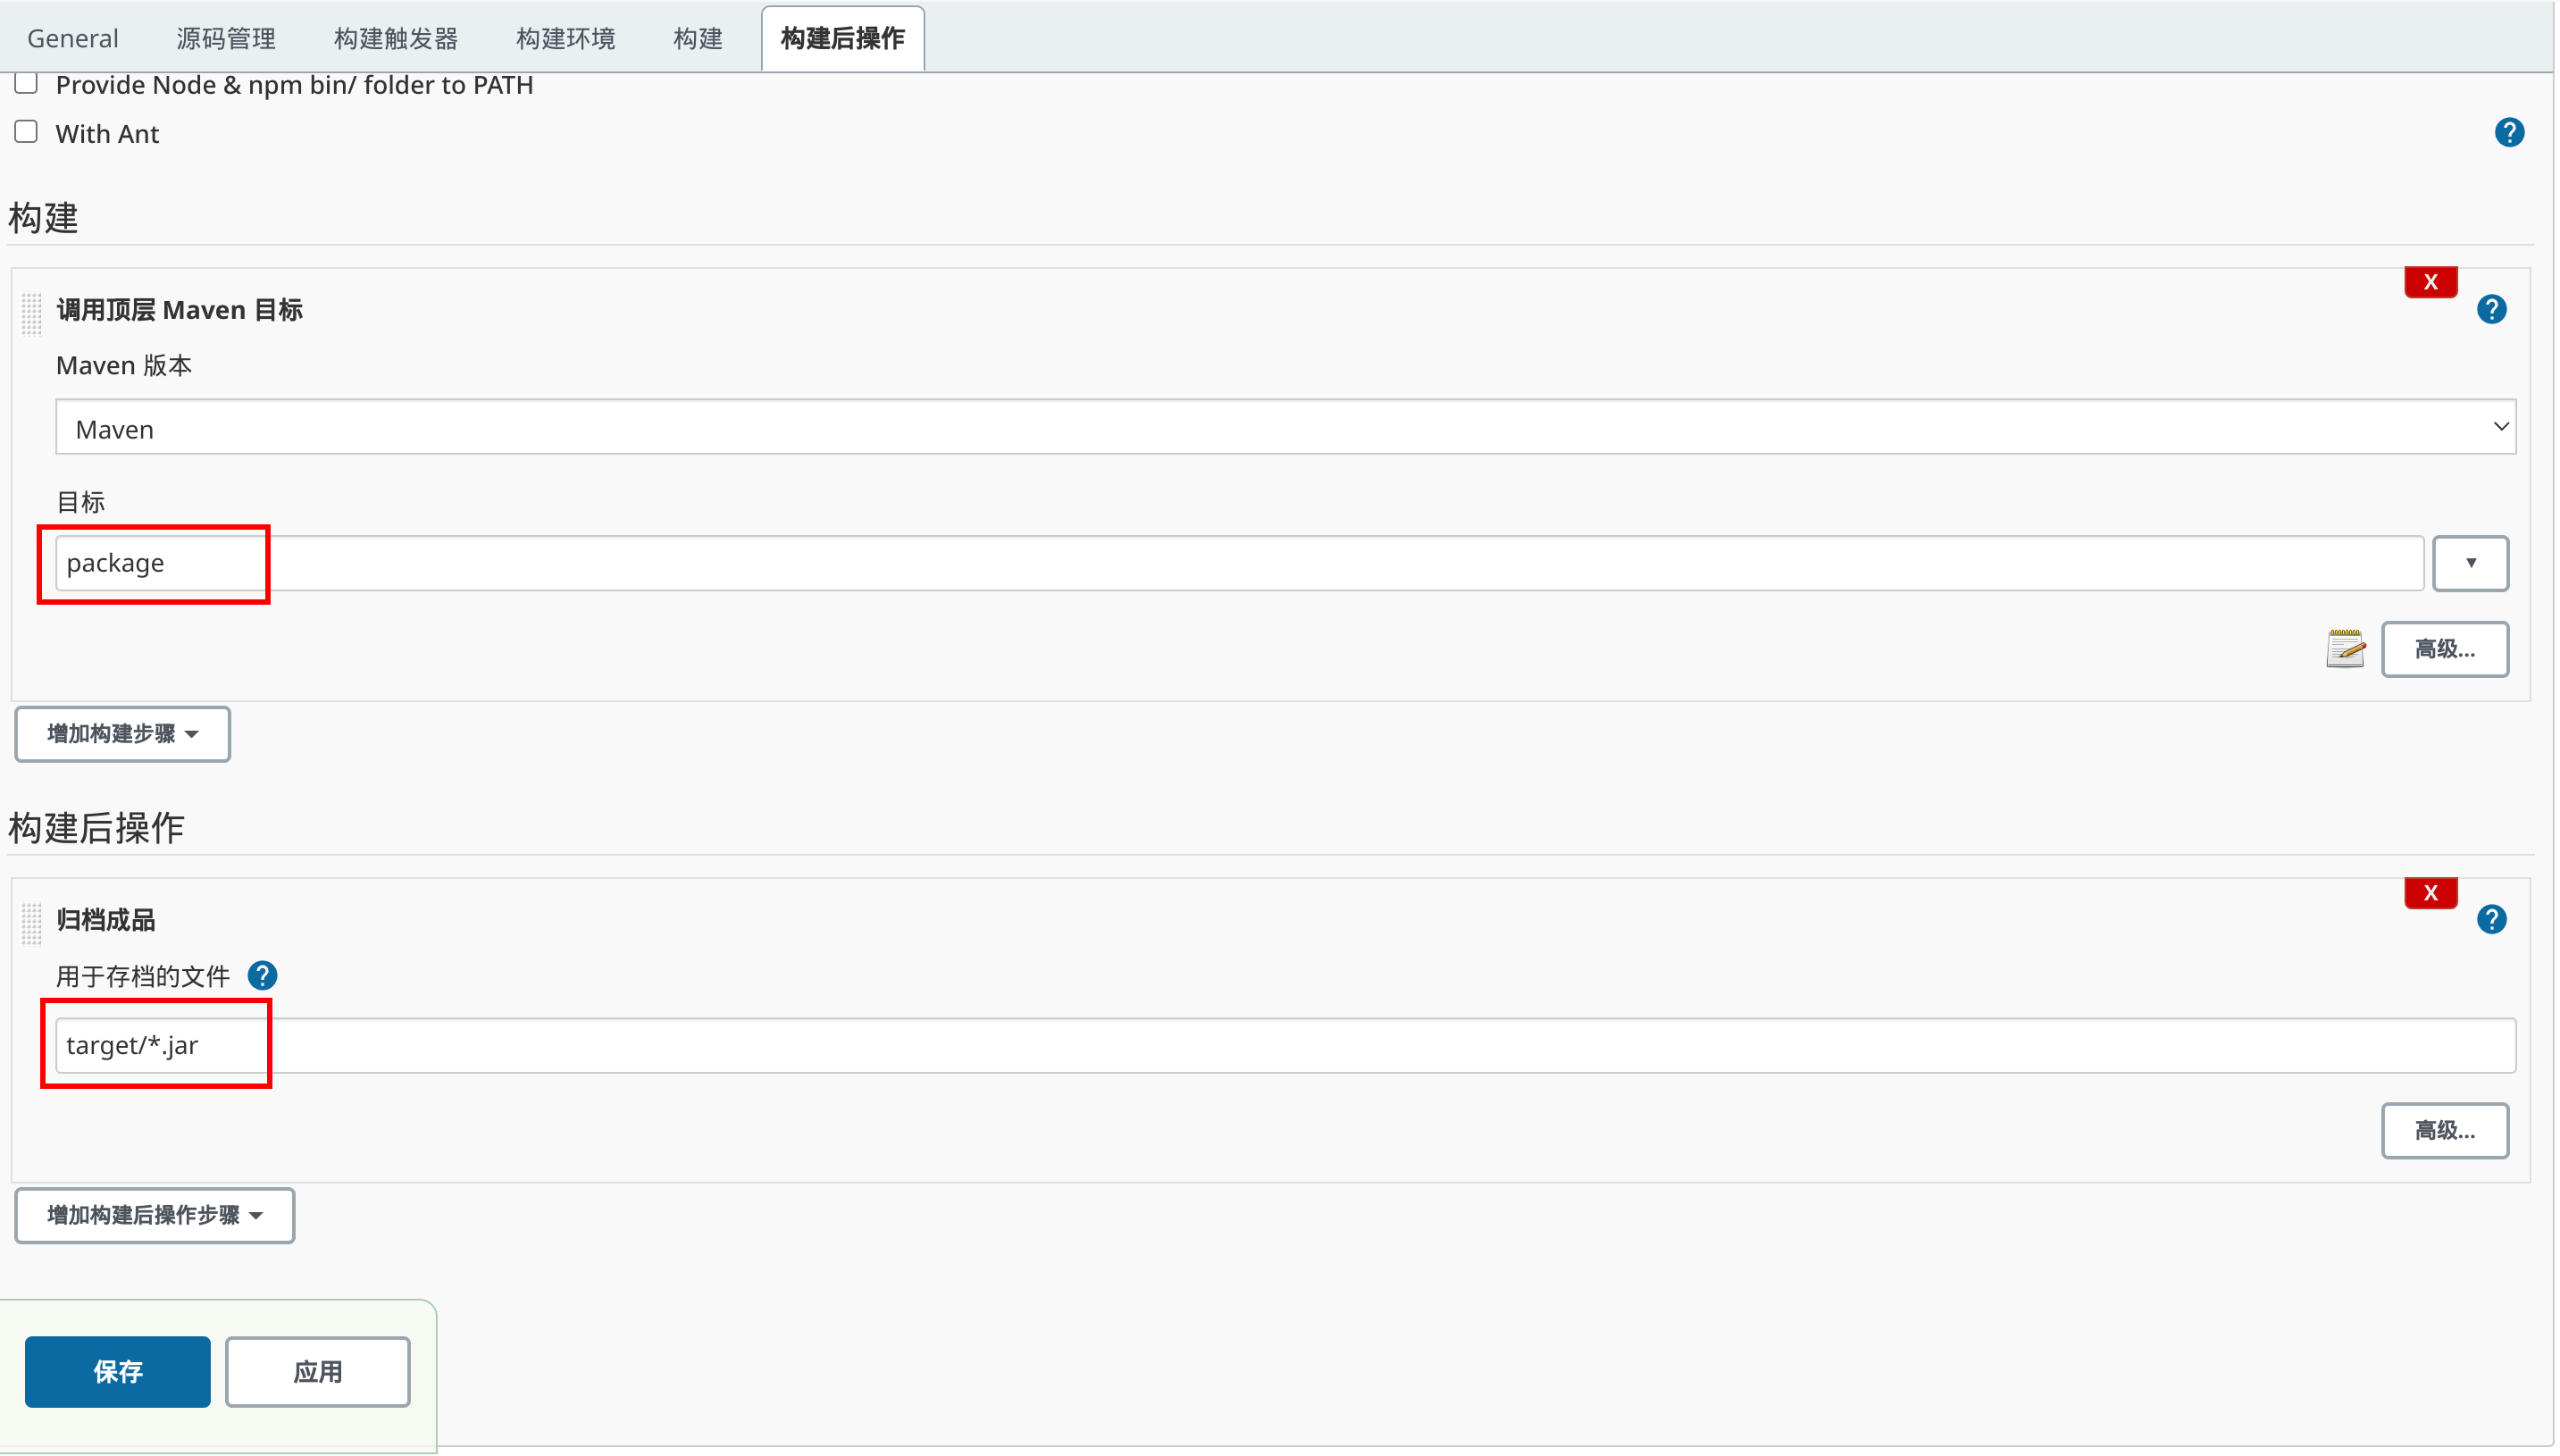
在“构建”中选择“调用顶层 Maven 目标”,在“构建后操作”中选择“归档成品”:
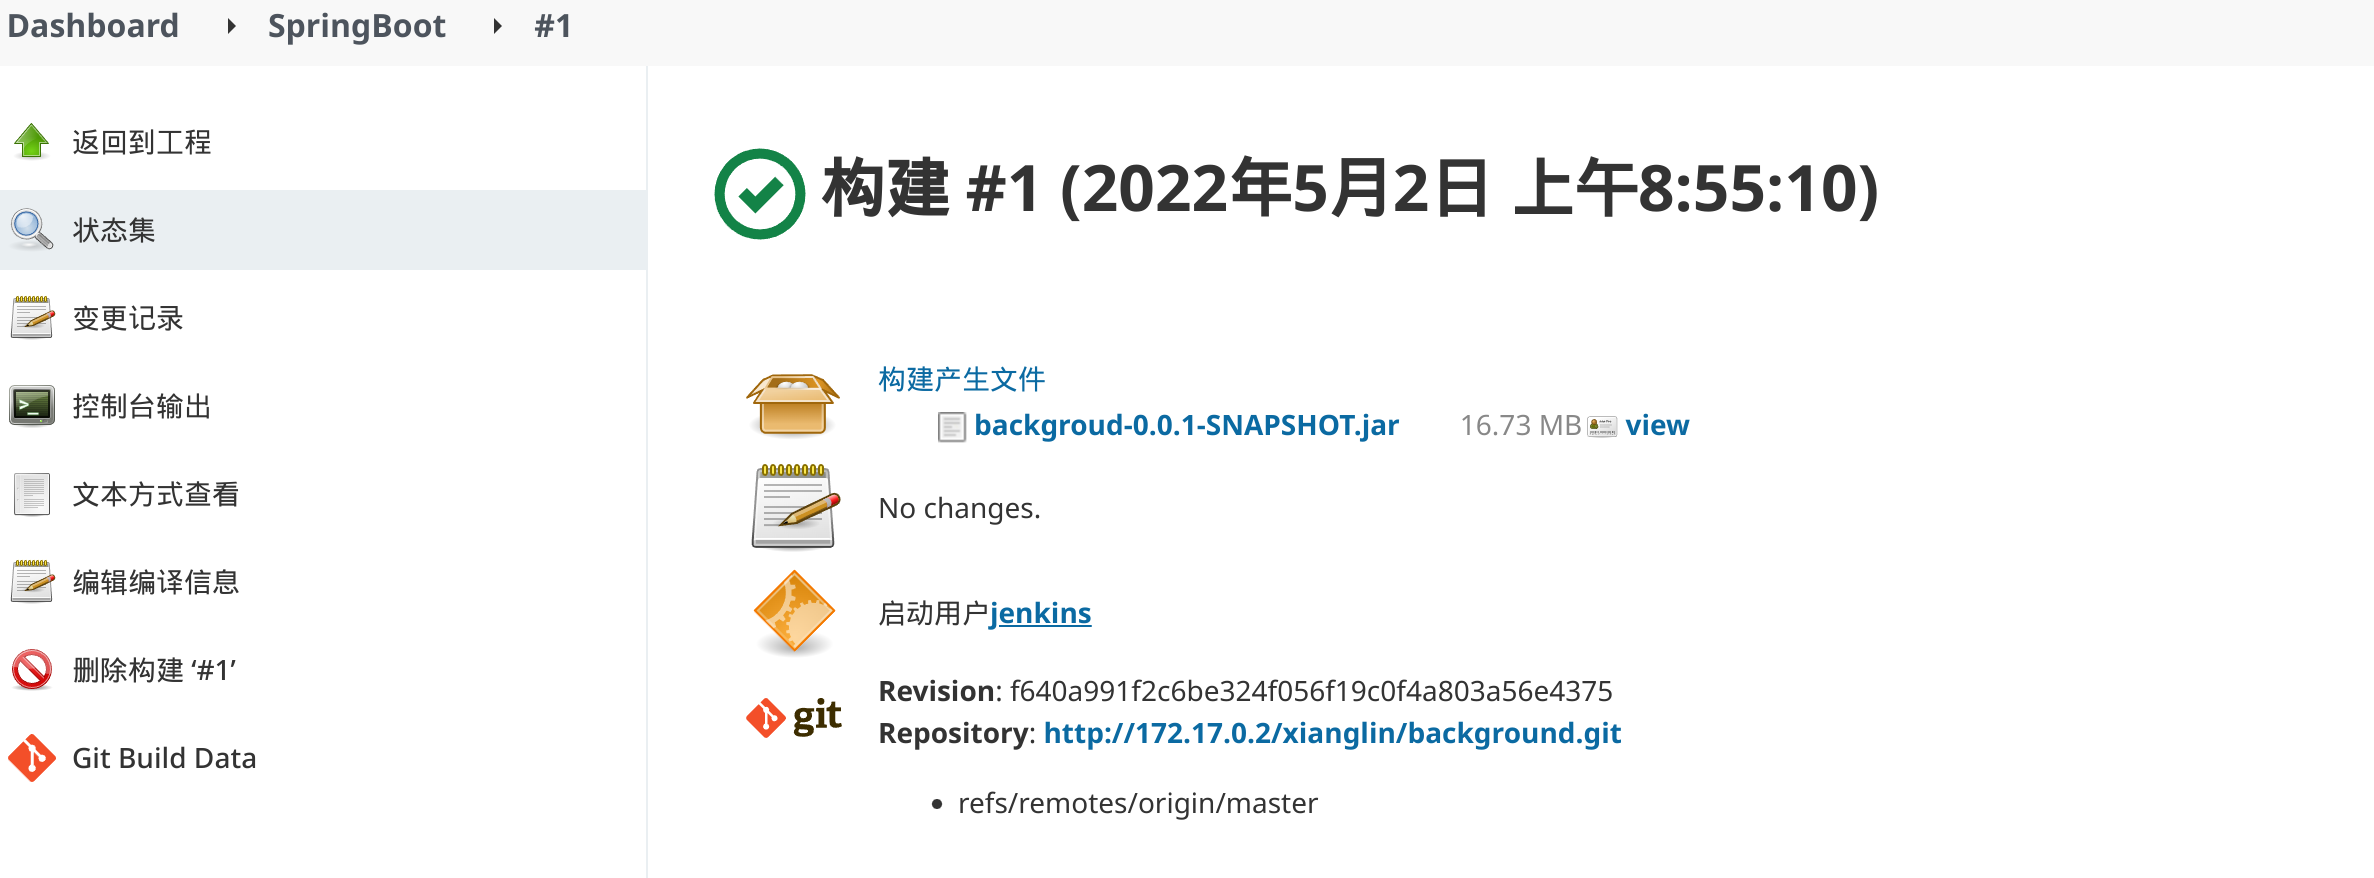
保存后点击“立即构建”,查看构建结果:
配置 Vue 自动构建
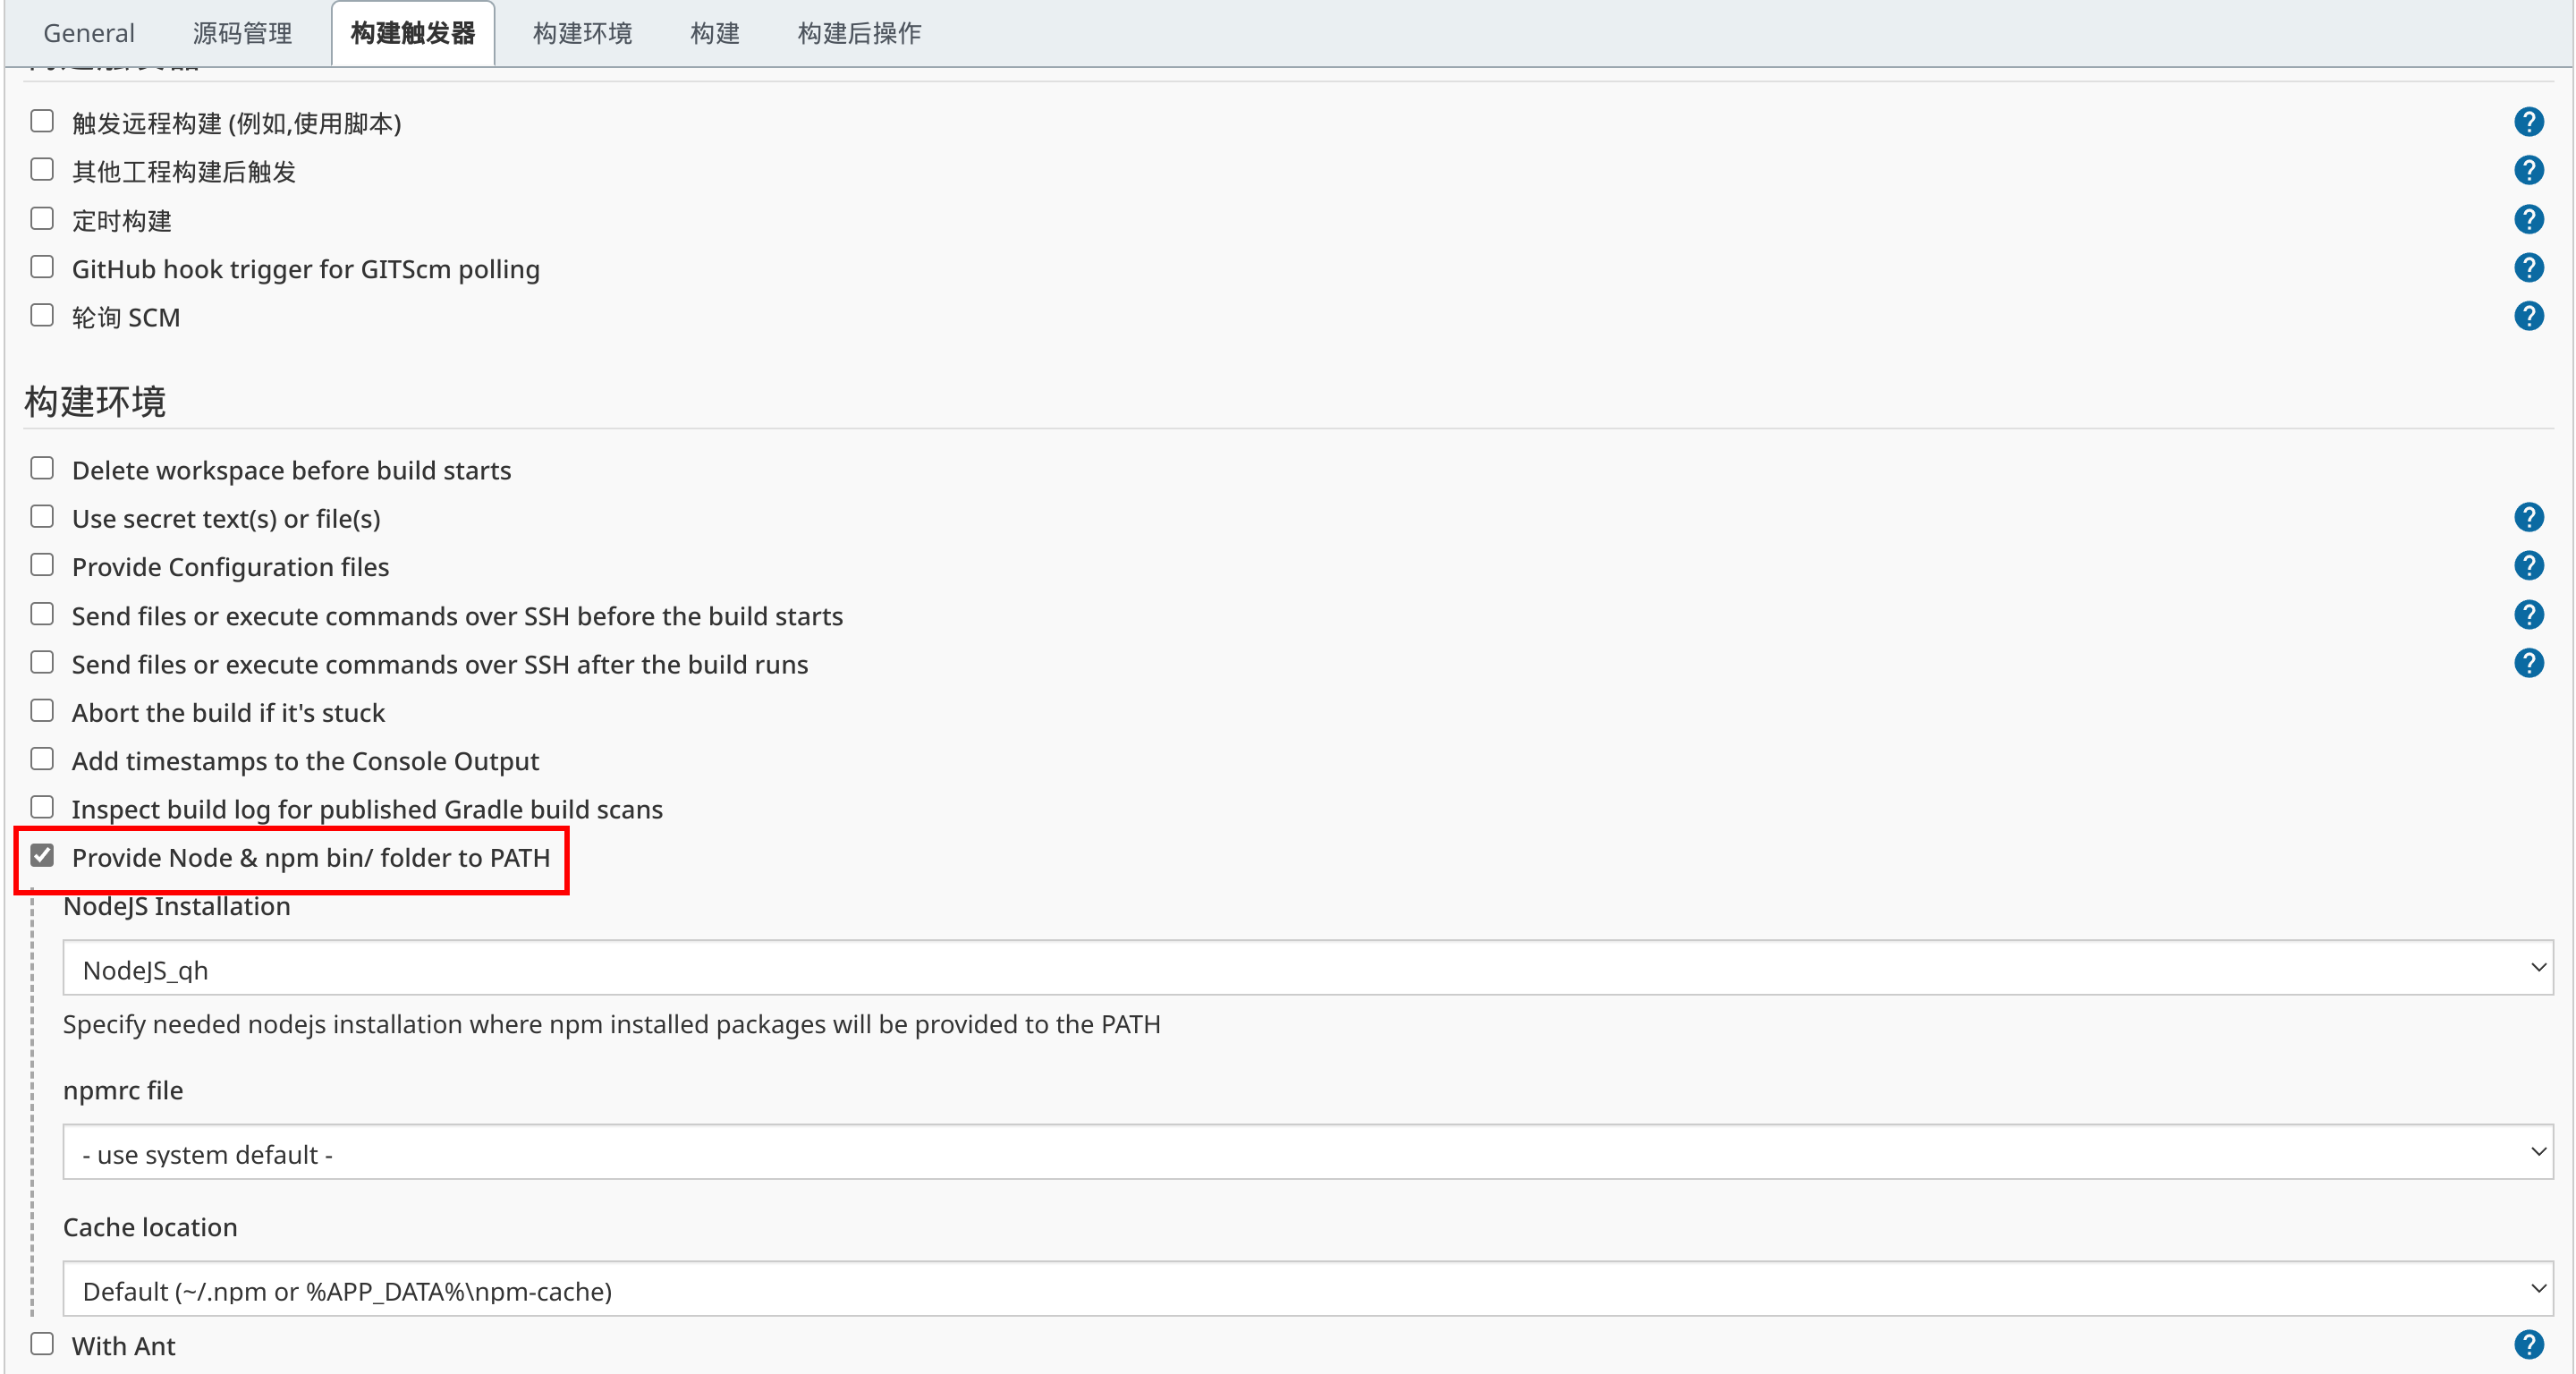
“源码管理”和上述一样,在“构建触发器”中选择“Provide Node & npm bin/folder to PATH”:
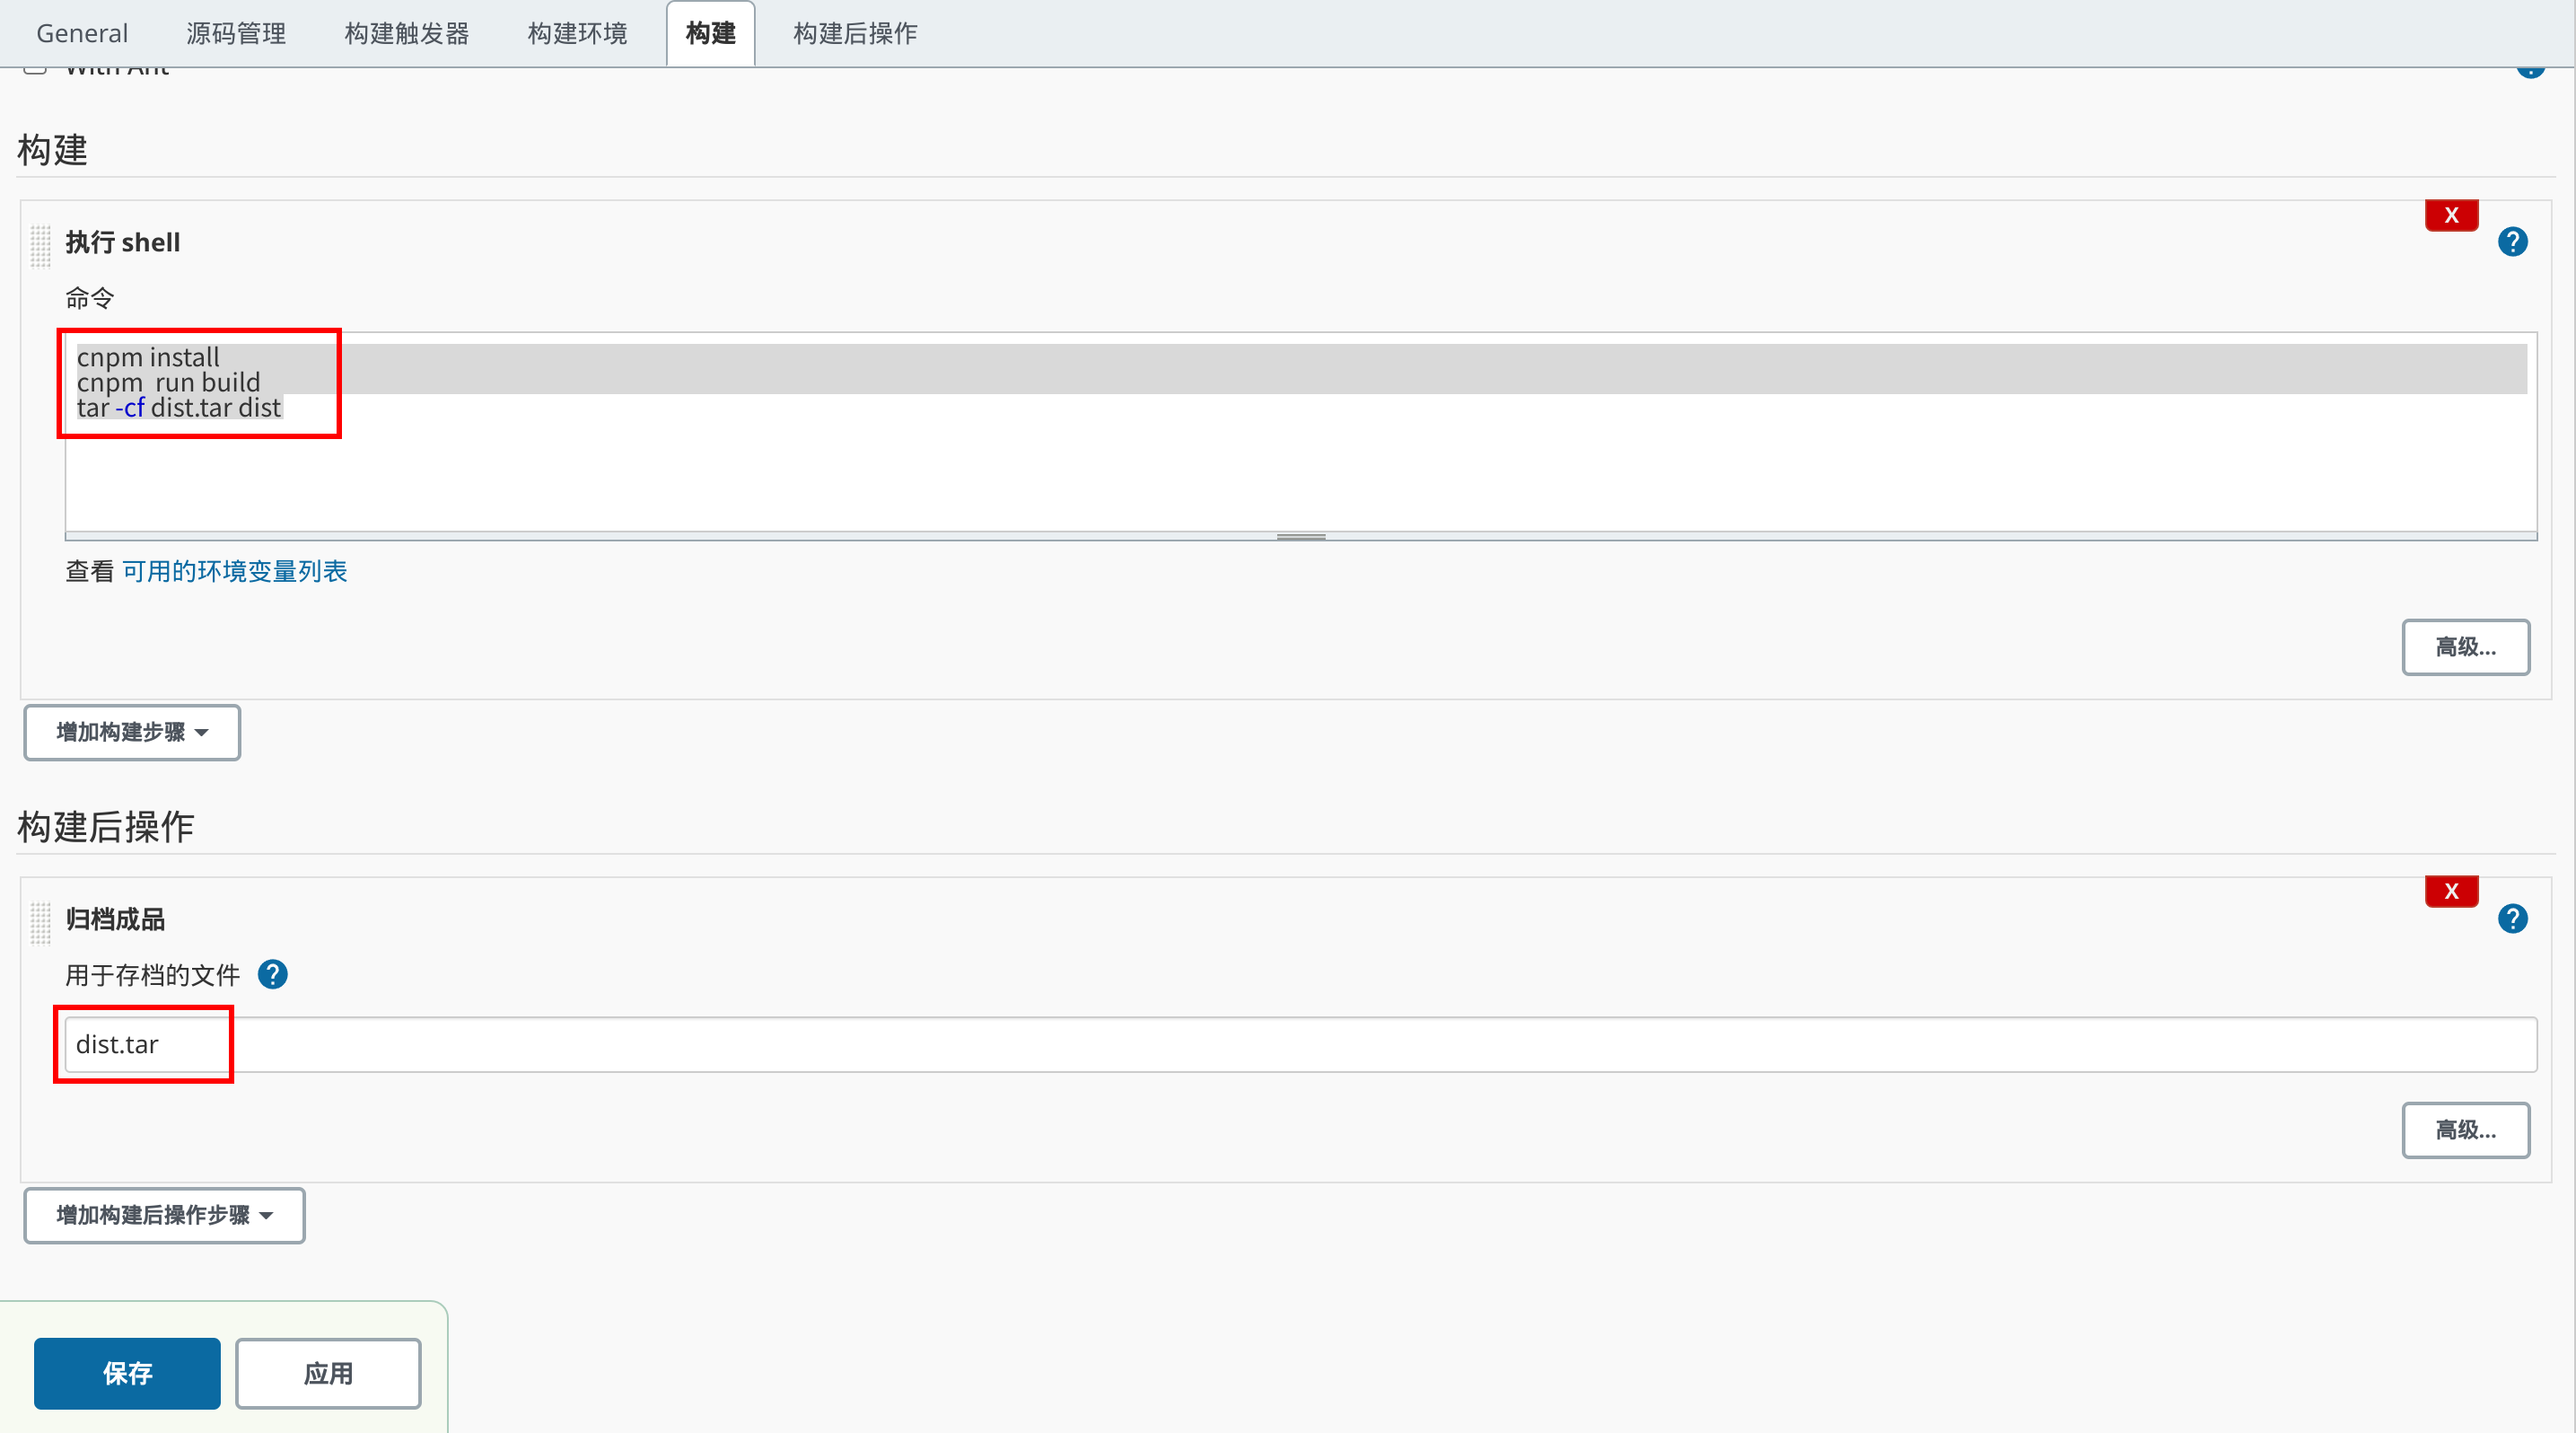
在“构建”中选择“执行shell”,在“构建后操作”中选择“归档成品”:
cnpm install
cnpm  run build
# 打包,方便下载和上传到服务器部署
tar -cf dist.tar dist
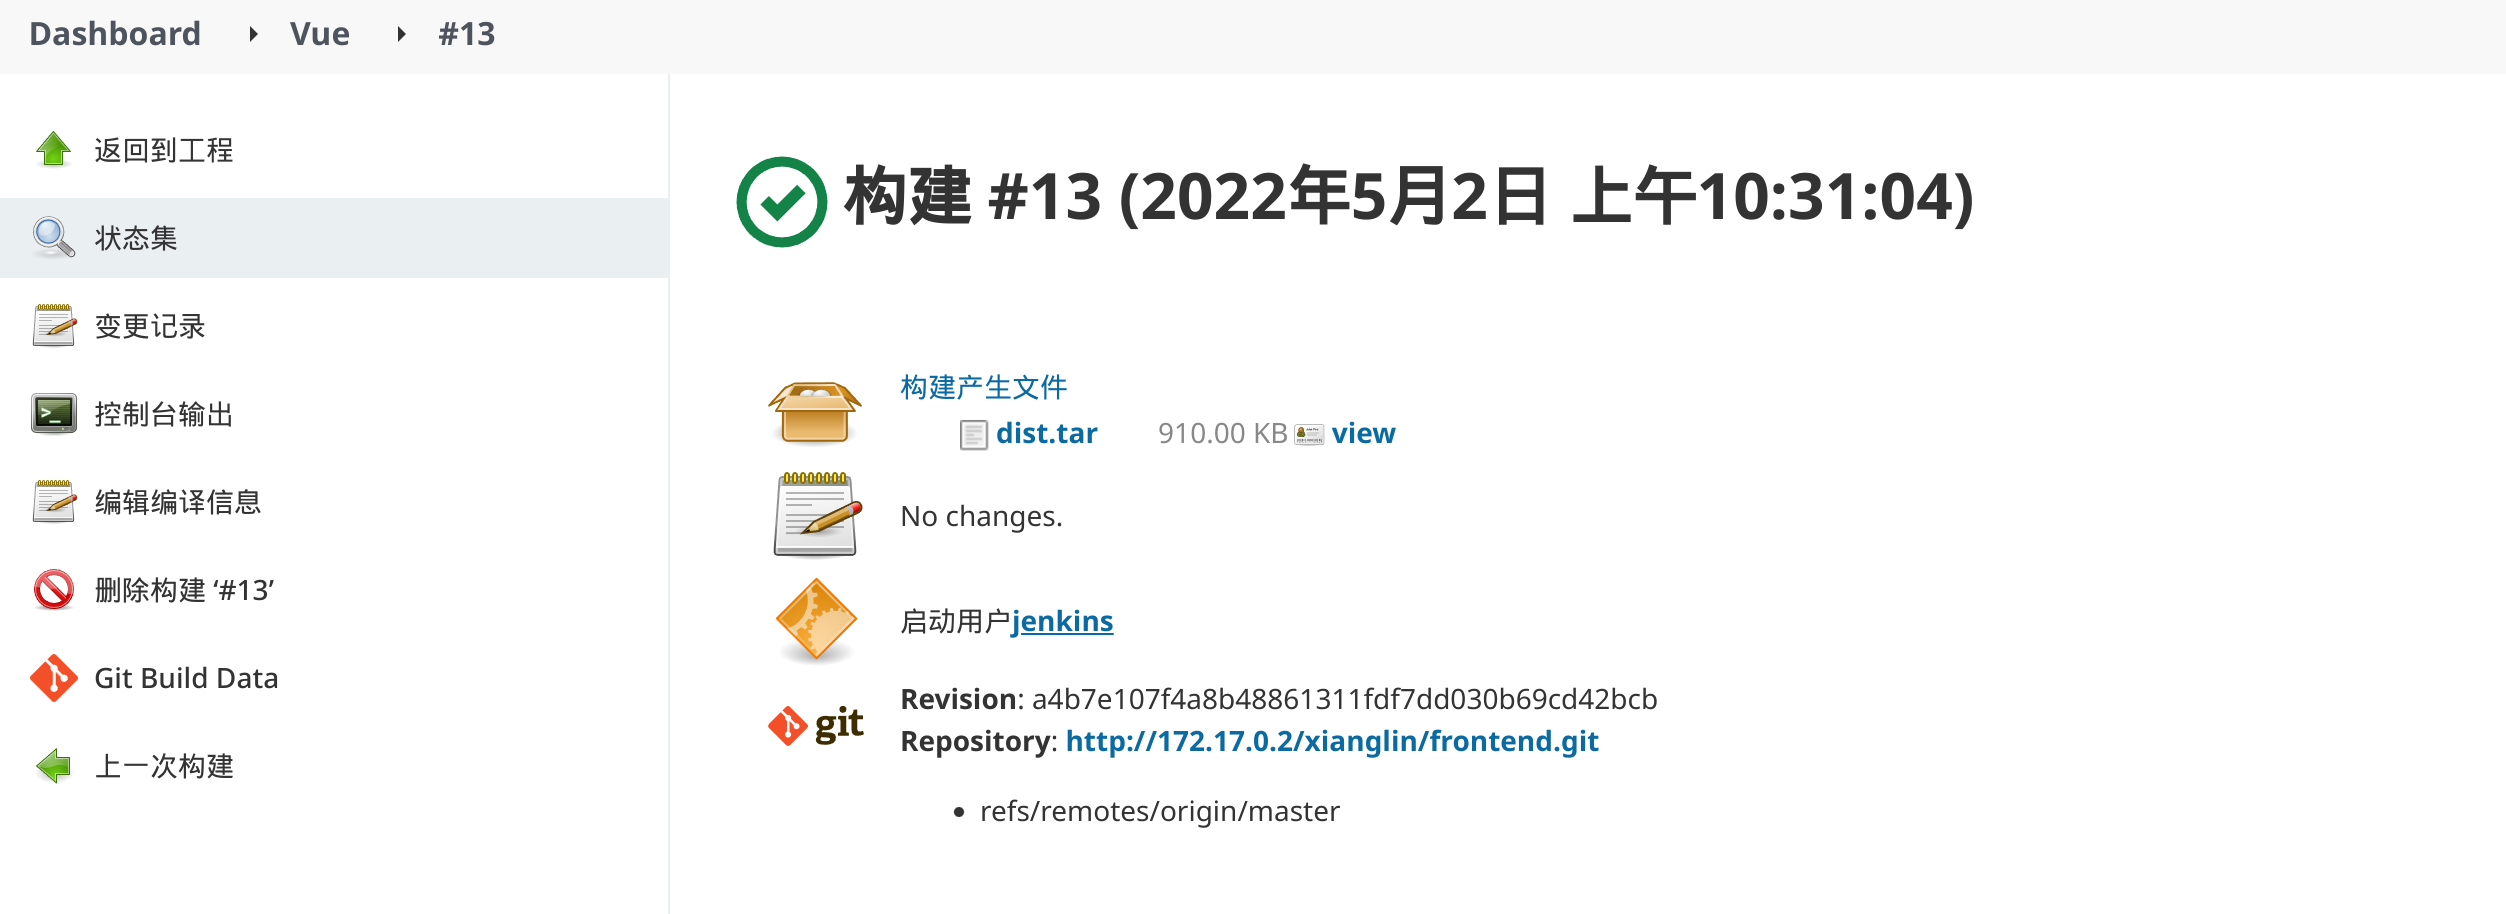
保存后点击“立即构建”,查看构建结果:
自动部署到服务器
自动构建完成后,可以手动将构建结果下载到本地执行,也可以通过 Jenkins 自动部署到指定服务器上,借助“Publish over SSH”插件完成。安装插件后在“系统管理”——“系统配置”中配置“Publish over SSH”,如图:
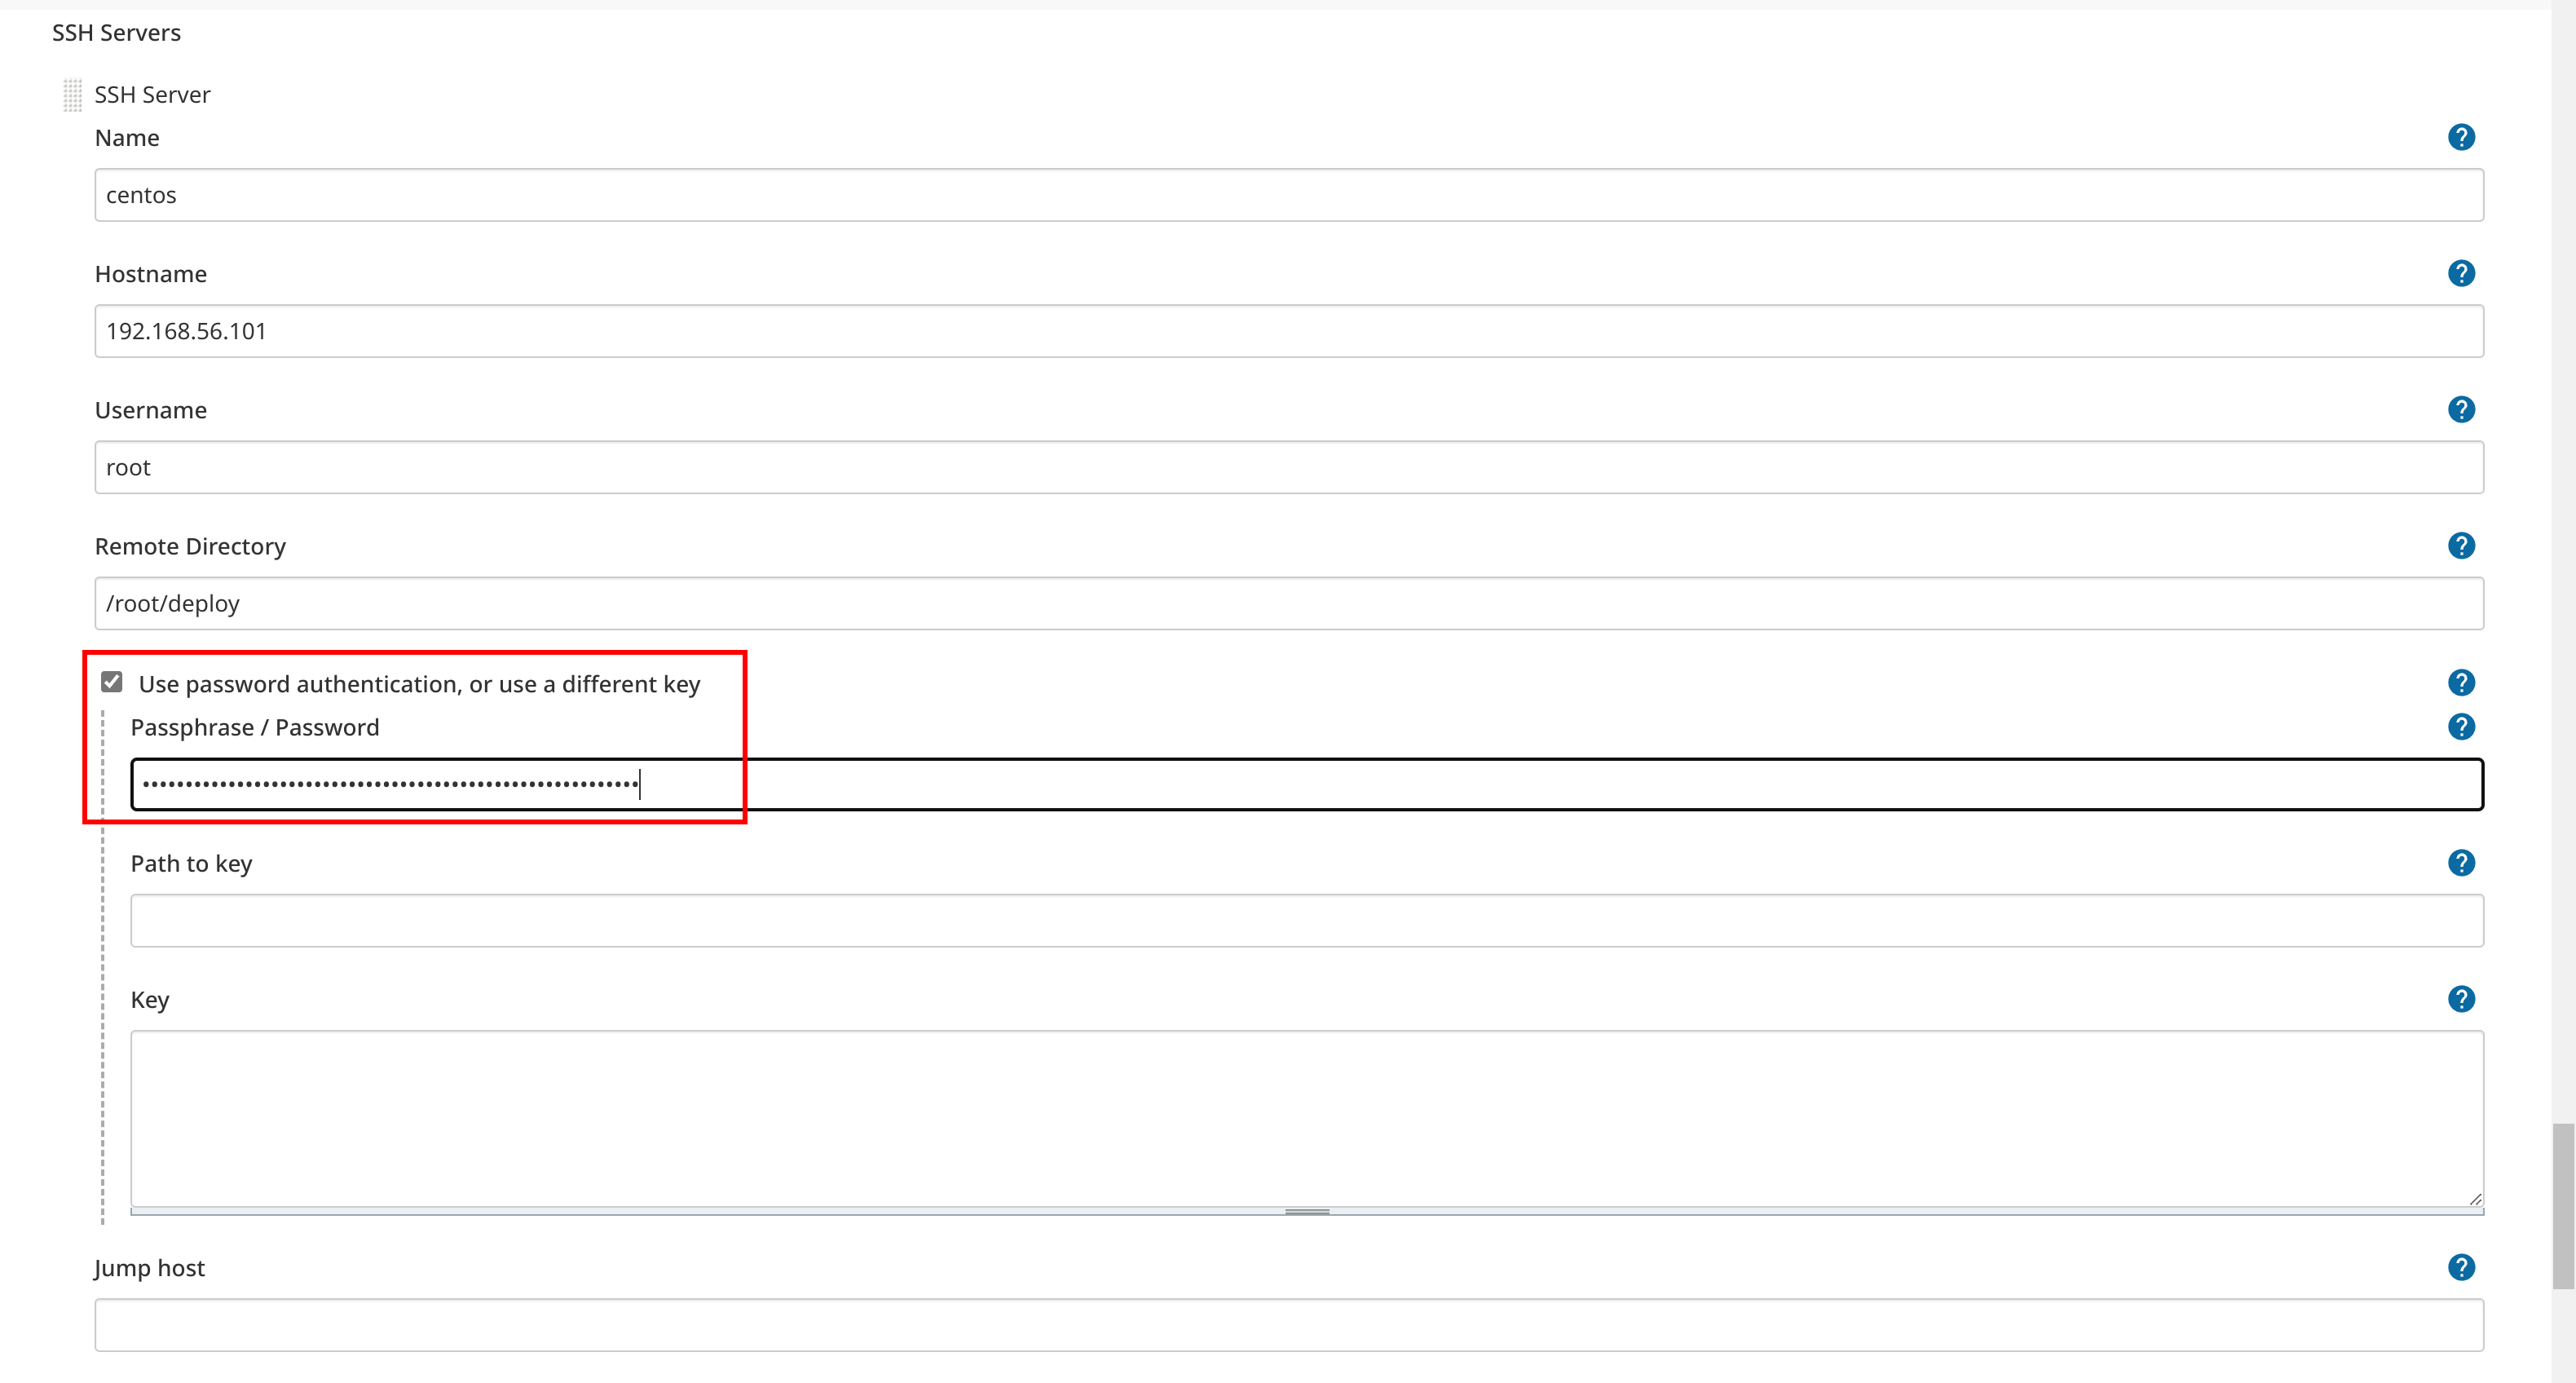
配置完成后可以通过“Test Configuration”验证配置是否正确可用:

部署 Spring Boot 应用
直接通过 jar 命令启动 Spring Boot 应用,计划将 jar 文件放在 /root/deploy/background,编写启动脚本 deploy.sh:
#!/bin/bash

# deploy spring boot app

# stop server
if [ -f "/var/run/springboot.pid" ]; then
	kill -15 $(cat /var/run/springboot.pid)
fi

# start server
nohup /root/jdk-11.0.15+10/bin/java -jar /root/deploy/background/backgroud-0.0.1-SNAPSHOT.jar > /dev/null 2>&1 &
在”构建后操作“——”Send build artifacts over SSH“中配置如图所示:
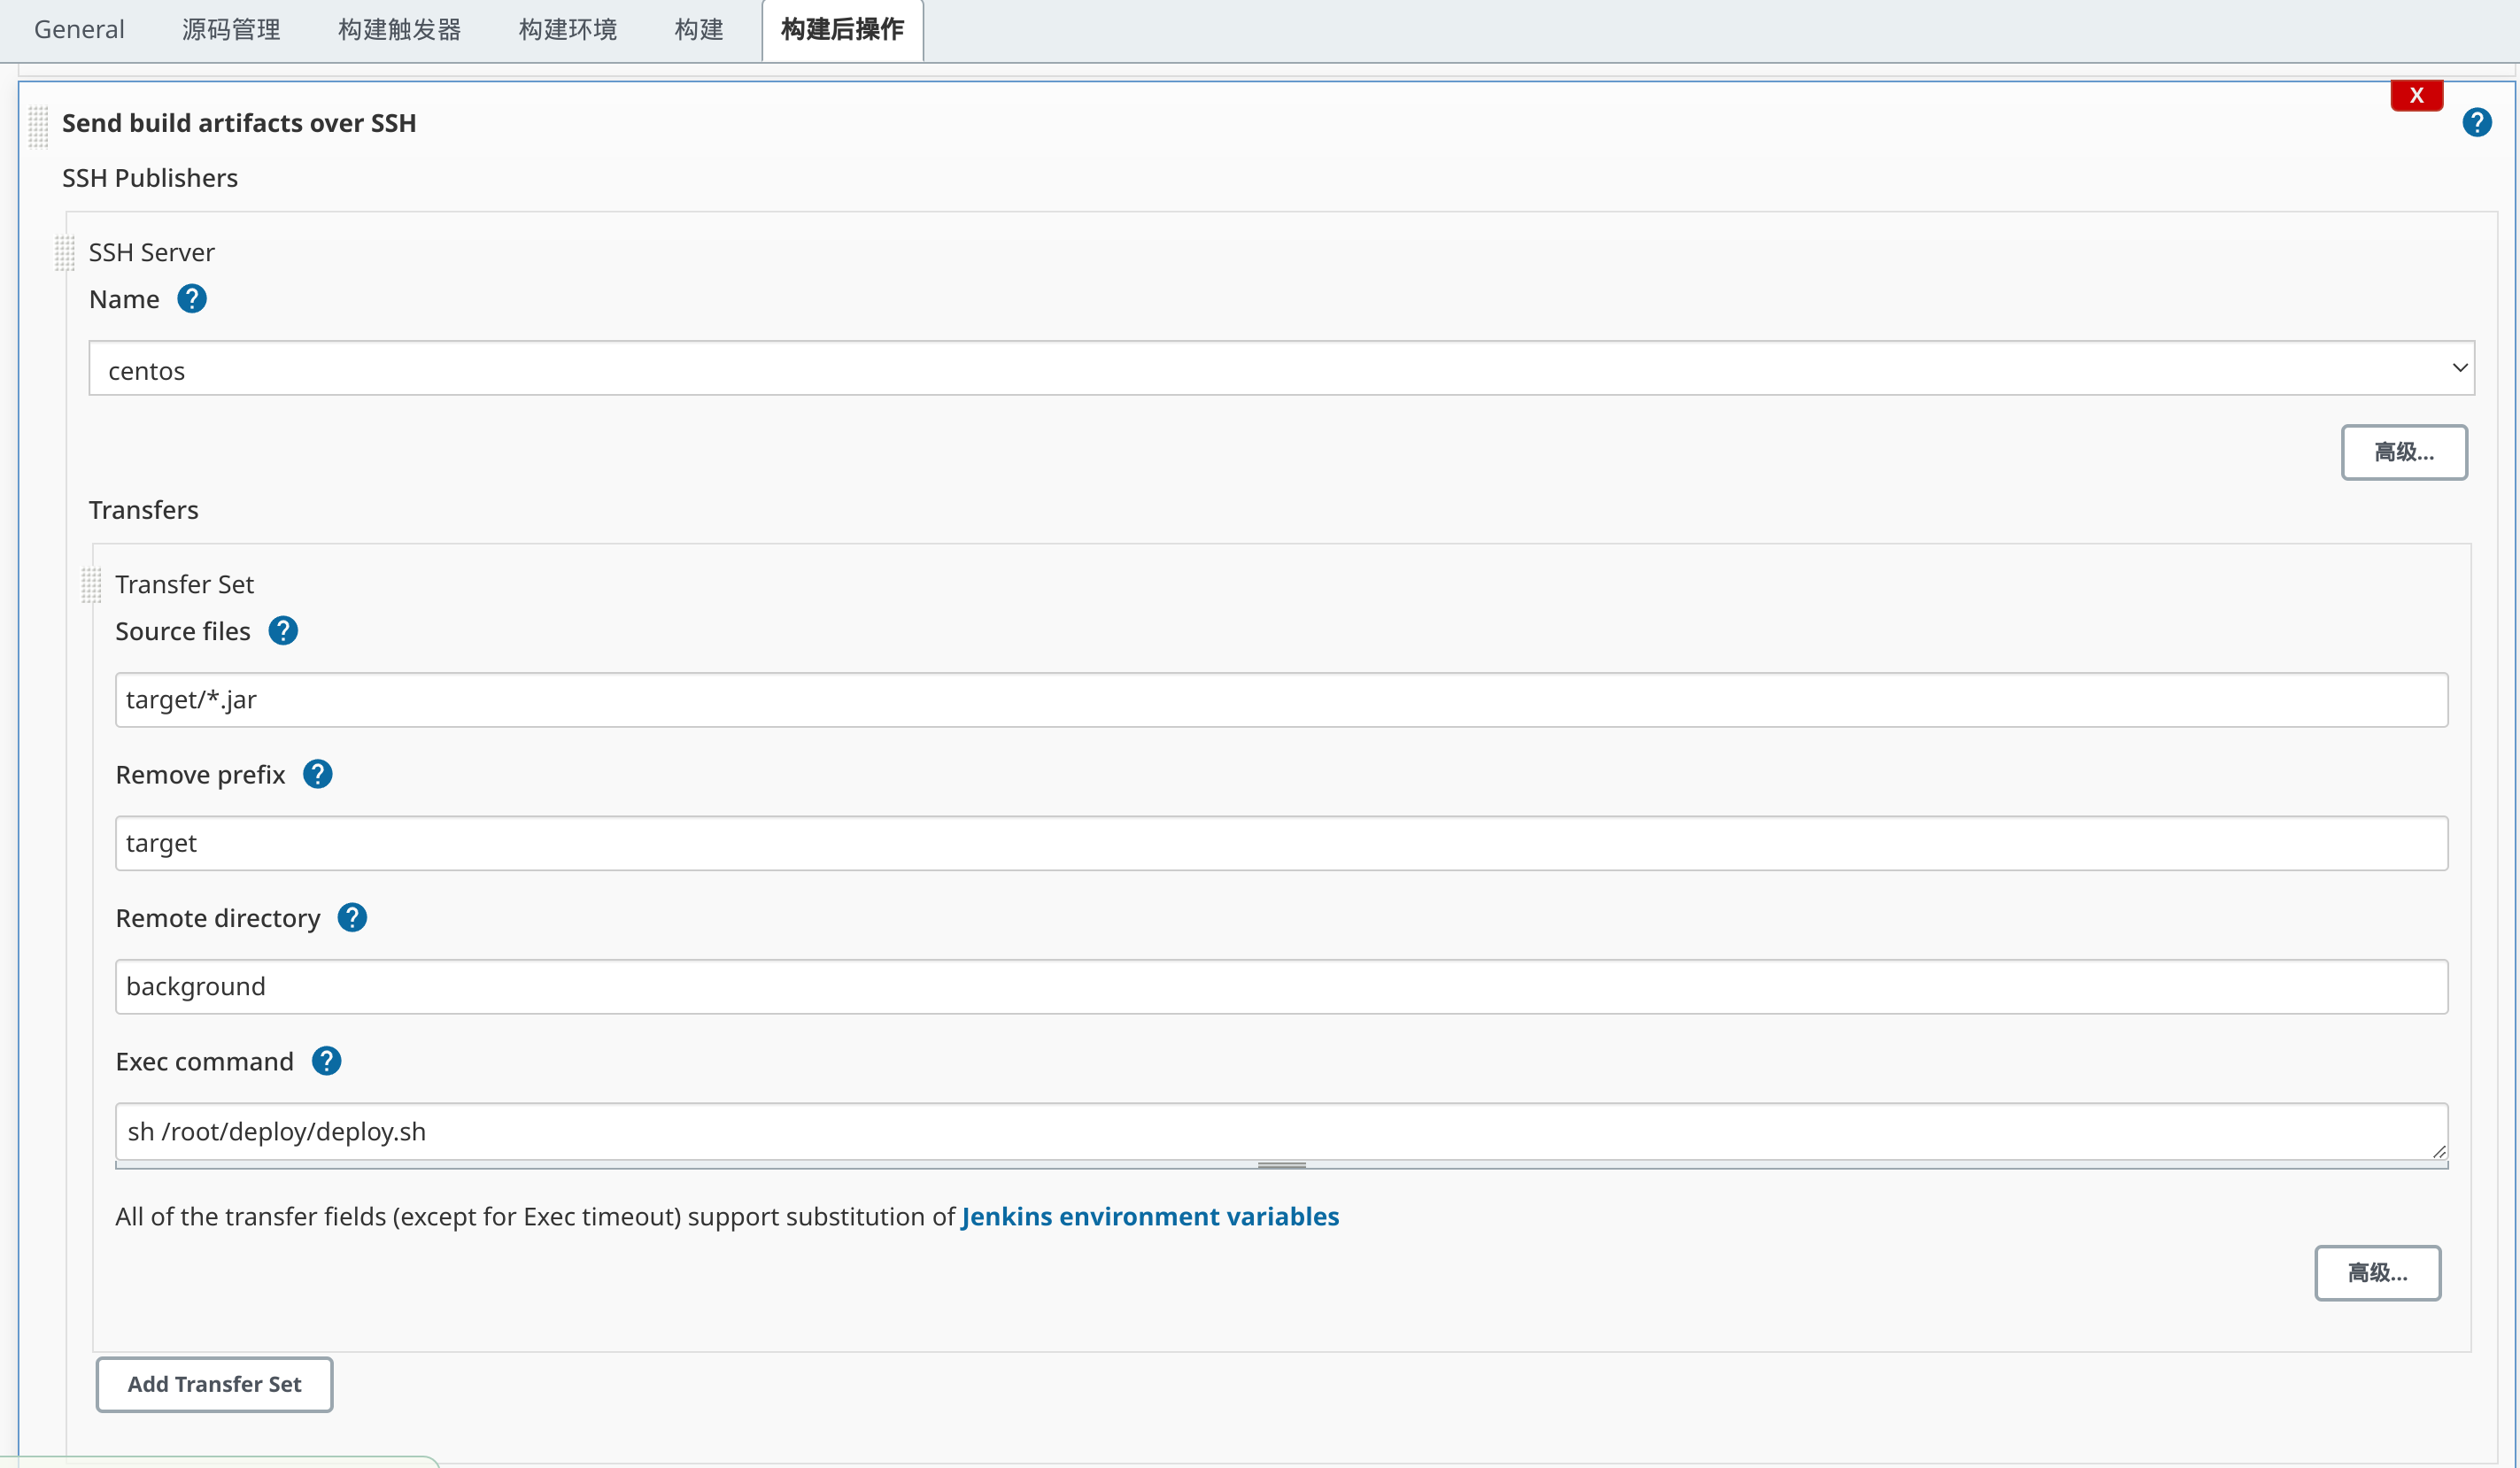
最总效果如下:

部署 Vue 应用
Vue 上传到服务器到配置与上述相同,静态文件使用 Nginx 作为服务器,将 Jenkins 构建到 dist.tar 解压到对应目录即可,命令如下:
#!/bin/bash

# deploy vue app

# extract file
tar -xf /root/deploy/frontend/dist.tar -C /usr/share/nginx/html
修改 Nginx 到配置 /etc/nginx/conf.d/default.conf ,如下:
location / {
    root   /usr/share/nginx/html/dist;
    index  index.html index.htm;
}
启动 Nginx 即可。